
Two Octobers ago, it rained the entire Saturday before Halloween. My kids were in costume by breakfast (my 4 year old was a candy corn, of course) and asked every ten minutes how long it was until trick or treating.
So I printed a stack of Halloween candy coloring pages, dumped the crayon bin on the kitchen table and got almost two quiet hours out of it. My 9 year old spent nearly all of that on one haunted mansion. My 4 year old went through five pages and colored every single one purple.
That afternoon taught me the right page depends on the kid far more than the design. So these 17 are sorted from toddler easy to tween detailed, with notes on what actually happened when we colored them.
The best Halloween candy coloring pages match the amount of detail to your kid’s age. Kids 2 to 5 do best with big, bold shapes like a single pumpkin lollipop or a stack of candy corn, kids 5 to 8 can handle busier candy buckets and monsters, and kids 8 to 12 will happily spend 40 minutes or more on a candy skull or a haunted candy mansion. Regular copy paper works for crayons and colored pencils, but switch to 65 lb cardstock if anyone is using markers.
Which Halloween Candy Coloring Pages Fit Your Kid?
Here’s what nobody mentions about printable Halloween coloring pages: the age printed on them matters less than the size of the spaces. A 3 year old can’t stay inside a shape smaller than a thumbnail. A 10 year old is bored in four minutes if every shape is the size of a cookie.
I sorted all 17 by how many small spaces each page has and roughly how long it held my kids (plus a few neighbor kids at our street’s Halloween party). Use the chart to pick two or three, not all 17. The mistakes section explains why.
| Page | Best ages | Detail | Time | Watch out for |
| Lollipop Jack-o’-Lantern | 2 to 4 | Very low | 5 to 10 min | Nothing, it’s the warm up page |
| Candy Corn Towers | 3 to 5 | Low | 10 to 15 min | Only two stripes per piece |
| Trick-or-Treat Candy Bag | 3 to 6 | Low | 15 min | Tiny stars around the bag |
| Spooky Lollipop and Ghost Candies | 3 to 6 | Low | 15 min | Shapes cut off at the edges |
| Trick-or-Treat Candy Bucket | 4 to 6 | Low to medium | 15 to 20 min | Grid lines on the chocolate bars |
| Lollipop Monster | 5 to 7 | Medium | 20 min | Dozens of small swirls |
| Witch Hat Candy Bucket | 5 to 7 | Medium | 20 min | The hat is flat, not pointy |
| Haunted Chocolate Bar | 5 to 8 | Medium | 20 min | Bats are already solid black |
| Pumpkin Candy Basket | 5 to 8 | Medium | 25 min | Twisted rope handle |
| Candy Corn Delight | 6 to 8 | Medium | 25 min | Four stripes, not three |
| Mummy Candy Bars | 6 to 8 | Medium | 20 to 30 min | Heavy ink on the eye bands |
| Wrapped Candy Explosion | 7 to 11 | Medium to high | 30 min | Background burst lines |
| Spider Web Lollipops | 8 to 11 | High | 30 to 40 min | Dozens of tiny web wedges |
| Candy Spider Web | 8 to 11 | High | 40 min | Hundreds of rope stripes |
| Halloween Candy Skull | 8 to 12 | High | 40 to 60 min | Big empty eye spaces |
| Candy Witch Hat | 9 to 12 | High | 45 min | Every surface is a candy |
| Haunted Candy Mansion | 9 to 12 and adults | Very high | 45 to 75 min | Shingles, bricks and window bars |
If your kid is younger than the range: Pick one object on the page and make that the whole job. I trace around the bucket with a highlighter, say “just this part,” and my youngest is happy.
If your kid is older than the range: Add a rule. Only three colors, or every candy needs a pattern. A rule turns the easiest Halloween coloring pages for kids into a puzzle for 9 and 10 year olds.
Planning a class party or a Halloween week at home? Save this chart to your Halloween board now. It’s the part of this post I come back to every October.
Practical note: Before you print, change your printer setting from “actual size” to “fit to page.” Several of these Halloween coloring sheets run right to the edge, and the default setting crops the ghosts and mummies around the border.
ℹ️ Photo Download Instructions:
📱 On mobile: Long press the image to access the download option.
💻 On computer: Right-click the image and select “Save Image.”
Easy Halloween Candy Coloring Pages for Toddlers and Preschoolers (Ages 2 to 5)
These five have big shapes and thick outlines. Chunky crayons or dot markers beat regular markers at this age, because toddlers press down hard and regular marker tips mash flat fast.
Expect 10 to 15 minutes per page. That isn’t a short attention span. It’s the right amount of coloring for a 3 year old.
1. Lollipop Jack-o’-Lantern

One pumpkin lollipop with a carved face and a bow tied around the stick. No background, no tiny details. It’s the first page I hand a 2 year old.
A second outline runs around the whole lollipop like a sticker border. My kids liked coloring that ring yellow so the pumpkin looked like it was glowing.
Coloring steps:
- Color the pumpkin orange. Big scribbles are fine here; the shape forgives them.
- Color the eyes, nose and mouth yellow, or leave them white so the face looks lit.
- Pick any color for the bow. Purple and green both look good next to orange.
- Color the outer ring yellow, or leave it white and cut along it for a sticker style cutout.
Tip: Do A Dot Art markers work well here for 2 and 3 year olds. One dab fills the nose, and they feel like they finished something. The trade off is mess: squeeze one too hard and it leaks, so put a paper towel under the page.
2. Candy Corn Towers
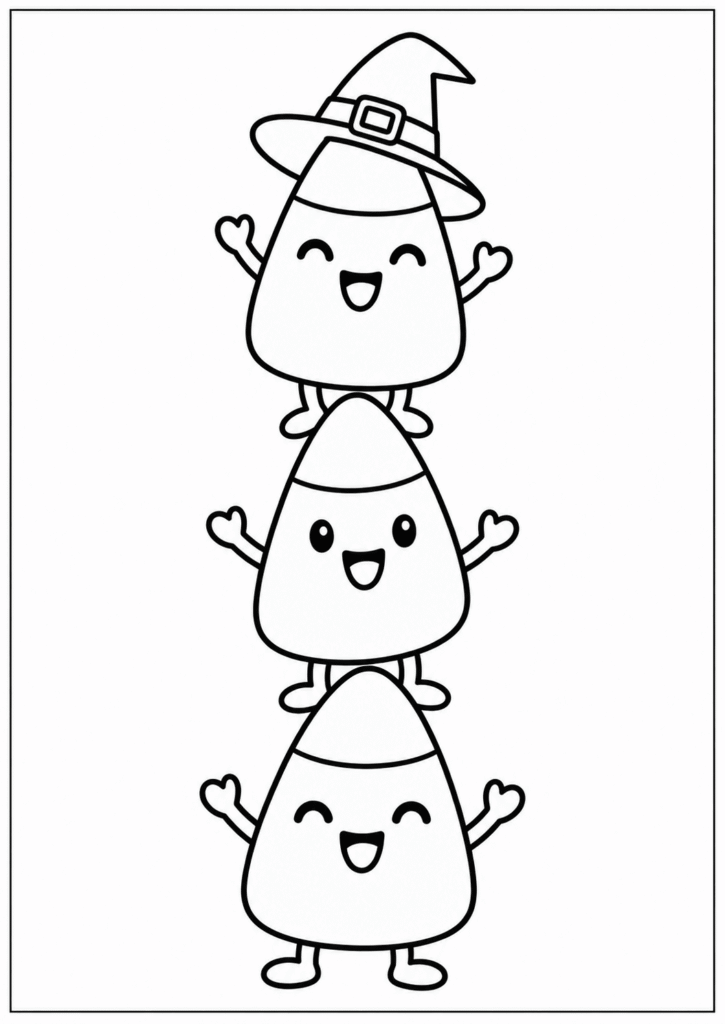
A stack of smiling candy corn pieces with a little witch hat on the one at the top. The faces sold my 4 year old. She named every piece before she colored any of them.
Of the two candy corn coloring page options on this list, this is the easy one. But look closely before you hand it over: each piece has only one line across it, near the tip. That’s two sections, not the three real candy corn has.
Coloring steps:
- For the classic look, draw a second line across each piece with a pencil (an adult job for 3 year olds).
- Color the wide bottom yellow and the middle orange, and leave the tip white.
- Color the witch hat black, with a purple band if you have one.
- Go over the faces with a black crayon so they stand out.
- Add a gray shadow under the stack so the tower sits on something.
What goes wrong: little kids color right over the faces. Tell them to go around the eyes, or darken the faces first so they’re harder to cover.
3. Trick-or-Treat Candy Bag

A trick or treat bag stuffed with candy corn, striped candies and round gumballs, with a smiling bat dangling off the side on a string.
The bat has nothing on but a smile, and that’s an opportunity. Drawing something on the bat is the easiest bonus challenge on this list. My son gave his a bowtie and a top hat.
Coloring steps:
- Color the bag orange and the handle black.
- Fill the candy corn poking out the top with yellow, orange and white.
- Color the striped candies in two alternating colors, like red and white or green and purple.
- Color the bat black or dark gray, then let your kid draw it something to wear.
- Color the stars yellow, or add a few more.
The small stars around the bag are the only fiddly part. For 3 year olds I say the stars are optional, and nobody has ever argued.
4. Spooky Lollipop and Ghost Candies

Two giant swirl lollipops and a handful of ghost shaped lollipops with rosy cheeks, scattered across the page like wrapping paper. Some shapes run off the edge, which is why that “fit to page” setting matters here.
You’ll often see advice to color the ghosts light gray. In real life, light gray crayon barely shows on white paper, and kids think they did it wrong. We left the ghosts white and colored only the cheeks pink, and they looked far more like ghosts.
Coloring steps:
- Color each big lollipop swirl in two alternating colors. Green and purple look properly spooky.
- Leave the ghost bodies white and color the cheeks pink.
- Fill in the ghost eyes with black if your print came out faint.
- Color the sticks light brown or leave them white.
For older kids: Color the whole background dark purple so the white ghosts glow. It looks great, but it turns a 15 minute page into a 40 minute one, so only offer it to a kid who’s into it.
5. Trick-or-Treat Candy Bucket
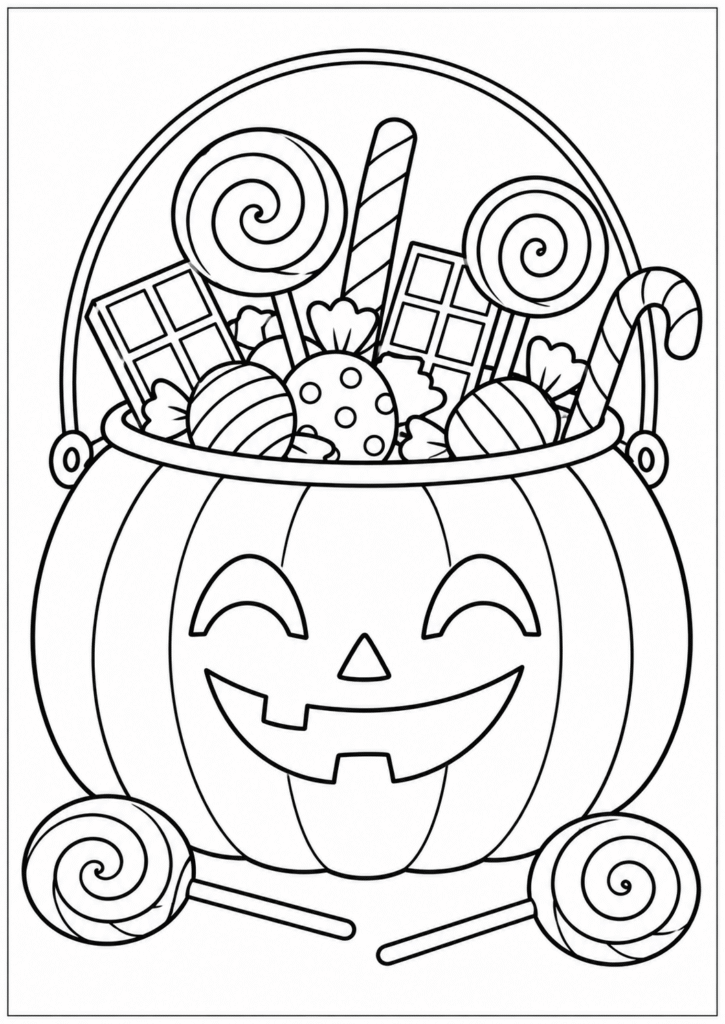
A pumpkin bucket with a carved face, overflowing with chocolate bars, swirl lollipops and a striped candy stick, with two more lollipops dropped on the ground. Of all the Halloween coloring pages for kids here, this one looks the most like what they actually haul home on October 31.
The eyes and nose have a thin inner border. Color the inside yellow and the border dark orange, and the face looks lit from inside.
Coloring steps:
- Color the bucket orange, pressing harder near the sides for a darker edge.
- Color inside the eyes, nose and mouth yellow.
- Color the chocolate bars brown and give each wrapper a different bright color.
- Use red, yellow and green on the lollipop swirls.
- Color the dropped candies on the ground last so they don’t get forgotten.
The trade off: the chocolate bars have small grid squares. A 4 year old will color each bar brown in one go, which is exactly right. A 6 year old often wants every square a different shade, which doubles the time. Both are fine; just know which kid you’ve got.
Medium Detail Pages for Ages 5 to 8
This is where markers start to make sense, and where cheap copy paper starts to give out. If your kids are using Crayola Washable Markers on these, print on cardstock or slide a scrap sheet underneath.
Plan on 20 to 30 minutes each. Most kids in this range finish one, wander off for a snack and come back for a second.
6. Lollipop Monster
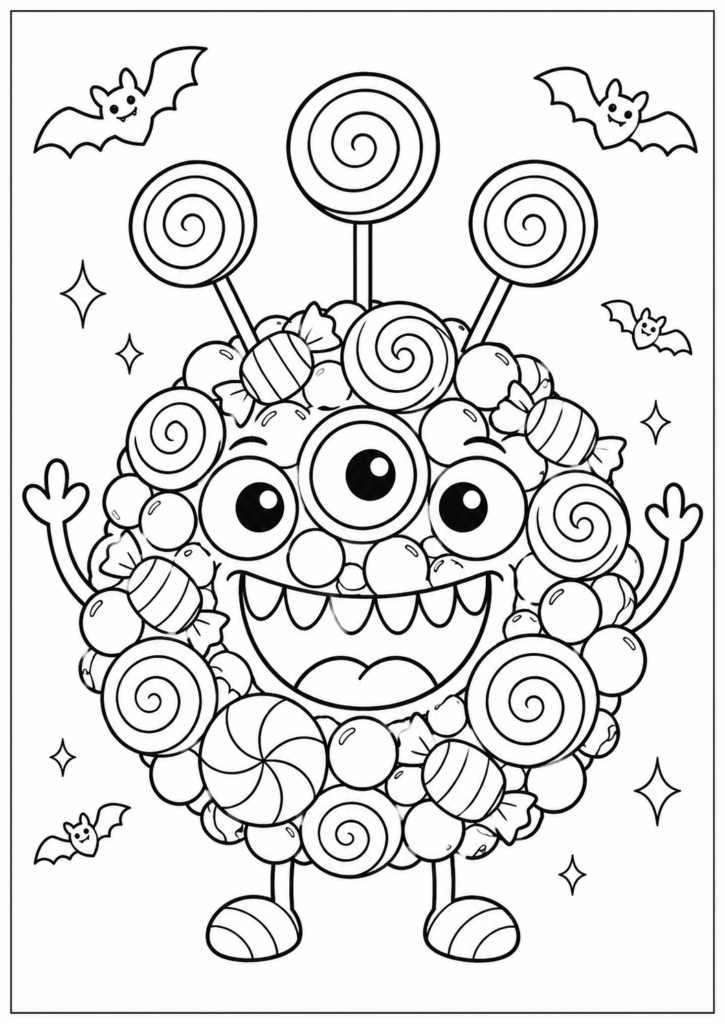
A round monster built from swirl lollipops and gumballs, with three eyes, a toothy grin, lollipop antennae and stick arms. Bats and sparkles float around it.
The body is packed with small swirls and circles. My 6 year old tried to give every swirl its own color, got about ten in and quit. What worked better was one color for all the swirls and another for all the gumballs. It goes fast and still looks busy.
Coloring steps:
- Color the round gumballs on the body orange.
- Color all the swirls purple.
- Give each lollipop antenna its own bright color: red, blue, yellow.
- Color the inside of the mouth dark red and keep the teeth white.
- Color the shadow under the feet gray so the monster stands on the ground.
For younger kids: just the antennae and the mouth. That’s still a finished looking monster.
7. Witch Hat Candy Bucket

A hat used as a candy bucket, with jelly beans, candy corn, a swirl lollipop and little ridged cups (think mini peanut butter cups) spilling out of the top.
Fair warning: the hat on this page is short and flat on top, more like a buckle hat than a pointy witch hat. Colored black or deep purple, it still reads as witchy, and my kids never once questioned it.
Coloring steps:
- Color the hat black or dark purple. Leave the polka dots white or make them green.
- Color the inside of the hat’s rim a soft purple so the bucket looks deep.
- Give each jelly bean its own bright color.
- Color the candy corn yellow, orange and white.
- Color the buckle yellow or gold last.
Tip: Metallic gel pens (we use a Sakura Gelly Roll Metallic set) look great on the buckle, but they smear if a hand drags across them. That’s why the buckle goes last.
8. Haunted Chocolate Bar

A tilted chocolate bar with a corner snapped off, worried little ghost faces on the squares and a few full ghosts drifting out of the cracks. Bats and four pointed stars fill the space around it.
The second it prints, you’ll see the bats are already solid black. They’re done, so skip them. It also means this page uses more ink than most, so if your cartridge is running low, print this one first while there’s still enough for solid black.
The stars are the other trap. White crayon won’t show on white paper, so color them yellow or gold.
Coloring steps:
- Color around the small ghost faces on each square first, then fill in the rest of the square brown.
- Use a darker brown or black along the cracked edge so the break looks deep.
- Leave the floating ghosts white, or shade just their bottom edges light gray.
- Color the stars yellow.
- If your kid wants more, draw caramel swirls inside a couple of squares.
The trade off: pressing hard with a dark brown crayon leaves a waxy shine that looks like real chocolate, and kids love it. It also buries the little faces if they color over them, which is why step one matters.
9. Pumpkin Candy Basket
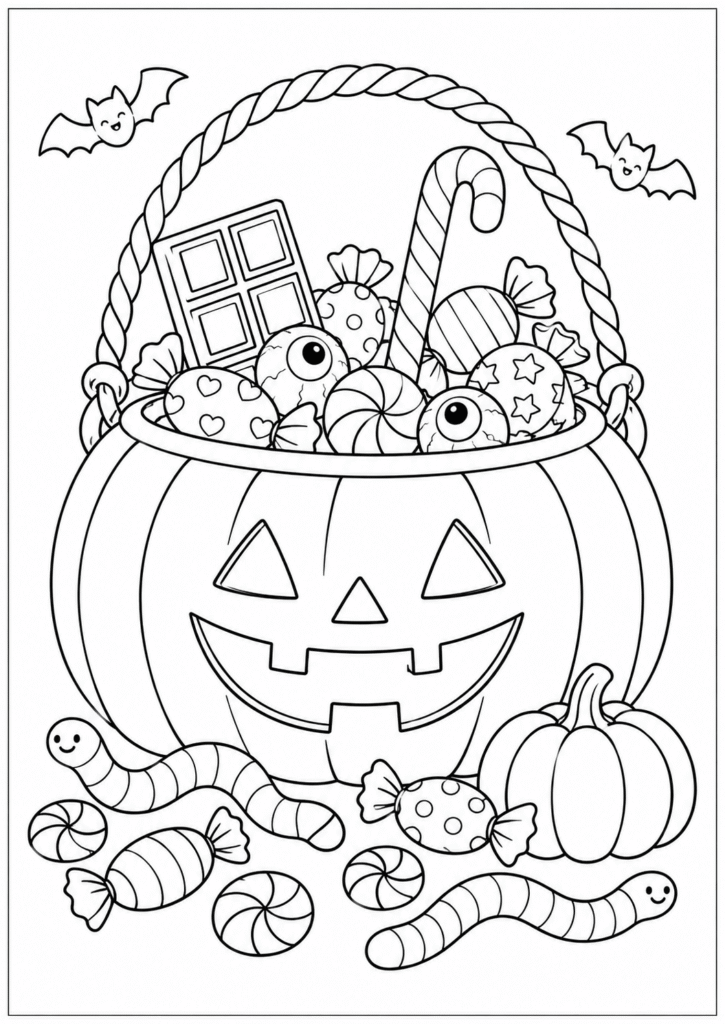
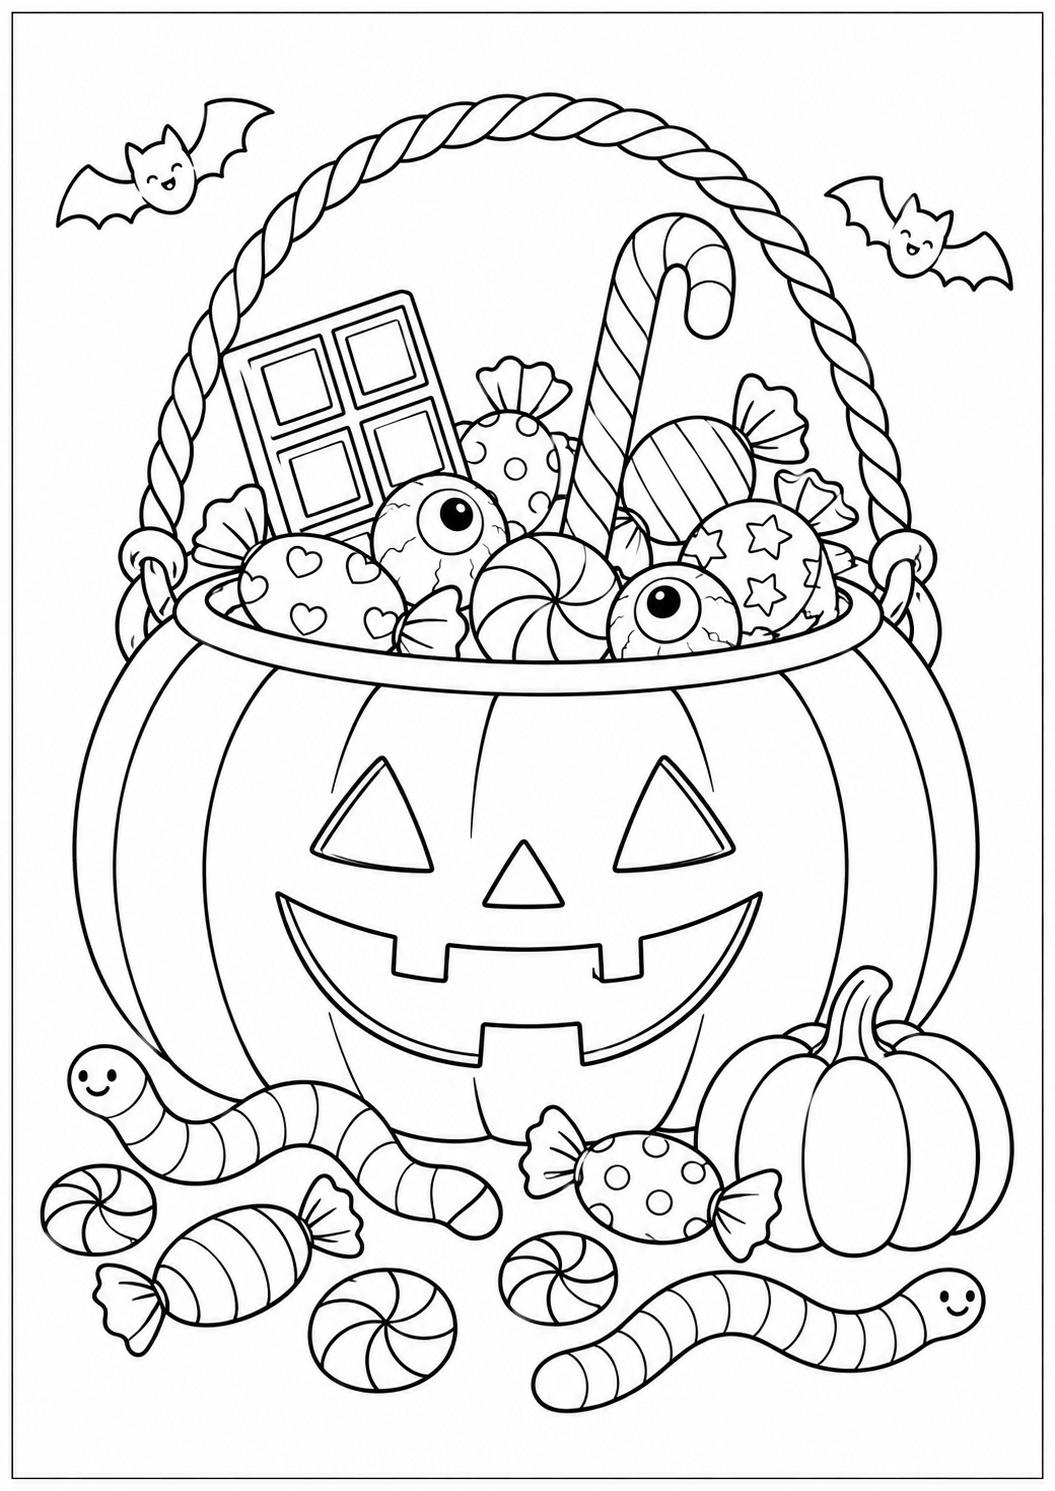
A pumpkin basket with a twisted rope handle, stuffed with a chocolate bar, a striped candy stick, wrapped sweets and candy eyeballs staring back at you. Gummy worms, peppermints and a tiny pumpkin sit on the ground in front.
The candy eyeballs are why kids pick this page. The rope handle is why they put it down, because it’s made of dozens of tiny twists. I let them run one brown stroke down the middle of the handle and call it finished.
Coloring steps:
- Color the basket orange, then go over each pumpkin rib with darker orange or red for depth.
- Give each candy eyeball a colored iris: blue, green or brown.
- Color the gummy worms in two alternating stripes, like green and red.
- Color the chocolate bar brown and its wrapper something bright.
- Finish with the little pumpkin, the peppermints and the bats.
This one runs about 25 minutes, and the eyeballs are a good spot for a kid who wants to practice small details without committing to a whole detailed page.
10. Candy Corn Delight

One big candy corn in the middle of the page, covered in spots and blobs, with wrapped candies, swirl balls and a couple of tiny candy creatures with faces scattered around it.
This candy corn coloring page has four bands across the big piece, not three, and kids tend to stall trying to figure out what the extra one is for. Our fix: white tip, two shades of orange in the middle, yellow at the wide bottom.
Coloring steps:
- Leave the tip white and color the wide bottom band yellow.
- Color the two middle bands orange, making one slightly darker.
- Color the spots inside the candy corn a contrasting color like purple, or leave them white for polka dots.
- Color the surrounding candies purple, green and orange.
- Hunt for the little candies with faces near the edges and give them silly colors.
This is the candy corn coloring page I’d hand a 7 year old. The spots slow them down just enough to keep it interesting, and it takes about 25 minutes.
11. Mummy Candy Bars
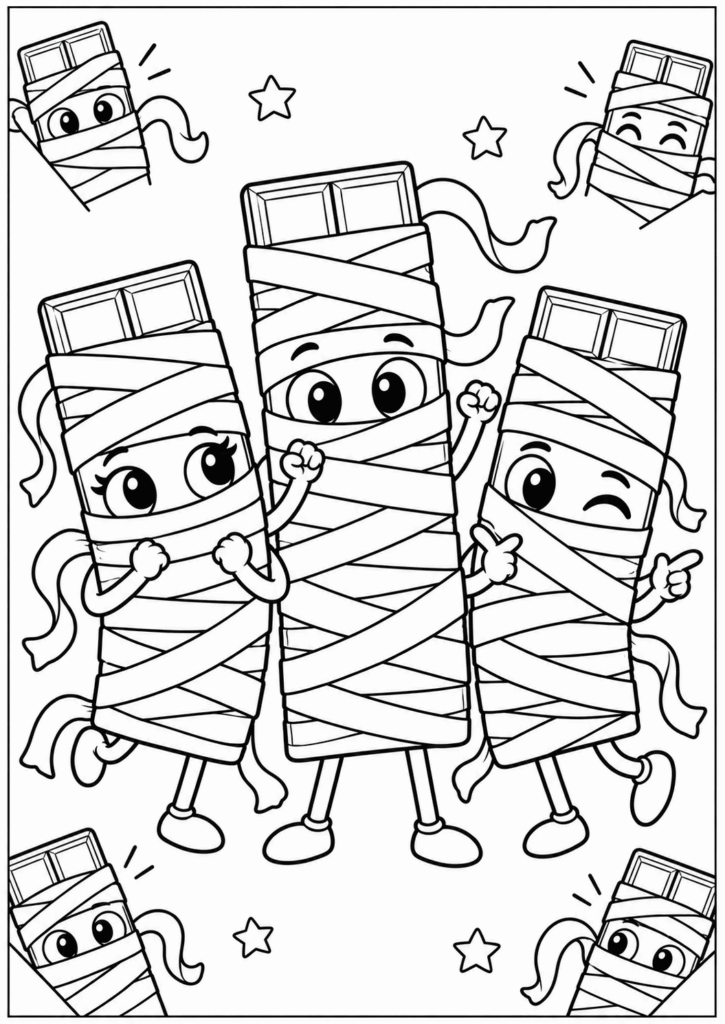
Three candy bars wrapped up like mummies, eyes peeking out of a dark band, with loose bandage strips flapping. More mummy bars are cut off around the edges.
Almost every inch of these bars is bandage, so there isn’t much chocolate showing. Don’t fight it. We colored the wrapping tan or cream and made two or three loose strips a bright color, like a candy wrapper peeking through.
Coloring steps:
- Color the bandages tan or cream, leaving a few strips white for contrast.
- Color the eyeballs bright yellow so they look like they’re glowing.
- Add short gray lines along the edges of some strips to show the layers.
- Color one loose strip on each mummy red or purple.
- Leave the background white, or color it pale green for an old monster movie feel.
Heads up: between the solid black eye bands and the cut off mummies at the edges, this is one of the heavier ink pages on the list.
Detailed Pages for Big Kids and Tweens (Ages 8 to 12)
These are the pages that keep a 10 year old busy through an entire movie. Colored pencils win here. Crayons are too fat for spaces this small, and markers bleed between lines that sit this close together.
Crayola Colored Pencils are fine for most kids. If yours gets into shading, Prismacolor Scholar pencils blend more smoothly and are worth the few extra dollars.
The first page a kid finishes sets the mood for the whole afternoon. Even with a 10 year old, I start with an easy page and only hand over the haunted mansion once they’re warmed up.
12. Wrapped Candy Explosion

A burst of striped, wrapped candies flying out from the center, with confetti squiggles, plaid wrappers and speed lines shooting to the edges of the page.
Leaving the background plain is the obvious move, but the burst lines are what make this page. My 9 year old colored every other wedge between the lines yellow and left the rest white, and it looked like a comic book explosion. It also added about 20 minutes.
Coloring steps:
- Give each wrapped candy a different color: red, blue, green, yellow.
- Color its stripes a lighter or darker shade of the same color.
- Leave one small white spot on each candy so it looks shiny.
- Color the plaid wrappers by filling in every other square.
- Leave the background white, or color alternating wedges for a sunburst.
For younger siblings: this works from about age 6 if they color only the candies. The background is what pushes it into the big kid range.
13. Spider Web Lollipops

Three big lollipops with spider web patterns, more webs in the corners and four little spiders dangling on threads, each with heart shaped eyes and a goofy grin.
Each lollipop web is split into dozens of tiny wedges. Coloring alternate wedges in two colors makes the lollipops look like stained glass. It’s the most satisfying finished page on this whole list, and it’s slow, so plan on 30 to 40 minutes.
Coloring steps:
- Pick two colors for each lollipop (purple and black, or green and orange) and alternate them around the wedges.
- Leave the web lines uncolored so the pattern stays crisp.
- Color each spider body black, then trace a thin red line around it.
- Color the sticks white or light gray.
- Leave the background and corner webs white so the lollipops stand out.
What goes wrong: kids lose track of the pattern halfway around and end up with two purples side by side. Have them put a small pencil dot in every wedge that gets the first color before they start.
14. Candy Spider Web

A giant spider web where every strand is a striped candy rope, with four candy spiders crawling across it.
Every rope is covered in tiny diagonal stripes, and there are hundreds of them. A kid who tries to color each stripe separately burns out by the second strand. Coloring each rope in one color, then going back over the stripes with a darker pencil, gives almost the same look in half the time.
The spiders have swirls on their bodies and stripes on their legs. Coloring them solid black hides all of that, so we did black legs with purple or orange swirls.
Coloring steps:
- Color the web ropes in bright colors like lime green and hot pink, alternating ring by ring.
- Go back over the stripes on each rope with a darker shade.
- Color the spider legs black and the body swirls purple or orange.
- The page has no candies hanging off the web, so draw a few (gumdrops, candy corn) and color them red and yellow.
15. Halloween Candy Skull
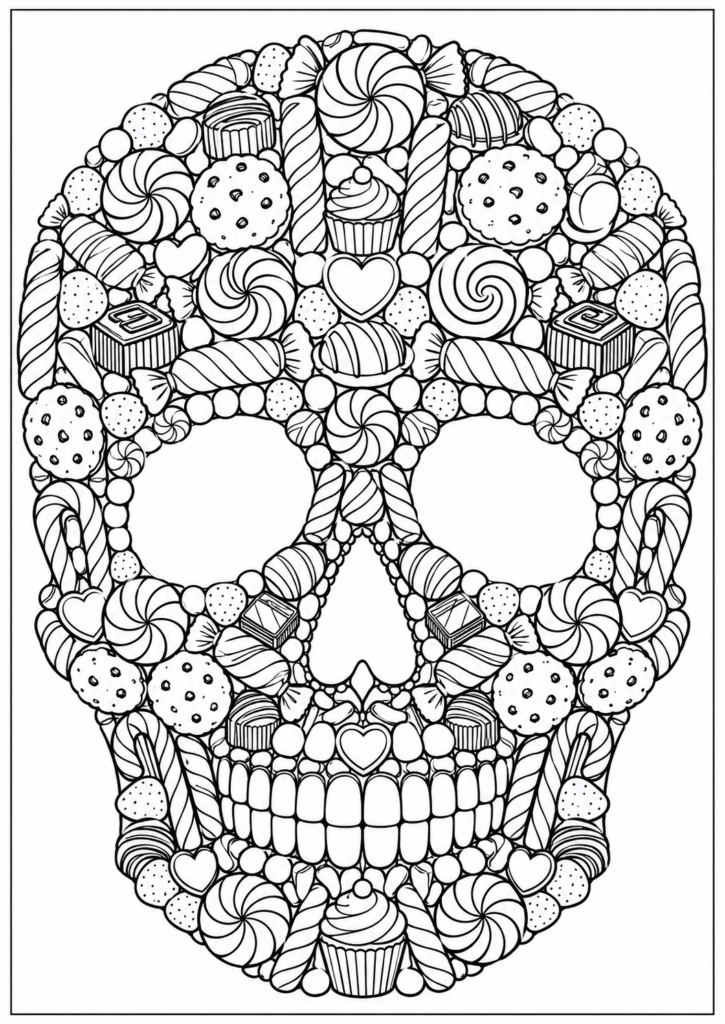
A skull packed edge to edge with candies: swirl mints, wrapped sweets, cookies, candy sticks and a big row of teeth. The eye spaces are left wide open.
Kids almost always color those eye spaces solid black, and on this page it swallows everything else. Try dark purple, or draw a candy inside each eye first. My daughter put a lollipop in one and a gumdrop in the other.
Candy covered skulls like this one look a lot like the sugar skulls (calaveras) made for Día de los Muertos, which is celebrated mainly on November 1 and 2. If your older kid asks, it’s a good chance to talk about how that holiday honors family members who have died, and how it differs from Halloween.
Coloring steps:
- Color the small gaps between candies a soft gray or cream.
- Give every candy its own color so the skull looks like a full candy dish.
- Color the teeth ivory or leave them white, and shade the gaps between them gray.
- Color the eye spaces dark purple, or fill them with drawings first.
- Shade around the outer edge of the skull with gray so it looks rounded.
This one takes 40 minutes to an hour. Most kids under 9 need two sittings, and that’s fine.
16. Candy Witch Hat
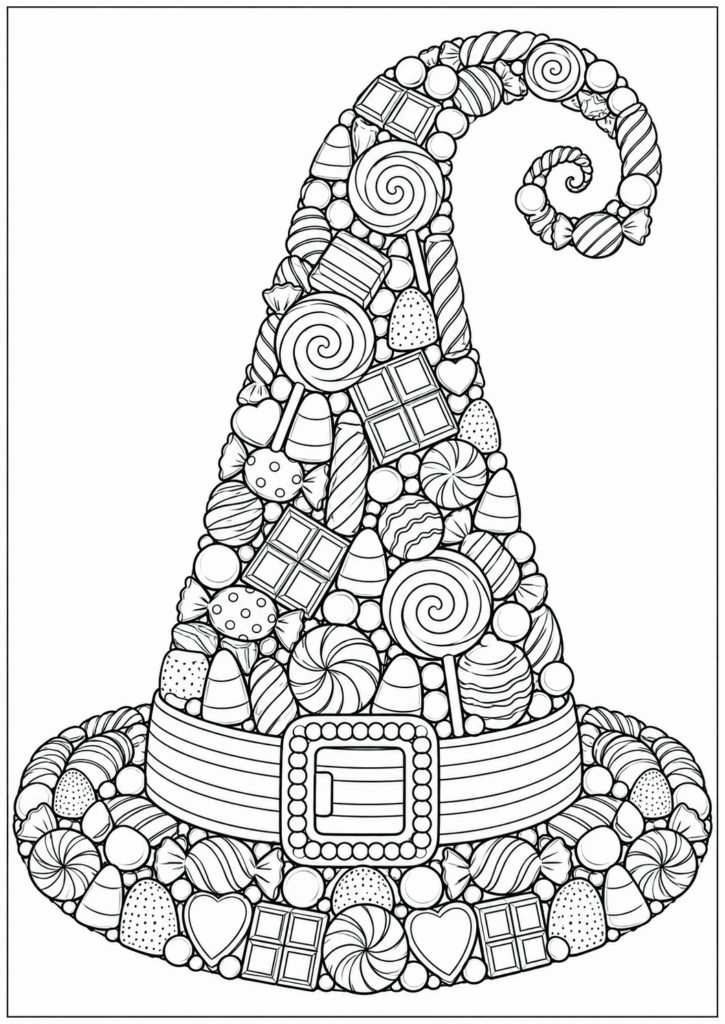
A pointy witch hat with a curled tip, built entirely from candies: chocolate squares, a swirl lollipop, striped sweets and wrapped candies. Even the brim is a ring of candy.
Don’t color the main part of this hat black. I’ve seen that suggested, and on this page every inch of the hat is a candy, so black wipes out the whole design. Color the band black instead and let the candies carry the color.
Coloring steps:
- Color the hat band black and the buckle yellow or gold.
- Color the brim candies in a repeating pattern: green, orange, purple, then start over.
- Color the chocolate squares brown, with a lighter brown along the top edge of each.
- Fill in the rest of the candies on the cone, working top to bottom so hands don’t smudge finished parts.
- Add white gel pen highlights to a few round candies at the very end.
Tip: White gel pen shows up on colored pencil and marker, but it skips across heavy crayon wax. If your kid wants highlights, skip crayons on this page.
17. Haunted Candy Mansion

A tall Victorian mansion with scalloped roof shingles, bats circling the tower, cotton candy trees covered in sprinkles, striped candy stick trunks and a candy cane fence along the bottom.
This is the hardest page on the list, and the one adults keep stealing at our table. My 9 year old worked on it over two afternoons. Between the bricks, window bars and shingles, it isn’t a one sitting page for most kids under 10.
Coloring steps:
- Start with the cotton candy trees in pastel pink and blue. Big shapes make a good warm up.
- Color the candy cane fence in red stripes, leaving the white stripes uncolored.
- Color the house walls brown and the roof shingles dark red or purple.
- Color the windows yellow so the house looks lit from inside (which somehow makes it spookier).
- Finish with the sprinkles, the bats and the stone path.
Tip: Tape the corners to the table with painter’s tape. A page this detailed slides around while a kid leans on it, and the tape stops it from wrinkling halfway through.
Supplies for Halloween Candy Coloring Pages (and Free Swaps)
Most Halloween coloring pages for kids need nothing fancier than the crayon bin you already have. Here’s what we use, where it came from and what to grab instead if you don’t want to buy anything.
- Regular copy paper is fine for crayons and colored pencils. For markers, use 65 lb white cardstock, which feeds through most home printers (heavier 110 lb stock jams some of them). A 250 sheet pack is usually around $10 to $15 at Walmart, Target or Amazon.
Free swap: Copy paper with a flattened cereal box underneath to catch marker bleed.
- A Crayola 24 count box for little kids, or Crayola Twistables if you’re tired of peeling broken ones.
Free swap: The restaurant crayon packs piling up in your car. Broken crayons are actually better for shading when you use them on their side.
- Washable markers. Crayola Washable Markers for ages 5 and up.
Free swap: Markers are the only supply on this list that adds real mess.
- Colored pencils. Crayola Colored Pencils for most kids, Prismacolor Scholar for a tween who shades.
Free swap: Last year’s school supply leftovers. Sharpen them first, because dull pencils on detailed printable Halloween coloring pages are pure frustration.
- Dot markers. Do A Dot Art markers for 2 and 3 year olds.
Free swap: A cotton swab dipped in washable paint.
- Metallic and white gel pens. A Sakura Gelly Roll set for buckles and highlights.
Free swap: A yellow crayon with a touch of gray beside it reads as gold from a distance.
- Glue stick and real candy wrappers. For the wrapper collage idea further down.
Free swap: The wrappers are already free; they’re the trash from the trick or treat haul.
- No printer at home? Most public libraries print for a small per page fee.
Free swap: Print only the two or three pages your kid actually picked, not all 17.
Mess, Safety And How Much Supervision You Need
Coloring is about as low risk as kids’ activities get, but a few things are worth planning for.
Mess level: Low with crayons and colored pencils. Medium with washable markers, which come off skin and most clothes but can stain a wood table where the finish is worn. Medium to high with the wrapper collage, because chocolate smears ride along on the wrappers.
Ages 2 to 3: Sit right there with them. Crayons get chewed and marker caps are small. Crayola crayons carry the AP nontoxic seal, which is reassuring, but it doesn’t make them a snack.
Ages 4 to 6: Stay within earshot. The main risks at this age are marker on the couch and a sibling fight over the orange crayon.
Ages 7 and up: Fully independent. These are the Halloween coloring pages for kids I can hand over while I make dinner.
Cutting anything out: An adult does the cutting for kids under 4. From 4 on, blunt tip kids’ scissors like Fiskars are fine with you nearby.
Real candy at the table: Hard candy is a choking hazard for kids under 4, so keep it off the coloring table if little ones are around. At a class party, check for food allergies before any candy comes near the activity.
Mistakes I Made the First Time
These all happened at my kitchen table, so learn from my October instead of yours.
- Putting all 17 Halloween coloring sheets on the table at once. Kids freeze with too many choices, then grab whichever one their sibling wants. Offer two or three.
- Giving my 4 year old the haunted mansion because it was the prettiest. Five minutes in, tears. Match the page to the kid using the chart, not to how good it looks.
- Markers on copy paper for the web pages. The tiny sections soaked through, the paper pilled and one page tore right down the middle. Use cardstock or colored pencils for those.
- White crayon for ghosts and stars. It’s invisible on white paper. Leave those areas uncolored instead.
- Dark colors first. Start with black or dark purple, go back in with yellow, and the yellow drags black across the page. Light colors first, dark last.
- Coloring right after trick or treating. Peak sugar, zero focus. The next morning, while they sort their candy, works far better.
- Printing on a nearly empty cartridge. Pages with solid black areas, like the chocolate bar bats and the mummy eye bands, come out streaky. When ink is low, print the printable Halloween coloring pages with the most black first and the simple line art ones after.
More Ways to Use These Pages
Most printable Halloween coloring pages get colored once and tossed. These are the ideas that got the most mileage out of ours.
A one a day countdown. There are 17 pages and 17 days from October 15 to October 31. Print them in the order above, one a day, and your kid works up from the pumpkin lollipop to the haunted mansion right on Halloween.
A treat to hand out at the door. A rolled coloring page tied with ribbon, with a crayon tucked inside, makes a good candy free treat.
Practical note: If you’re putting out a teal pumpkin for FARE’s Teal Pumpkin Project, which tells families you have treats safe for kids with food allergies, rolled Halloween coloring sheets cost a few cents each and every kid can take one. Print the easy pages for this, since you won’t know the ages of who’s knocking.
We keep a running list of other candy free treats that survive the bottom of a trick or treat bag.
A candy wrapper collage. After trick or treating, save the shiny foil wrappers, wipe off any chocolate and cut them into small pieces. Glue them onto the Wrapped Candy Explosion page or the candy bag page with a glue stick. The mess is medium, it works from about age 4, and the foil catches the light in a way no crayon can.
Placemats. Have your kid color a page, then cover both sides with clear contact paper. A finished candy corn coloring page makes a cheerful placemat for Halloween week, and it wipes clean after spaghetti night.
A party coloring station. For a class party or playdate, print double copies of the easy Halloween coloring sheets, tape them to a table covered in kraft paper and set out bins of crayons. It runs itself while you handle snacks.
FAQs
What paper is best for printing Halloween coloring sheets?
Regular copy paper works for crayons and colored pencils, and most printable Halloween coloring pages print fine on it. If your kids use markers, print on 65 lb cardstock, which runs through most home printers and doesn’t bleed through.
How can I ensure that the Halloween candy coloring pages are kid-friendly?
Match the detail to the age. Kids under 5 need big shapes with thick outlines, like the pumpkin lollipop or the candy corn stack, while kids over 8 do better with detailed pages like the haunted candy mansion.
What colors should I use for Halloween candy coloring pages?
Orange, purple, black, green and yellow give the classic Halloween look. Leave ghosts and highlights as bare white paper instead of using white crayon, and color light shades before dark ones so they don’t turn muddy.
Can I hand out coloring pages instead of candy on Halloween?
Yes. A rolled coloring page with a crayon tucked inside is a popular candy free treat, especially at houses taking part in FARE’s Teal Pumpkin Project for kids with food allergies.
What types of Halloween candy are best for coloring pages?
Candy with simple, recognizable shapes works best: candy corn, swirl lollipops, wrapped sweets and chocolate bars. A candy corn coloring page is usually the first one toddlers recognize, and older kids can add patterns and shading to the same shapes.
How can I make Halloween candy coloring pages engaging for kids?
Give them a small challenge, like drawing a bowtie on the bat or a candy inside the skull’s eyes. Gluing real foil wrappers from their trick or treat haul onto the page keeps them interested after the coloring is done.
Before You Hit Print
Halloween lands on a Saturday this year, which means a whole day of costumes and sugar with very little structure. I’m keeping a small stack of these printed by the front door for the late afternoon slump.
Of all the Halloween coloring pages for kids I’ve printed over the years, the candy ones get picked first every time. I think it’s because they’re coloring the exact thing they’re about to eat.
If a candy corn coloring page buys you a quiet afternoon and you want something messier next, a candy corn sensory bin uses the same colors and a bag of dried pasta. Candy Corn Sensory Bin for Toddlers.
When your big kid finishes the haunted mansion and asks for more, detailed fall leaf mandalas are a good next step. Fall Coloring Pages for Older Kids.
So print two easy pages and one hard one, put the crayons in the middle of the table and let your kid choose. Then take whichever page they didn’t pick and color it right alongside them.
