
The most useful black and white Halloween clipart for crafting is bold, high contrast vintage line art, like the stock illustrations print shops used in the 1940s for flyers and menus. Line drawings with open white space make the best coloring pages, cards, and laser engravings, while solid silhouettes such as a black cat or a witch crossing the moon are the easiest to turn into vinyl decals, stencils, and pumpkin carving templates.
It was the Thursday before a Halloween party, close to midnight, and I was trying to print twelve invitations. Every “free” black cat I found online either had a watermark across its face or went fuzzy the second I stretched it to fit a 5×7 card.
When you search halloween clipart free, that’s what half the results look like: watermarked previews and tiny files that only work on a phone screen.
So I went back to old art. Vintage black and white Halloween clipart was drawn to survive cheap printing presses, which means thick lines, true blacks, and no gray mush. It holds up on a home inkjet, a Cricut mat, or a laser bed far better than most modern halloween clipart.
Most of the images in this collection come from a 1940s printer’s book, a catalog of stock art that print shops dropped into ads, menus, and party flyers. The bonus scene near the end is older still, from a children’s book printed around 1920.
Not all of it is cute halloween clipart, either. A couple of these witches are honestly unsettling, and the pinup hoisting a jack o’lantern is very much a grown up party graphic. I’ve flagged which images suit a classroom and which belong on a cocktail party invite.
Halloween lands on a Saturday in 2026, so this year leans toward house parties over school events. If you’re making invitations, start with the party banner and the lady with the mask.
ℹ️ Photo Download Instructions:
📱 On mobile: Long press the image to access the download option.
💻 On computer: Right-click the image and select “Save Image.”
Black And White Halloween Clipart With Cats
1. The Howling Black Cat Under a Full Moon

If you only grab one piece of halloween clipart from this post, make it this one. A skinny black cat sits on a fence with its head thrown back mid howl, framed by a huge full moon, while two bats flap past on the left. It’s one of the 1940s printer’s book pieces.
The cat is almost entirely solid black, which makes it the easiest image here to cut. A Cricut or Silhouette Cameo handles the body and fence without complaint.
The whiskers are another story. They’re hairline thin, and in adhesive vinyl they tend to tear during weeding, so I either thicken them in the software or delete them before cutting.
The two bats are “islands.” On a vinyl cut or a pumpkin stencil they aren’t attached to anything, so they fall out or float loose. Either skip them or connect each one to the moon with a thin bridge before you cut.
Best for: Pumpkin carving stencils, window decals, stenciled wood signs, and single color laser engraving.
Not great for: Coloring pages. Once the cat is black, there’s almost nothing left to color.
Halloween Scenes
2. “Our Hallowe’en Party” Banner

This wide banner crams in nearly every Halloween symbol at once. There are witches on brooms at both ends, bats across the top, a smiling crescent moon, steaming cauldrons, jack o’lanterns, two arched black cats, and a lit candle right in the middle. The lettering reads “Our Hallowe’en Party,” with that old apostrophe spelling.
It’s the closest thing in this set to happy halloween clipart in banner form, and it was made to sit at the top of an invitation. It’s a little more than twice as wide as it is tall, so it fits across the top third of a 5×7 card with room underneath for the date, time, and address.
Tip: Want it as a sign over the snack table? Check the file first. You need roughly 3,300 pixels across to print it sharp at 11 inches wide (that’s 300 pixels per inch).
The trade off is the text. The words are part of the drawing, so you can’t change them without editing, and if you turn it into an iron on shirt you’ll need to mirror it first. More on that in the mistakes section.
3. How Halloween Came to Be (Circa 1920)
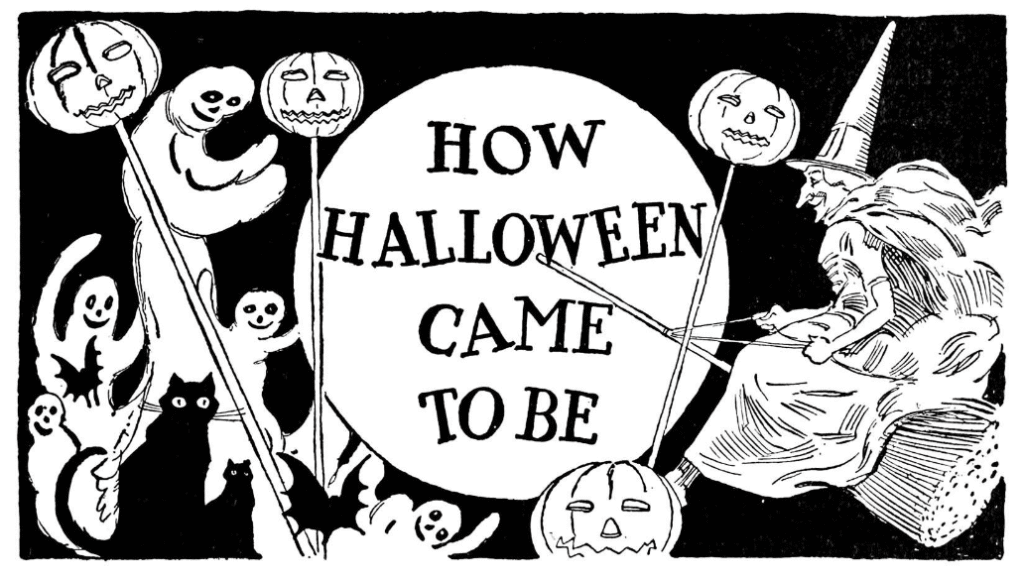
This is the newest addition to the collection and the oldest image in it, from a children’s book printed around 1920. It’s crowded in the best way: round little ghosts, black cats, bats, jack o’lanterns on sticks, and a witch on the right with her broom, all circling a big white moon with the title lettered inside.
Those ghosts are the kind of cute halloween clipart kids actually want to color, and there’s plenty of white space between the black areas. I’d hand this one to kids about 5 and up with crayons or colored pencils.
Maker trick: Cover the title with a round white sticker label cut to fit the moon, then write your own party details on it. You get a vintage invitation without opening any software.
A book this old shows its age. You’ll see speckles and paper texture in the black areas. I think that adds charm on a card, but for a clean coloring page, run the threshold cleanup in the prep steps below.
Black and White Halloween Clipart with Pumpkins
These two are the easiest black and white Halloween clipart in the set to hand to kids, and they behave very differently once you start crafting with them.
4. Pumpkin On The Vine
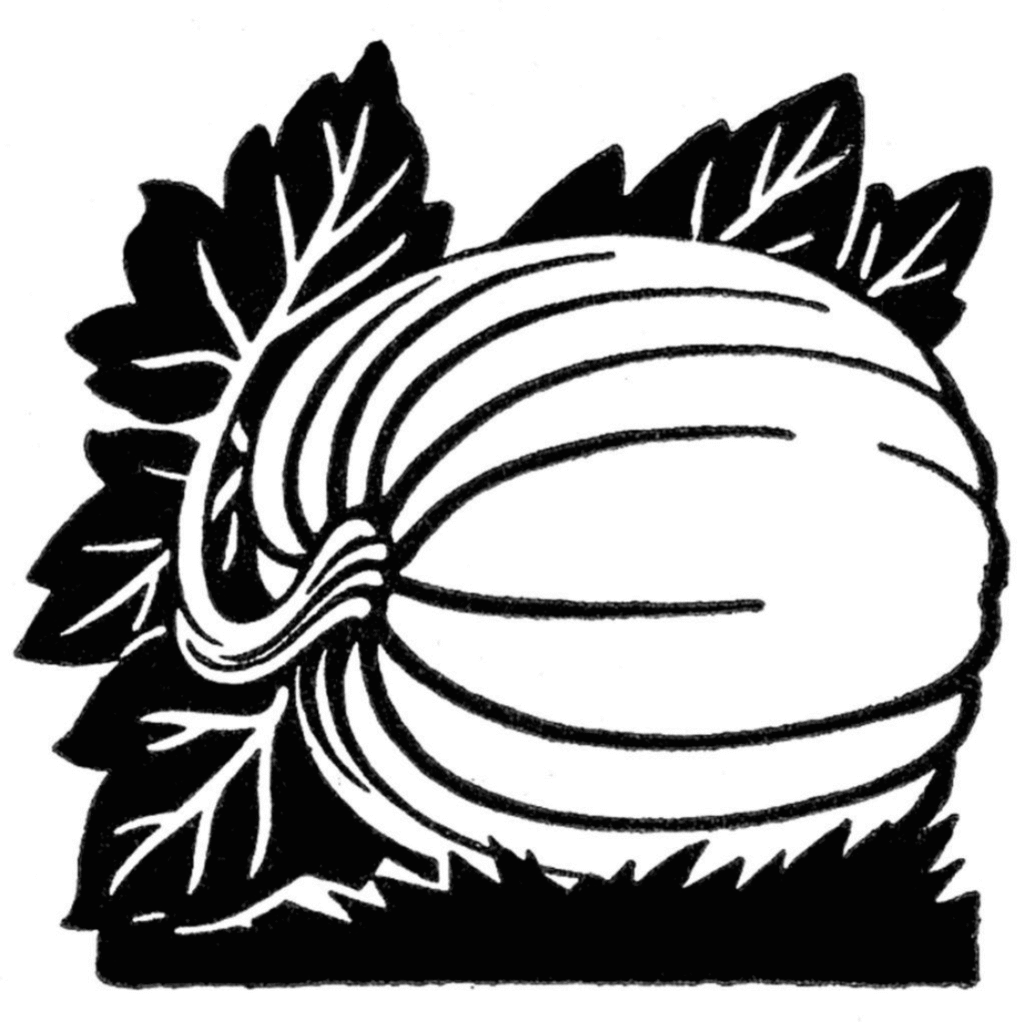
A big ribbed pumpkin lies on its side in front of oversized black leaves, with a strip of grass along the bottom. It has a woodcut look, almost like a linocut print, and the pumpkin itself is left white.
That white body is why I like it so much for kids. They get a big, obvious area to color orange, and the black leaves frame it so even scribbly coloring looks finished. It’s a good pick for ages 3 to 6 with chunky crayons.
It isn’t strictly Halloween, either. With no carved face, it carries straight through to Thanksgiving place cards and harvest table decor. One print run, two holidays.
On a laser, this is one of the best images in the set. The bold leaves engrave as solid fills and the ribs stay crisp on 3mm birch plywood.
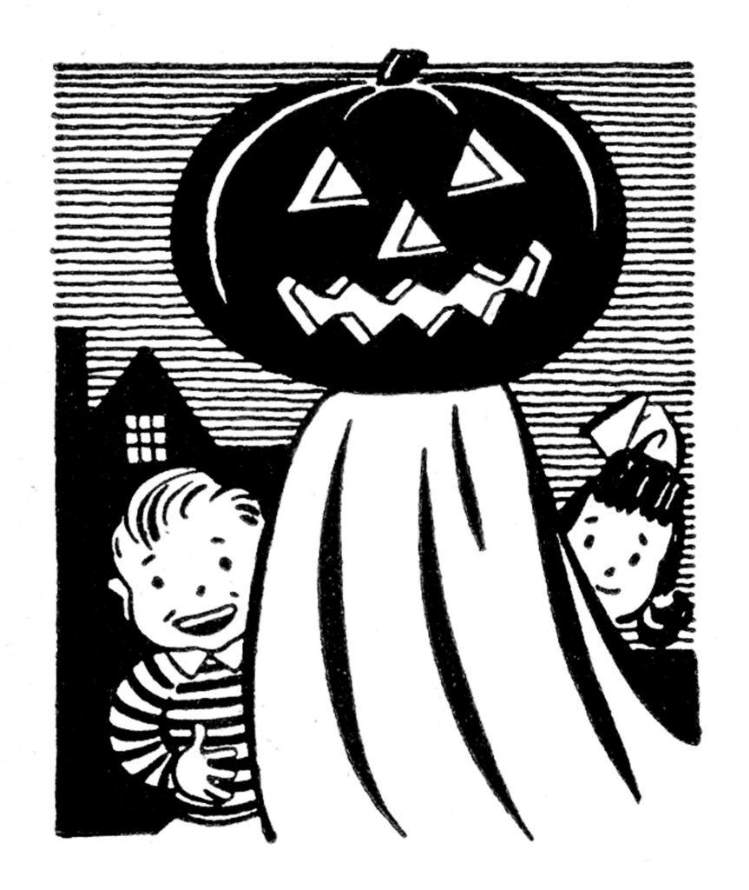
5. Pumpkin Head Ghost With Two Kids
A tall ghost in a white sheet wears a carved jack o’lantern for a head. A boy in a striped shirt peeks out on the left and a girl on the right, with a house and one lit window behind them and a sky made of tight horizontal lines.
The kids are grinning, not scared, which makes this the most genuinely happy halloween clipart in the collection. It’s my pick for a classroom flyer or a trick or treat bag tag.
Here’s the catch. That striped sky looks fantastic printed, but it’s a nightmare on a cutting machine. A Cricut tries to cut every line as its own sliver, and you’ll spend half an hour weeding vinyl confetti. Keep this one for printing, coloring, and decoupage.
Retro Halloween Clipart with Women
A quick heads up: these are glamorous 1940s women in party costumes, several in short skirts and heels. They’re great for grown up invitations, bar signs, and party decor. If you’re prepping a classroom activity, the cat, pumpkins, and 1920s scene above are better picks.
6. Lady Holding a Giant Jack o’Lantern

A woman with rolled 1940s curls hoists a jack o’lantern nearly as big as she is. She’s in a short costume with a jagged hem, and her heels are so dainty her feet nearly disappear.
The pumpkin’s face is clever. Crescent eyes and zigzag teeth read as a grin from one angle and a snarl from another.
“Hallowe’en” runs down the right side in stacked, angular letters, so the greeting is built in. Add “Happy” above it in a matching font and you’ve got happy halloween clipart for a card front in about two minutes.
7. Two Ladies In Costume
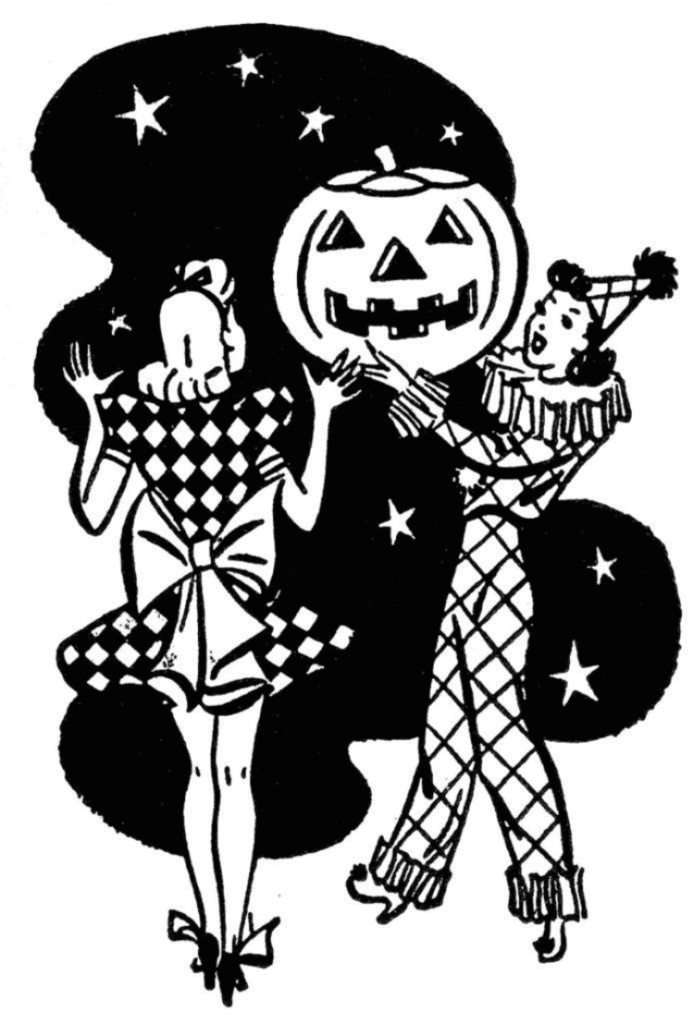
Two women pose against a black cloud scattered with white stars. One is dressed as a clown, with a cone hat topped by a pom pom, a ruffled collar, and wide diamond patterned bell bottoms, and she’s holding up a jack o’lantern. The other faces away from us in a short checked outfit with a huge bow at the back and more bows on her black pumps.
Of the grown up images, this is the most cute halloween clipart, and it’s the best one here for coloring with markers. All those checks and diamonds are satisfying to fill with alcohol markers like Ohuhu or Copic.
Trade off: The squares are tiny. It’s a relaxing evening for an adult and a frustrating ten minutes for most kids under 10.
8. Glamorous Witch Crossing The Moon

This witch clearly isn’t planning to curse anybody. She’s smiling, hair and cape streaming behind her, perched on her broom in heels as she crosses a full moon. She’s what passed for cute halloween clipart in a 1940s print shop: a little sassy, very polished.
The moon is just an outline, which leaves you a clean circle to fill with yellow or orange. If you want to watercolor her, print on a laser printer or at a print shop. Laser toner stays put when it gets wet, while inkjet lines bleed the moment your brush touches them.
9. Spooky Witch With Bats

She’s not as pretty as the one above. This witch has a hooked nose, a pointed chin, and a scarf whipping behind her as she crouches on her broom, with a bat flying on either side. If your party leans spooky rather than charming, she’s your pick.
10. Witch Silhouette Against The Moon

This is the same witch in pure silhouette: solid black against a white moon, inside a black square. It’s the spookiest image here, and after the howling cat, the easiest to cut.
Because both witch images share the same pose, they work as a matched pair. Use the line version as a coloring page and the silhouette as a window decal, or cut just the witch from black cardstock and glue her onto an orange cardstock circle for a two layer card front.
11. Party Girl With A Mask And Pumpkin
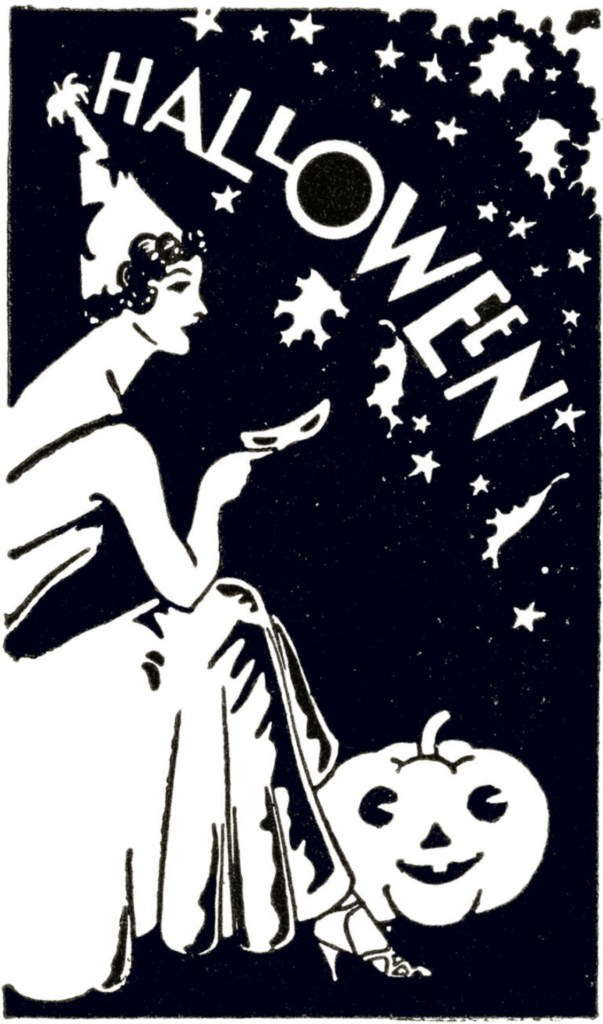
A young woman in a long gown, heels, and a pointed party hat holds a mask in one hand, with a grinning jack o’lantern at her feet. Stars and falling leaves fill a black sky, and “Halloween” curves across the top with the O drawn as a dark moon. The whole thing is printed in reverse, white figure on black.
This is the most elegant image in the set and my pick for an adult invitation, especially a costume or masquerade night.
Practical note: Reverse images like this one put down a lot of ink. On 20 lb copy paper, the black background soaks in and the sheet ripples as it dries. Print it on 65 lb cardstock or heavier, and let each sheet dry flat for a few minutes before you stack them.
Ways to Use Black and White Halloween Clipart in Real Projects
Black and white art is the most flexible clipart there is. You can color it, cut it, burn it into wood, or iron it onto a tote, and this is where having halloween clipart free of watermarks and at full size actually pays off.
Here’s how the projects compare on skill, time, and mess, so you can match one to your tools and whoever’s helping.
| Project | Best images from this set | Skill level or age | Time | Mess | What usually goes wrong first |
| Coloring pages | Pumpkin on the vine, 1920s scene, pumpkin head ghost | Ages 3 and up with crayons; 8 and up for the fine checks | 10 to 30 min | Low | Markers bleed through copy paper |
| Cards and invitations | Party banner, party girl with mask, lady with jack o’lantern | Beginner | About 1 hour for 12 cards | Low | Heavy black areas warp thin paper |
| Pumpkin carving stencils | Howling cat, witch silhouette | Beginner adult; kids trace and scoop | 45 to 90 min | High | Floating pieces like the bats fall out |
| Iron on transfers | Party banner, howling cat | Beginner; an adult runs the iron | About 30 min | Low | Text comes out backward if not mirrored |
| Decoupage on jars or trays | Pumpkin head ghost, two ladies | Beginner | 1 hour plus overnight drying | Medium | Inkjet ink smears under the glue |
| Vinyl decals | Howling cat, witch silhouette | Intermediate | 30 to 45 min | Low | Hairline whiskers tear while weeding |
| Shrink plastic charms | Howling cat, pumpkin on the vine | Ages 6 and up; an adult handles the oven | About 30 min | Low | Fine lines disappear as it shrinks |
| Laser engraving on wood | Pumpkin on the vine, glamorous witch, party banner | Intermediate to advanced, adults only | 15 to 60 min per piece | Low mess, real fumes | Big solid fills take far longer than expected |
If you’ve never made any of these, start with cards. Print a few pieces of happy halloween clipart on cardstock, and you’ll learn how your printer handles heavy black ink before you waste transfer paper on it.
Planning to come back to this the week of your party? Save that pin now. The prep steps and the mistakes list below are the parts you’ll want at midnight with a deadline.
What You’ll Need (Plus Cheaper Swaps)
You won’t need all of this. Pick your project from the table, then grab only what that row calls for.
The full size clipart files. If you came here looking for halloween clipart free to download, grab the full size files from the links under each image rather than screenshotting. A screenshot is usually a fraction of the real resolution and blurs when you size it up.
A printer. Any inkjet is fine for coloring pages and cards. A laser printer is better for anything you’ll paint or decoupage.
- Cheaper swap: Your local library or print shop, where black and white laser copies usually cost very little per page.
65 lb cardstock for cards, marker coloring, and anything with big black areas. A 50 sheet pack is usually under $10 at office or craft stores.
- Free swap: for stencil templates you’ll trace and throw away, plain copy paper or the blank side of junk mail is plenty.
Mod Podge (I reach for the Matte version most) for decoupage.
- Cheaper swap: White school glue thinned with water, about 2 parts glue to 1 part water. It dries slightly less clear, but it holds.
Clear acrylic spray sealer, like Krylon Crystal Clear, to lock inkjet ink before decoupage.
- Cheaper swap: Skip the spray entirely by using laser prints.
Iron on transfer paper, like Avery Light Fabric Transfers for white or pale fabric. A small pack usually runs around $10 to $15.
- Cheaper swap: A freezer paper stencil plus fabric paint, using the silhouette images.
A cutting machine such as a Cricut Explore or Silhouette Cameo for vinyl.
- Cheaper swap: A craft knife with a #11 blade and a self healing cutting mat. It’s slower, but the cat and witch silhouettes are simple enough to cut by hand.
Printable shrink plastic (Shrinky Dinks makes an inkjet version).
- Cheaper swap: There isn’t a great free one, but a small pack goes a long way, since each charm only needs a few square inches.
A laser engraver (Glowforge, xTool, and similar) plus 3mm birch plywood.
- Cheaper swap: Many makerspaces and some libraries rent laser time by the hour, and pine offcuts are fine for test burns.
Free editing software. GIMP or Photopea (which runs in your browser) for cleanup and resizing, and Canva’s free plan for adding party details to invitations.
How to Prep Vintage Clipart So It Prints Clean
Old scans of halloween clipart need a few minutes of cleanup before they print sharp. Plan on about 5 minutes per image in GIMP or Photopea, and you only do it once.
- Download the full size file and check its width. For a sharp print you want about 300 pixels per inch of final size, so a 5 inch wide image needs around 1,500 pixels.
- Convert it to grayscale. Old book scans often carry a faint yellow or pink cast from aged paper, and grayscale strips it out.
- Run a threshold. In GIMP it’s Colors > Threshold. In Photopea it’s Image > Adjustments > Threshold. Slide until the speckles in the white areas vanish but thin lines stay solid. Tip: Push it too far and the cat’s whiskers start breaking apart. Stop while the thinnest lines still look continuous.
- Resize for your project. Scaling down is always safe. Scaling up past the original size is where vintage halloween clipart goes soft.
- Print a test on plain paper. Hold it against your card, blank, or pumpkin to check size and line weight before you use the good stock.
- Print the final on the right material. Cardstock for cards and heavy black images, transfer paper for fabric (mirrored for the light fabric kind), and laser prints or sealed sheets for decoupage.
Turning the Howling Cat Into a Pumpkin Stencil
This takes about an hour for a medium pumpkin, and most of that is carving.
- Print the cat 6 to 8 inches tall on plain paper, sized to the flattest side of your pumpkin.
- Delete the bats or bridge them to the moon, so nothing floats.
- Tape the print to the pumpkin, folding small pleats into the edges so the paper hugs the curve.
- Poke along every outline with a pin tool or thumbtack, about every 1/8 inch.
- Peel off the paper and dust the holes with flour. The dots are hard to see on orange skin until you do.
- Carve out the moon and leave the cat and fence as skin. Cut the small inner areas first and the outer edge last, so the pumpkin wall stays strong while you work. Tip: A cheap pumpkin saw from a carving kit follows curves better than a kitchen knife and is far less likely to slip.
Safety and Mess Notes by Medium
Different projects carry very different risks. Match your precautions to what you’re actually making.
Printing, coloring, and cards. Low mess and no real hazards. For kids, the only supervision needed is keeping markers off the table, so slide scrap paper under coloring pages.
Craft knives and pumpkin carving. Use a fresh #11 blade, since a dull one needs more pressure and slips more. Cut on a self healing mat, keep your free hand behind the blade, and cut away from your body. With pumpkins, adults carve while kids trace and scoop. Mess is high, so lay down newspaper or a trash bag first.
Irons and ovens. Iron on transfers need a hot, dry iron (no steam) and firm pressure on a hard, heat safe surface, because an ironing board is too soft. Kids can design and position the transfer, but an adult should run the iron. For shrink plastic, follow the oven temperature on the package, let an adult handle the tray, and open a window, since it gives off a plasticky smell as it shrinks.
Decoupage. Medium mess. Mod Podge is water based and cleans up with soap and water while it’s wet. Once it dries on a brush, that brush is done, so rinse as you go and cover the table.
Laser engraving (adults only). This is the one to take seriously. A laser burns material, and that smoke has to go somewhere.
- Vent to the outdoors or through a proper fume extractor, never into a closed room.
- Never engrave or cut vinyl or PVC. Burning them releases chlorine compounds that are toxic to breathe and corrode the machine.
- Never leave a running laser unattended, and keep a fire extinguisher within reach. Wood can flare up, especially during slow, high power fills like the pumpkin leaves.
- On an open frame diode laser, wear safety glasses rated for that laser’s wavelength. Enclosed machines like a Glowforge handle this through the lid, as long as it stays closed.
- Run a test on scrap first. The same settings burn differently on birch, maple, and pine.
First Timer Mistakes to Skip
These are the ones that cost real time and real supplies, usually the night before you need the finished thing.
- Screenshotting instead of downloading. It looks fine on screen and turns blurry the moment you size it for a 5×7 card.
- Forgetting to mirror light fabric transfers. This one gets everybody once.
Practical note: Light fabric transfer paper prints in reverse. Forget to mirror the “Our Hallowe’en Party” banner and the lettering comes out backward, and you won’t find out until you peel the backing. Dark fabric transfer paper works the other way, so print that one normally.
- Brushing Mod Podge straight over inkjet prints. The first stroke drags the ink and turns crisp black lines into gray streaks. Seal with two light coats of clear acrylic spray first, or use laser prints.
- Sending the pumpkin head ghost through a Cricut. The striped sky turns into hundreds of slivers. Print that one instead.
- Printing reverse images on copy paper. The party girl and the witch silhouette need cardstock, or the sheet ripples.
- Using the pinups for a class activity. If you need cute halloween clipart for a classroom, stick with the cat, the pumpkins, and the 1920s scene.
- Assuming every download is free to sell. Plenty of halloween clipart free to download is only free for personal projects, so check the terms before you put a design on anything you’ll sell.
FAQs
Is vintage halloween clipart free to use?
It depends on its age and where you got it. In the US, works published in 1930 or earlier are now in the public domain, which covers the circa 1920 scene here. Later material, like 1940s printer’s art, depends on whether its copyright was renewed, so check the download terms.
Can I sell crafts I make with this halloween clipart?
Only if the license allows commercial use. Halloween clipart free for personal use isn’t automatically free for products you sell.
What paper is best for printing black and white Halloween clipart?
65 lb cardstock handles most projects, including cards and marker coloring. Go up to 110 lb for invitations that need to feel sturdy, but check your printer’s paper limit first.
How do I turn clipart into a Cricut cut file?
Upload the image to Cricut Design Space, remove the white background, and save it as a cut image. Solid silhouettes like the howling cat convert cleanly, while images with fine hatching, like the pumpkin head ghost, don’t.
Where can I find happy halloween clipart with the words already on it?
In this set, the lady with the giant jack o’lantern and the party girl with the mask both have the greeting lettered in, and the banner reads “Our Hallowe’en Party.” Add “Happy” in Canva with a matching font and any of them becomes happy halloween clipart for a card.
Is this clipart OK for kids’ classroom crafts?
Most of it is. The howling cat, both pumpkins, and the 1920s scene are classroom friendly cute halloween clipart, while the 1940s women suit adult parties better.
Read Next
If the cat stencil worked for you, 21 Best Halloween Pumpkin Crafts has no-carve pumpkin projects to try next.
Making these with kids? easy Halloween crafts for kids, sorted by mess level has activities that pair well with the coloring pages above.
If you only try one thing from this post, print the howling cat on plain paper tonight and tape it to a pumpkin this weekend. It’s about an hour of work, and it’s the quickest way to see why printers leaned on this kind of halloween clipart for decades.
Then tell me in the comments which image you picked. I’m curious whether the glamorous witch or the spooky one wins this year.
