
My daughter colored the manger page two Decembers ago, sat back, and asked me whether the donkey was really there. I said yes without thinking about it, the way you do, and then spent that evening finding out I had no idea.
The Gospels never mention a donkey on the road to Bethlehem. Not one. The image comes from centuries of nativity art and tradition, and the ox and donkey standing at the manger trace back to a line in Isaiah rather than to the Christmas story itself.
None of which makes the pages less lovely. But if you are printing these for Sunday school or a homeschool lesson, that question is coming, and it is better to have the answer ready.
Christmas donkey coloring pages are free printable line drawings of donkeys in Christmas and nativity scenes, from playful designs with Santa hats and sleighs to traditional scenes with Mary, Joseph, the shepherds, and the manger. The thing that makes a donkey page look good is fur texture, so color with the side of the crayon in short strokes rather than filling the body with flat grey, and leave the muzzle and the rings around the eyes pale, which is how real donkeys are marked. Most of the ten designs below take 15 to 30 minutes and suit ages four to twelve, with the single donkey portraits being easiest and the multi figure nativity scenes the hardest.
Why These Christmas Donkey Coloring Pages Work
Most Christmas printables are either all reindeer and elves or all nativity. This set runs both ways, which is genuinely useful if you have one kid who wants Santa and another who is learning the Christmas story at school.
It also splits cleanly by mood. Pages one, four, six, and seven are playful. Pages two, five, nine, and ten are quiet and reverent. Print according to the afternoon you are having, not the order they appear.
Practical note: If these are for a Sunday school class or a church group, print the nativity pages and leave the sleigh out. Mixing a toy sleigh into a lesson about Bethlehem confuses younger kids, and you will spend the session explaining it instead of coloring.
How To Color a Donkey So It Does Not Look Like a Grey Blob
Every page here has the same animal on it, and grey is a hard color to make look alive. A kid who fills the donkey in with a flat grey marker ends up with something that looks like a concrete statue.
Four fixes, and they take one minute to explain.
1. Use the side of the crayon, not the tip. Peel the paper off a grey crayon, lay it flat, and drag it in short strokes following the direction the fur grows. Down the neck, along the body, down the legs. That broken texture is fur. A marker cannot do this at all, which is why crayons and pencils beat markers on every donkey in this set.
2. Leave the muzzle and the eye rings pale. Real donkeys have a soft cream or white muzzle and pale rings around the eyes. Leave those areas nearly blank and the face suddenly reads as a donkey rather than a grey horse. This is the single change that makes the biggest difference and almost nobody does it.
3. Warm the grey. Lay a light pass of tan or light brown over the grey, or press harder with grey only in the shadow areas under the belly and behind the legs. Flat single pressure grey is what makes it look like stone.
4. Add the cross. Many donkeys have a dark stripe running down the spine with a second stripe across the shoulders, which forms a cross shape on the back. It is a real marking on real donkeys. There is also a long standing Christian tradition that links that marking to the donkey in the Gospel story, which makes it a nice thing to mention while a child is coloring, as long as you present the story as tradition rather than fact.
Age and Skill Guide
Ages 4 to 6. Single subject pages only. The Santa hat donkey, the wreath portrait, the starry night. Chunky crayons, 10 to 15 minutes of real focus, color everywhere. Skip the fur technique entirely and let them make a purple donkey if they want one.
Ages 7 to 9. Most of this list. Crayons or pencils, 20 minutes. This is the age where the side of the crayon trick lands, and they will use it on every animal they draw for the next month.
Ages 10 to 12. The multi figure scenes, the shepherd page, Joseph walking, the manger. Small faces and overlapping figures need control that younger kids do not have yet. 30 minutes or more.
To adapt down, print at 130% so the shapes get bigger, or cover part of a busy page with a sheet of paper so only one figure is visible at a time.
To adapt up, ask an older child to add a light source. Pick one side of the page, keep everything on that side lighter, and shade everything on the far side. It turns a coloring page into an actual drawing lesson.
What You Need, Plus a Free Version of Everything
| What I use | Why it matters here | Free or cheap alternative |
|---|---|---|
| Crayons with the paper peeled off | The only easy way to get fur texture, using the side | Any old crayon stubs, which are better for this than new ones |
| Colored pencils (Prismacolor Premier if you have them) | Layering grey over tan is what stops a flat donkey | School pencil set, light pressure, two passes |
| Crayola Colors of the World pencils | Realistic skin tones for Mary, Joseph, and the shepherd | Light brown and tan from any standard pencil set |
| A grey and a warm brown, not just grey | Donkeys are rarely one flat color | Press lighter and harder with one grey to fake two tones |
| Metallic gold gel pen (Sakura Gelly Roll) | The star and the jingle bells | Yellow pencil with a harder second pass on one edge |
| 28 lb paper or light cardstock (Hammermill) | Stops marker bleed and stands up if you cut figures out | Copy paper glued to a cereal box panel for the cutout pages |
| Scissors and glue | Turning the nativity pages into a paper play set | Any household scissors, with an adult cutting for under sixes |
Where to source: dollar stores carry decent cardstock and crayons through November and December. Craft store clearance on December 26 is where I buy gel pens and ribbon for the following year. Back to school sales in August are the cheapest colored pencils of the year.
Practical note: gold and silver gel pens look dull on white paper and brilliant on dark color. Save the gold pen for the star on the night sky page, where it goes over dark blue, and skip it on the wreath, where it will barely show.
ℹ️ Photo Download Instructions:
📱 On mobile: Long press the image to access the download option.
💻 On computer: Right-click the image and select “Save Image.”
Christmas Donkey Coloring Pages for Kids
1. Donkey with Joseph Walking to Bethlehem

Joseph walking beside the donkey through desert terrain with palms and rocks. A calm, well balanced page and good practice at earth tones.
Coloring steps:
- Joseph’s robe in brown or olive, with a darker pass down one side to show the folds.
- Skin in a mid tan rather than peach. Mary and Joseph were Middle Eastern, and the Crayola Colors of the World pencils make this easy if you have them.
- Staff in brown, sandals darker brown.
- Ground in sandy beige, palms green with brown trunks.
- Donkey in grey, warmed with a tan pass.
Trade off: This page is almost entirely browns and tans, which gets dull fast for a younger child. Let them make the sky a bold color to break it up.
2. Mary Riding the Donkey to Bethlehem

Mary on the donkey’s back with a distant town and a star above. One of the quieter pages and a good one for an older child.
Coloring steps:
- Star first, in yellow, before the sky goes anywhere near it.
- Sky in dark blue, colored around the star, never over it.
- Mary’s robe in blue, headscarf in deep purple or burgundy.
- Donkey in grey with a warm tan pass over the top.
Tip: Yellow colored on top of blue turns green. Every single time. If the sky goes down first, the star is lost, and there is no way back with crayon or marker. Light things first, dark things second, on every page in this set.
Trade off: A full night sky is a lot of coloring for small hands. For a younger child, color only the strip of sky near the horizon and leave the top of the page white.
3. Donkey Standing Under Starry Night Sky

The donkey on a hillside under the Christmas star. Simple composition, dramatic result, and the page where a gold gel pen finally earns its place.
Coloring steps:
- All the stars first, in yellow.
- Sky in dark blue or deep purple, worked around the stars.
- Gold gel pen over the big star once the sky is dry, which takes a minute with marker.
- Hillside in green, donkey in grey with a lighter edge along the back where the starlight would land.
Tip: Leave a small blank halo of paper around the biggest star. Untouched white paper next to dark blue reads as glow, and it takes zero skill.
Trade off: Gel pen smears if you touch it too soon, and left handed kids drag their hand across it. Turn the page sideways for them or do the gel pen last with the page flat.
4. Donkey in a Stable with Christmas Decorations

The donkey in a wooden stable with holly, ribbon, and a wreath. Lots of separate zones, which suits a child who likes working through a page methodically.
Coloring steps:
- Stable beams in brown, dragging the pencil in long straight strokes along the grain direction.
- Holly leaves green, berries red.
- Hay in yellow with a few gold brown strokes through it, not filled solid.
- Donkey last, in grey.
Tip: Hay looks right when you leave gaps. Solid yellow reads as a carpet. Loose strokes with white showing between them reads as straw.
Trade off: The beams are big flat areas and marker streaks badly across them. Crayon on its side or pencil, not marker.
5. Baby Jesus in Manger with Donkey Watching

The donkey standing over the manger. The most tender page in the set and the one most likely to end up on a fridge until February.
Coloring steps:
- Swaddling cloth left almost blank, with the softest cream or pale blue only in the folds.
- Manger in brown, hay in yellow with gaps left showing.
- Donkey in grey, muzzle pale, a touch of soft pink inside the ears.
- For the glow, color a ring of pale yellow around the manger and leave the very center of the light blank.
Tip: The glow only works if the area right around the manger stays lighter than everything else on the page. If a child colors the background dark first, there is nothing left for the light to show against.
Trade off: Baby Jesus’s face is tiny. Hand over a sharpened pencil for it, and accept that at age five it is going to be a peach smudge, which is fine.
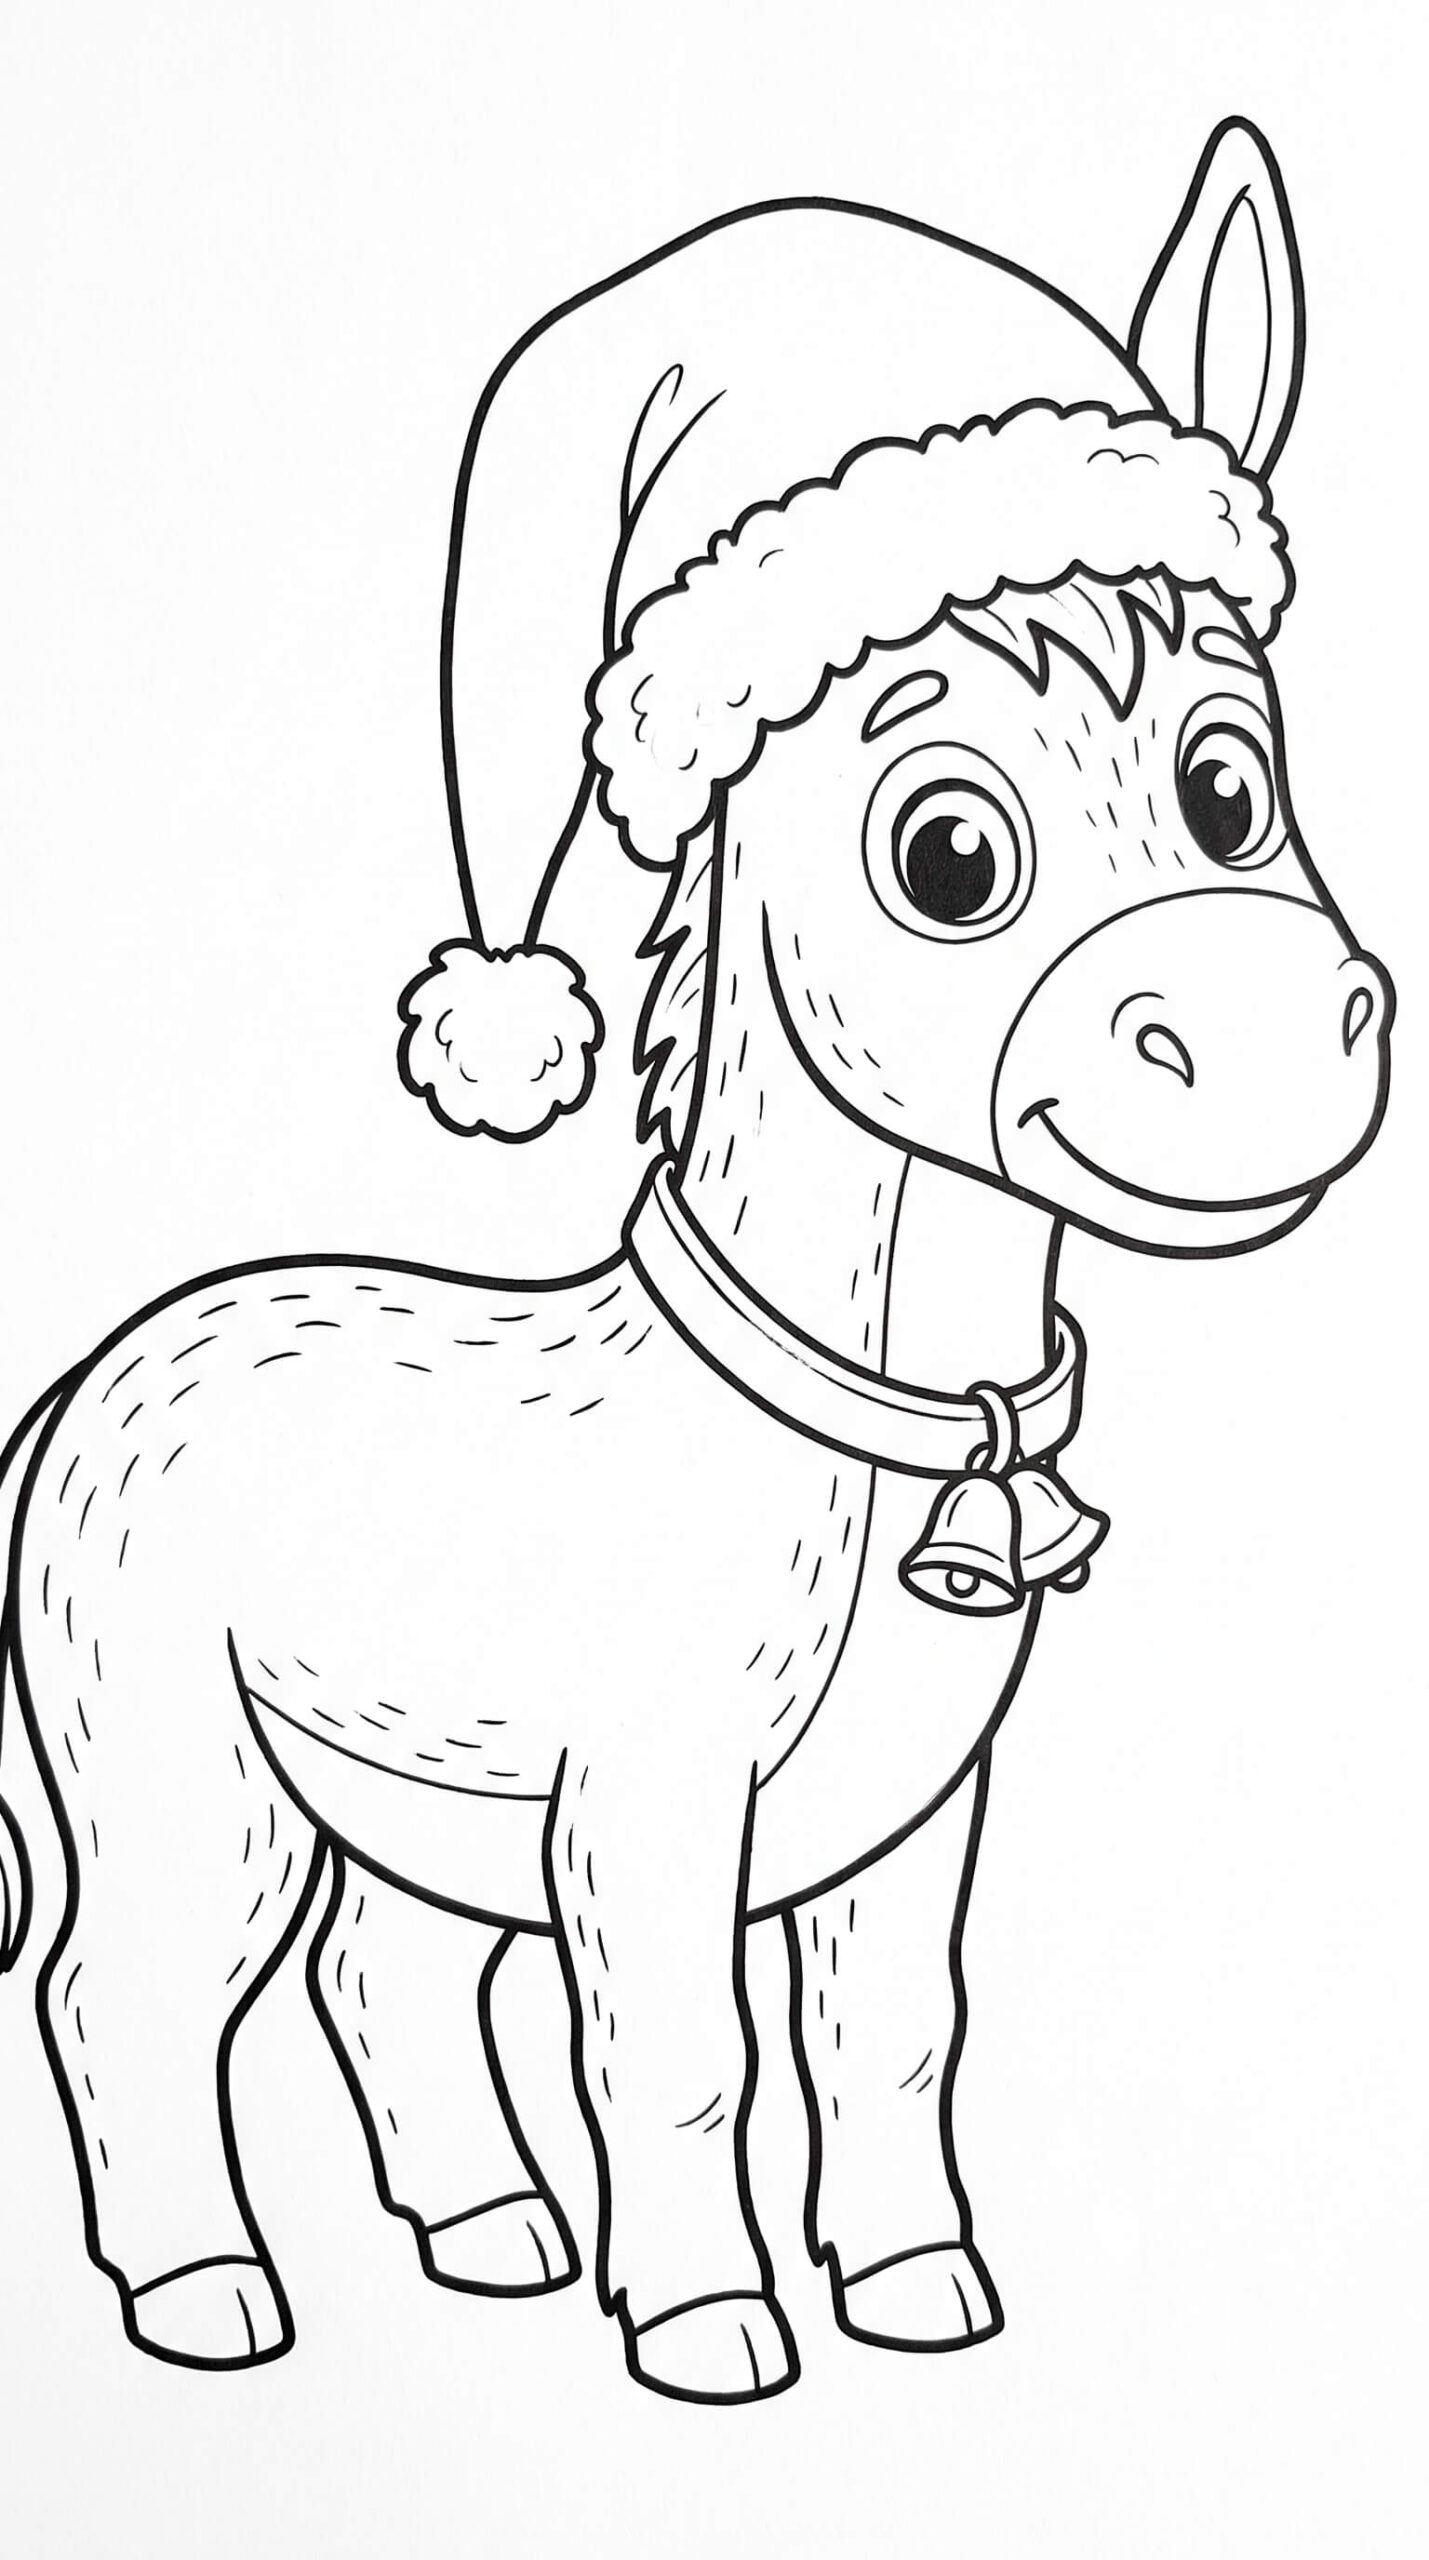
6. Donkey Wearing a Santa Hat and Jingle Bells

A donkey in a Santa hat with bells on a red collar. The friendliest page here and the one I would hand to a four year old first.
Coloring steps:
- Donkey body with the side of a grey crayon, short strokes, leaving the muzzle pale.
- Hat in red, pressing harder along the fold where it flops over.
- Leave the fluffy trim and the pompom blank, then draw a light grey outline around them. White crayon on white paper does almost nothing, and this is where most kids first discover that.
- Bells in yellow, with a gold gel pen over the top only if you want them to catch light.
Trade off: The bells are small. A marker tip is too fat for them, so switch to a pencil for that part or accept that they will end up as yellow blobs.
7. Donkey Carrying Wrapped Christmas Presents

A donkey with gift boxes in woven baskets. The most colorful page here and the one that rewards going a bit wild.
Coloring steps:
- Presents in whatever bright colors they want, one per box.
- Baskets in tan with short crosswise strokes to suggest the weave.
- Ribbons in a contrasting color to the box underneath, otherwise they vanish.
- Donkey in grey so it does not compete with the presents.
Trade off: Kids color the ribbon the same color family as the present and then cannot see it. Say it before they start. Red ribbon on a red box is invisible.
8. Donkey with Christmas Wreath Around Its Neck

A close portrait of the donkey’s face inside a wreath of pinecones and berries. The best page in the set for practicing fur, because the face is large and there is nothing else competing for attention.
Coloring steps:
- Face with the side of a grey crayon, strokes following the shape of the head.
- Muzzle and eye rings left pale, soft pink inside the ears.
- Wreath in two greens, one light and one dark, mixed rather than blocked.
- Pinecones brown, berries red, bow red.
Trade off: Two greens is what makes a wreath look like foliage rather than a green doughnut. If you only have one green, press harder in patches instead.
9. Donkey Pulling a Sleigh Full of Toys

A donkey pulling a sleigh of toys through falling snow. The most purely fun page here, and the one that clashes hardest with the nativity pages, so pick your moment.
Coloring steps:
- Toys in bright colors, one per toy, no need to plan.
- Sleigh in red and green with the runners left pale.
- Snowflakes left completely blank. Do not color them white.
- Sky in the palest blue available, colored lightly around the snowflakes.
Trade off: The blank snowflakes only work if the sky behind them is colored, and the sky is the largest area on the page. Younger kids run out of steam before the sky is done, and unfinished sky means invisible snow. For under sevens, color a band of sky across the top only.
10. Donkey with Shepherd and Sheep at Nativity
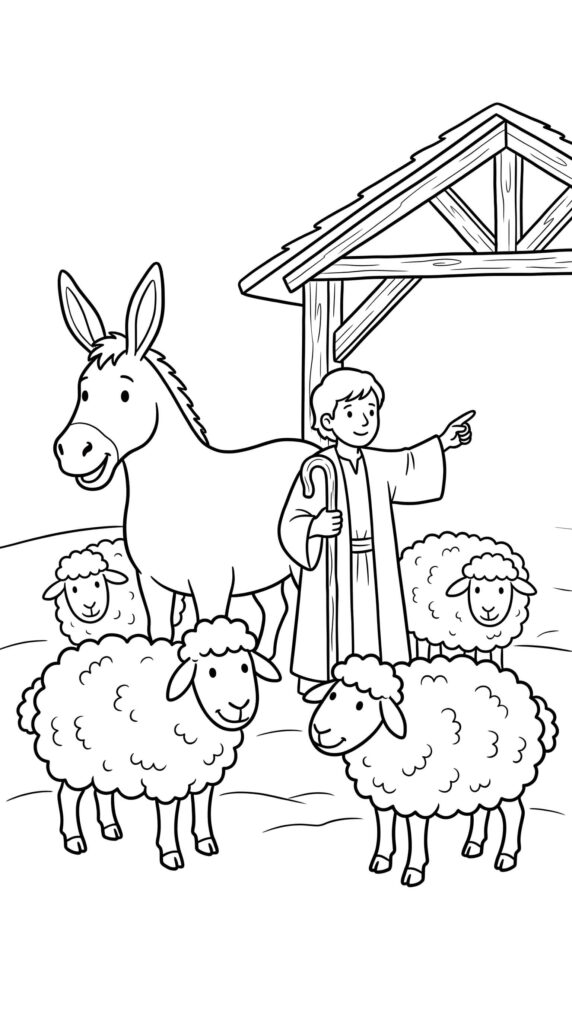
The donkey with a shepherd and his flock. The busiest page in the set, with the most figures and the smallest faces.
Coloring steps:
- Sheep bodies left mostly blank. Scribble white crayon over them first, then wash a pale blue or grey marker across the top. The crayon resists the marker and the wool texture appears, which is the one job white crayon is genuinely good at.
- Sheep faces and legs in dark grey or black.
- Shepherd’s cloak in olive or brown, staff in brown.
- Donkey in grey, stable beams in brown behind.
Trade off: 30 minutes minimum and too much for anyone under eight. It is also the page most likely to be abandoned halfway, so do not print it for a party or a short class.
All Ten Designs Compared
| Page | Best ages | Mood | Detail level | Time | Best medium |
|---|---|---|---|---|---|
| Donkey in a Santa Hat | 4 to 8 | Playful | Low | 15 min | Crayons |
| Mary Riding to Bethlehem | 8 to 12 | Reverent | Medium | 25 min | Pencils |
| Donkey in a Stable | 6 to 10 | Reverent | Medium | 25 min | Crayons, pencils |
| Donkey Carrying Presents | 5 to 10 | Playful | Medium | 20 min | Markers |
| Baby Jesus in Manger | 7 to 12 | Reverent | Medium | 25 min | Pencils |
| Donkey with Wreath | 4 to 9 | Playful | Low | 15 min | Crayons |
| Donkey Pulling a Sleigh | 6 to 11 | Playful | High | 30 min | Crayons, markers |
| Donkey Under Starry Sky | 5 to 12 | Reverent | Low | 20 min | Crayons, gel pen |
| Joseph Walking to Bethlehem | 8 to 12 | Reverent | Medium | 25 min | Pencils |
| Shepherd and Sheep | 9 and up | Reverent | High | 30 min | Pencils, crayon resist |
How To Print Christmas Donkey Coloring Pages So They Last
- Use 28 lb paper or light cardstock for anything you plan to cut out. Standard copy paper will not stand up as a paper figure.
- In the print dialog choose “Actual size”, never “Fit to printable area”. Fit to page shrinks the art and clips the outer line on most home printers.
- Set color to grayscale or black ink only. Home printers mix black from the color cartridges by default and a December print run will drain them.
- If the lines print faint, set quality to high. Pale line art is much harder for a young child to follow.
- Print two copies of anything going to a child under six.
- For a class set, 24 lb white paper and crayons. Markers plus thin paper plus fifteen kids equals color on the tables.
Mess Level and Supervision, Honestly
Crayons and colored pencils: low mess. This is a low mess topic overall, which is part of why it works on a busy December afternoon. Shavings are the whole cleanup.
Markers: medium mess. Scrap sheet underneath, always. They also streak across the big sky and stable areas, so they are the wrong tool for most of these pages anyway.
Gel pens: low mess, high frustration. They need a few seconds to dry and a dragging hand ruins them. Left handers smear more because they pull across what they just wrote.
Scissors and glue, if you are making the paper nativity set: supervise under sixes and use blunt tip kid scissors. Cardstock is stiffer than copy paper and small hands push harder.
Supervision, realistically: ages 4 to 6 need you at the table. Ages 7 to 9 need you in the room. Ages 10 and up will keep going after you have left, especially on the night sky page.
Turn the Finished Pages Into a Paper Nativity Set
This is the part that makes these worth more than an afternoon, and it is the reason I print the nativity pages on cardstock.
- Color pages two, five, nine, and ten.
- Cut the figures out, leaving a thin white border of about 3 mm rather than cutting exactly on the line. It is far more forgiving for a child with scissors.
- Cut a strip of cardstock about 4 cm long for each figure, fold it into a triangle, and glue it to the back as a stand.
- Stand them on a windowsill or the mantelpiece.
Kids play with these. That is the whole point. A colored page taped to a fridge gets looked at, but a set of standing figures gets moved around and rearranged for the rest of the month.
Other uses for the spare pages: cut the present boxes from page four into gift tags, fold a cardstock page in half for a card to a grandparent, or laminate one as a place mat for Christmas dinner.
Practical note: write the date and the child’s name on the back of every figure before it goes on the shelf. Pull the box out next December and that date is the part you will care about.
Common Mistakes To Avoid With Christmas Donkey Coloring Pages
Coloring the sky before the star. Yellow over blue turns green and the star is gone. Light first, dark second, on every page here.
Coloring white with white. The Santa hat trim, the sheep, the swaddling cloth, and the snowflakes should be left blank. White crayon on white paper does nothing on its own, though it works beautifully as a resist under a marker wash on the sheep.
Filling the donkey with flat grey marker. It kills the fur texture and the page looks like a statue. Crayon on its side or pencil.
Coloring the muzzle the same grey as the body. A donkey with a dark muzzle looks like a grey horse. Leave it pale.
Using markers on the big sky and stable areas. They streak badly across anything that size, and a streaky sky is the most common complaint on this whole topic.
Giving the shepherd and sheep page to a six year old. It is the busiest page in the set with the smallest faces, and it ends in frustration. Nine and up.
Cutting exactly on the line when making the paper figures. Leave a small white border. It looks cleaner and it forgives a wobbly cut.
Read Next
Easy Salt Dough Ornaments Kids Can Actually Make is the natural next step once the paper nativity set is standing on the windowsill and somebody wants to make something with weight to it.
Top 10 Christmas Ornaments Coloring Pages to Celebrate the Holiday Season pairs well with this set if you are filling a whole December. Those pages are built to be cut out and hung, so between the two you get a decorated tree and a nativity scene from the same printer.
FAQs
Was there really a donkey in the Christmas story?
The Gospel accounts do not mention a donkey carrying Mary to Bethlehem, and the donkey at the manger comes from a line in Isaiah rather than from the nativity accounts themselves. The image we all picture comes from later tradition and centuries of Christmas art, which is worth knowing if a child asks during a Sunday school lesson.
What age are Christmas donkey coloring pages good for?
Ages four to twelve, depending on the page. Single subject designs like the Santa hat donkey and the wreath portrait suit four to eight, while the multi figure scenes with Joseph, the shepherd, and the sheep need the control of a nine to twelve year old.
How do you color a donkey so it looks realistic?
Use the side of a grey crayon in short strokes following the direction of the fur, then warm it with a light pass of tan. Leave the muzzle and the rings around the eyes pale, which is how real donkeys are marked, and add the dark stripe down the spine and across the shoulders.
Are these Christmas donkey coloring pages suitable for Sunday school?
Yes, and the nativity pages in particular work well for a class. Print the Mary, manger, Joseph, and shepherd designs and leave the sleigh and Santa hat pages out, so the session stays focused on one story.
What should I use to color a night sky without it going streaky?
Use a crayon on its side or a colored pencil built up in light passes rather than a marker. Markers streak badly across large areas, and a streaky sky is the most common thing that goes wrong on these pages.
Can I use these coloring pages for an Advent countdown?
Yes, and ten pages starting on December 15 lands the last one on Christmas Eve. Colored figures cut out and added to a windowsill scene one at a time gives kids something that builds across the month.
Conclusion
Print three pages tonight, one playful, one quiet, one busy, and leave them on the table with a tin of crayons and the paper peeled off the grey one. Say one sentence about using the side of the crayon for the fur, then leave them to it.
If you are doing this for the 2026 season, print the nativity four on cardstock in early December so you have time to cut them into standing figures before the tree goes up. That is the version that gets played with rather than looked at.