
My son got the candy corn page last October, picked up a white crayon, and spent a solid minute scrubbing it across the top of the candy corn before looking up at me completely baffled. Nothing was happening.
White crayon on white paper does nothing. The instruction on every candy corn coloring guide online says “color the top white”, and it is wrong. You leave it blank. That is the sort of thing that turns a fifteen minute activity into a meltdown, and it is the sort of thing this list actually covers.
Halloween candy coloring pages are free printable line drawings of sweets and treats, candy corn, lollipops, wrapped candies, chocolate bars, and candy filled buckets, sized for a home printer on standard letter paper. The trick that makes every candy page look finished is leaving a small white diagonal streak uncolored on each wrapper, which reads instantly as shiny cellophane. Most of the seventeen designs below take a child 10 to 30 minutes and suit ages three to twelve, with the simplest pages being the single large candy designs and the hardest being the busy bucket and explosion scenes.
Why Halloween Candy Coloring Pages Work So Well With Mixed Ages
Candy is the one Halloween theme with zero scare factor. No ghosts, no skeletons, nothing a nervous four year old will refuse to touch. It is also the part of Halloween every kid is already thinking about, so you get instant buy in.
The shapes help too. A lollipop is a circle on a stick. A wrapped candy is an oval with two twisted ends. Those are forgiving shapes, which means a small child’s version still looks like what it is meant to be.
There is one real catch, and nobody mentions it. Candy pages are dense. A bucket scene can have thirty separate sweets on it, and most kids run out of steam around number eight. The fix is in the next section and it takes one sentence to explain.
Practical note: Print in grayscale or “black ink only”. Most home printers mix black from the color cartridges by default, and a stack of line art in October will drain them right before you need them.
Four Candy Coloring Tricks That Change Everything
These four apply to every page on this list. Teach them once and the rest of the article gets easier.
1. Leave a white streak on every wrapper. A short diagonal slash left completely uncolored on each wrapped candy reads as light hitting cellophane. It costs nothing, takes no skill, and it is the single biggest difference between a page that looks colored in and a page that looks illustrated. Works on lollipops, wrappers, and gummies equally.
2. Repeat three colors instead of inventing thirty. On a busy page, pick three colors, say orange, purple, and lime green, and repeat them across all the candies. It looks deliberate rather than chaotic, and it cuts the work almost in half because there is no decision to make for each sweet. This is the fix for the dense pages.
3. Gummies get darker edges, not darker centers. Anything meant to look translucent, gummy worms, jelly beans, gumdrops, should be lighter in the middle and darker around the rim. Solid objects are the other way round. Do it backwards and a gummy worm looks like a plastic tube.
4. Never color white with white. Leave it blank. This matters most on candy corn, ghost shapes, and any highlight. If a kid wants the white to look intentional, have them draw a thin grey outline around it instead.
Age and Skill Guide
Ages 3 to 5. Single large subjects only. Candy Corn Delight, Lollipop Monster, Lollipop Jack-o’-Lantern. Chunky crayons, 5 to 10 minutes of real attention, color all over the lines. Skip every trick above except leaving white blank.
Ages 6 to 8. Most of this list works. Markers or pencils, 15 to 20 minutes. This is the age where the white streak trick lands, and they will apply it to everything for the rest of the day.
Ages 9 to 12. The busy pages, the candy skull, the haunted mansion, the wrapped candy explosion. They can hold a three color palette across a whole page and will spend half an hour doing it properly.
To adapt down for a younger child, print the page at 130% so shapes get bigger, or lay a sheet of paper over half the page so only part of it is visible at a time. That second one sounds silly and works surprisingly well on a three year old faced with thirty candies.
To adapt up for an older kid, ask for a full page in only two colors plus white. Constraint makes it interesting again.
What You Need, Plus a Free Version of Everything
| What I use | Why it matters here | Free or cheap alternative |
|---|---|---|
| 28 lb paper or light cardstock (Hammermill) | Candy pages are heavy on bright marker, and 20 lb copy paper bleeds | Copy paper with a scrap sheet underneath, and stick to crayons |
| Crayola Ultra Clean washable markers | Bright saturated color, comes off skin and sealed tables | Crayons you already own, which never bleed |
| Highlighters in orange, green, pink | The cheapest neon you can get, and transparent so the printed lines still show | Any highlighter from a desk drawer, they all work |
| Colored pencils (Prismacolor Premier if you have them) | The only way to get a decent chocolate brown | School pencil set, light pressure, two passes |
| Uni-ball Signo white gel pen | Adds shine back if a highlight gets colored over by accident | Leave the white blank in the first place, which is free |
| Fiskars blunt tip kid scissors | Cutting candies out for a paper bag or bunting | Household scissors with an adult doing the cutting |
Where to source: dollar stores stock washable markers and light cardstock all through September and October. Craft store clearance on November 1 is where I buy Halloween supplies for the next year. Back to school sales in August are the cheapest colored pencils of the year by a wide margin.
Practical note: highlighters are the underrated supply here. They are transparent, so they glide over printed line art without hiding it, and they give you neon candy colors no crayon can match. They also bleed through thin paper faster than anything else in the tin, so put a scrap sheet down.
ℹ️ Photo Download Instructions:
📱 On mobile: Long press the image to access the download option.
💻 On computer: Right-click the image and select “Save Image.”
Halloween Candy Coloring Pages Ideas for Kids
1. Halloween Candy Skull
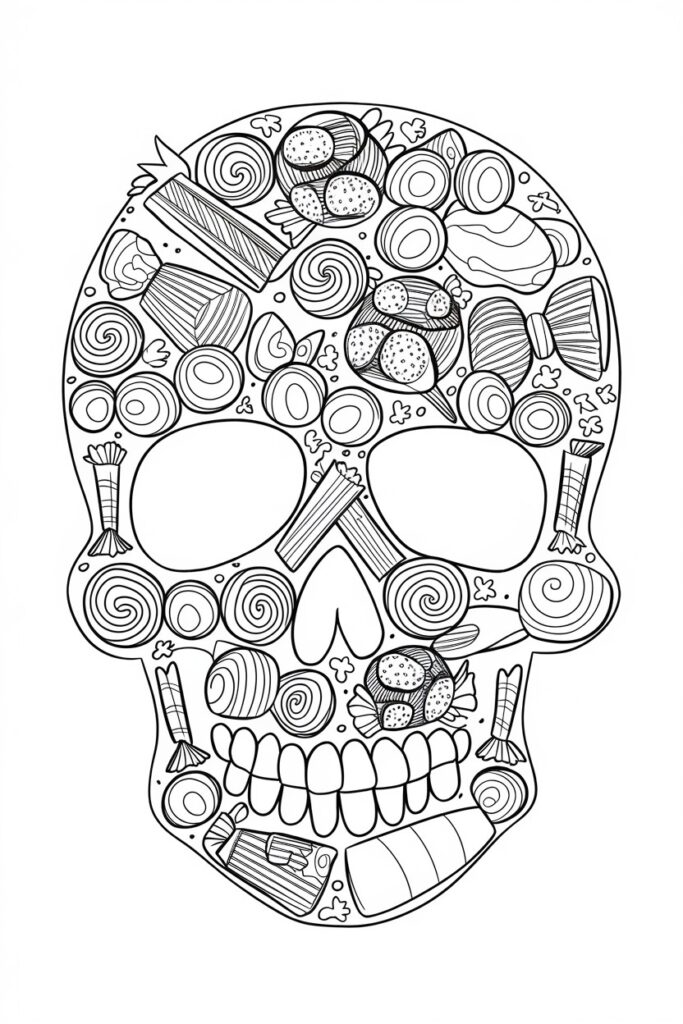
A skull assembled from gumdrops, licorice, and wrapped sweets. The most striking page here and a good one for an older child.
Coloring steps:
- Skull base in light grey only, kept deliberately dull.
- Every candy bright: red licorice, green gumdrops, orange wrapped sweets.
- Gumdrops lighter in the middle, darker at the edges.
- Light grey shading in the eye sockets last.
Trade off: This page only works if the skull stays muted. A kid who colors the skull bright loses all the contrast, and the candies stop reading as candy.
2. Wrapped Candy Explosion

Dozens of wrapped sweets bursting from the middle of the page. Visually the most fun result and the most repetitive to color.
Coloring steps:
- Three colors, repeated. This page is unmanageable any other way.
- White streak left blank on every single wrapper.
- Background left completely plain.
Trade off: Pure repetition. It suits a kid who finds repetition soothing and frustrates one who does not. Good page to have a second child join in on halfway through.
3. Haunted Chocolate Bar

A broken chocolate bar with ghost faces rising from the pieces, bats and stars around it. Strong concept and the page where chocolate color actually matters.
Coloring steps:
- Lay down a light orange or red base over the bar first.
- Brown over the top of it. That underlayer is what stops chocolate looking like flat mud, and it is the difference between brown and appetizing brown.
- Ghost faces in the palest grey, barely there.
- Bats in black, stars left blank rather than colored white.
Trade off: The orange under brown trick needs pencils. It does not work with markers, because the brown marker just covers the orange completely.
4. Trick-or-Treat Candy Bucket

An orange bucket overflowing with wrapped sweets, lollipops, and bars. One of the densest pages here, which is exactly where the three color rule earns its keep.
Coloring steps:
- Bucket in orange, pressing harder along the bottom curve for depth.
- Pick three wrapper colors and repeat them across the whole pile.
- White streak left blank on every wrapper.
- Lollipops in red, yellow, and green swirls.
Trade off: thirty individual sweets is a long sit. For a younger child, color the bucket and the front row of candy only, and leave the back row as line art. It looks fine and it saves the afternoon.
5. Lollipop Monster

A monster built from lollipops, with lollipop limbs and eyes. Silly, simple, and popular with the under sixes.
Coloring steps:
- Body in purple or orange, one flat color.
- Lollipops in whatever bright colors they grab.
- Face details last, in black pencil.
Tip: Let them name the monster before they start coloring it. Sounds like a small thing, but a named monster gets finished and an unnamed one gets abandoned.
Trade off: Not much detail, so an older kid will be done in eight minutes. Ask them to add their own background creature.
6. Candy Spider Web

A web made of candy ropes with candy spiders on it. The best page in the set for highlighters.
Coloring steps:
- Web ropes in neon green and pink highlighter, which covers the long thin strands fast without hiding the lines.
- Spiders in black, so they pop against the neon.
- Small hanging candies in red and yellow.
Trade off: highlighter bleeds through thin paper more than any other medium. Scrap sheet underneath, every time, and check the table when you are done.
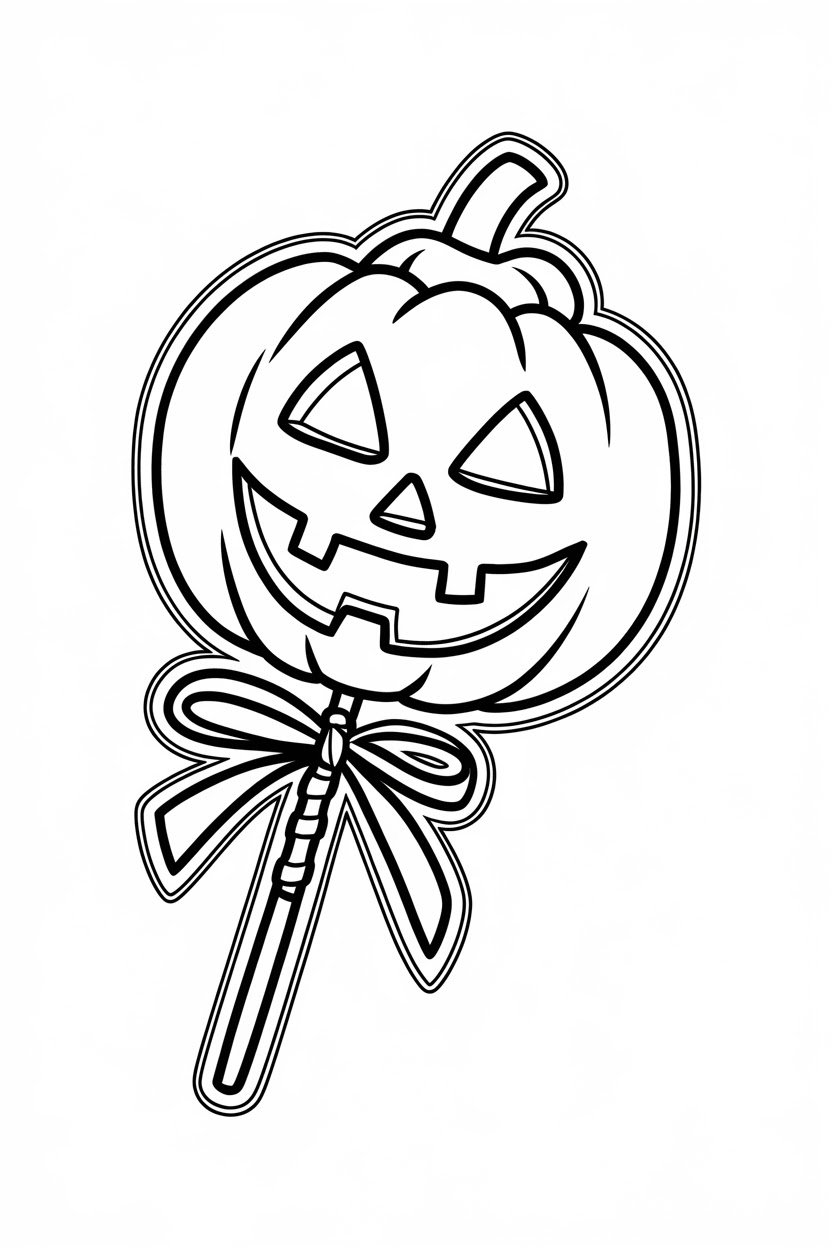
7. Lollipop Jack-o’-Lantern

A round lollipop carved like a pumpkin, with a ribbon on the stick. Clean shapes, strong result, works across a wide age range.
Coloring steps:
- Lollipop in orange, with a second pass around the outer edge to round it off.
- Face in black, colored in fully.
- Stick in light brown, ribbon in purple or green.
- Leave a small blank crescent on the upper left of the lollipop for shine.
Trade off: If the face gets colored before the orange, the black smears into the orange on marker. Orange first, black last, always.
8. Candy Corn Delight

One large candy corn with smaller sweets scattered around it. The best starter page in the set and the one I would hand to any child under five.
Coloring steps:
- Leave the pointed tip completely blank. Do not color it white.
- Middle band in orange.
- Bottom band in yellow, which is the widest section on a real candy corn.
- Surrounding candies in purple, green, and orange, repeating rather than inventing new colors.
Tip: Real candy corn is white at the narrow tip and yellow at the wide base. Kids get this upside down constantly. Put a real piece on the table next to the page and the problem solves itself.
Trade off: It is finished in about ten minutes. Print a second page before you hand over the first.
9. Spooky Lollipop and Ghost Candies

Oversized lollipops with ghost shaped sweets. Simple shapes, medium sized areas, good middle ground page.
Coloring steps:
- Lollipops in green and purple, working in one consistent direction so the marker does not streak.
- Ghost candies left almost blank, with only a light grey along one edge of each.
- A soft grey shadow under each shape to sit them on the page.
Trade off: pale ghosts feel like nothing is happening, so small kids color them in solid grey and lose the shape. Show them the one edge method on a scrap first.
10. Candy Witch Hat
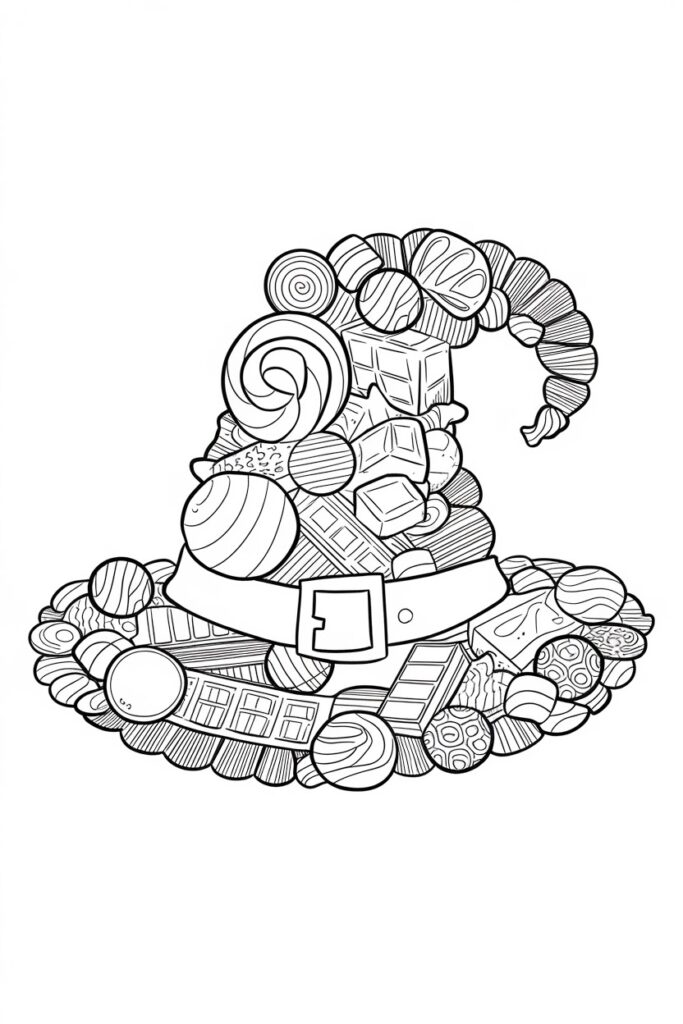
A witch hat built out of sweets. An inventive page and one of the better ones for a child who likes a theme.
Coloring steps:
- Main hat in black or, better, in very dark purple so the printed candy details still show through.
- Brim candies alternating green, orange, and purple.
- White streak left blank on each brim candy.
Trade off: Solid black over the hat swallows the line work underneath, which is the whole point of the design. Dark purple or dark grey reads as black on paper and keeps the detail.
11. Haunted Candy Mansion
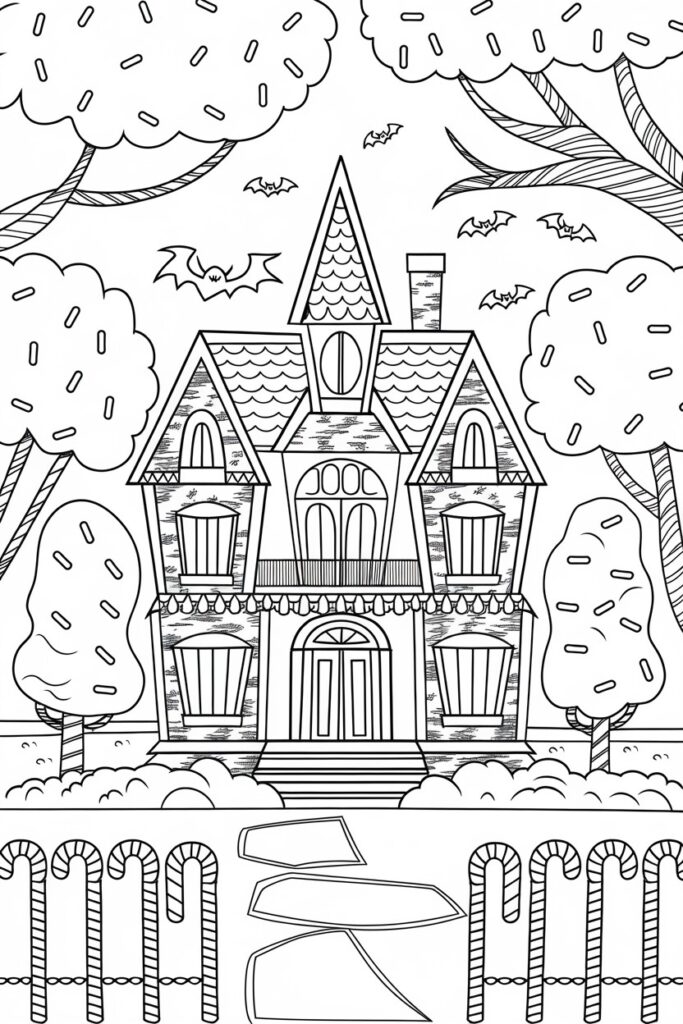
A candy house with cotton candy trees and a candy cane fence. The largest scene in the set and the one that holds a nine year old longest.
Coloring steps:
- House in brown and dark red, with two passes of the same brown rather than two different browns.
- Cotton candy trees in pale pink and pale blue, scribbled loosely rather than filled solid. Loose scribble is what makes cotton candy look like cotton candy.
- Fence in alternating red and blank white stripes.
- Sky left plain or given a single pale wash.
Trade off: 30 minutes minimum and the most likely page in this set to be abandoned halfway. Give it to a kid who finishes things.
12. Mummy Candy Bars
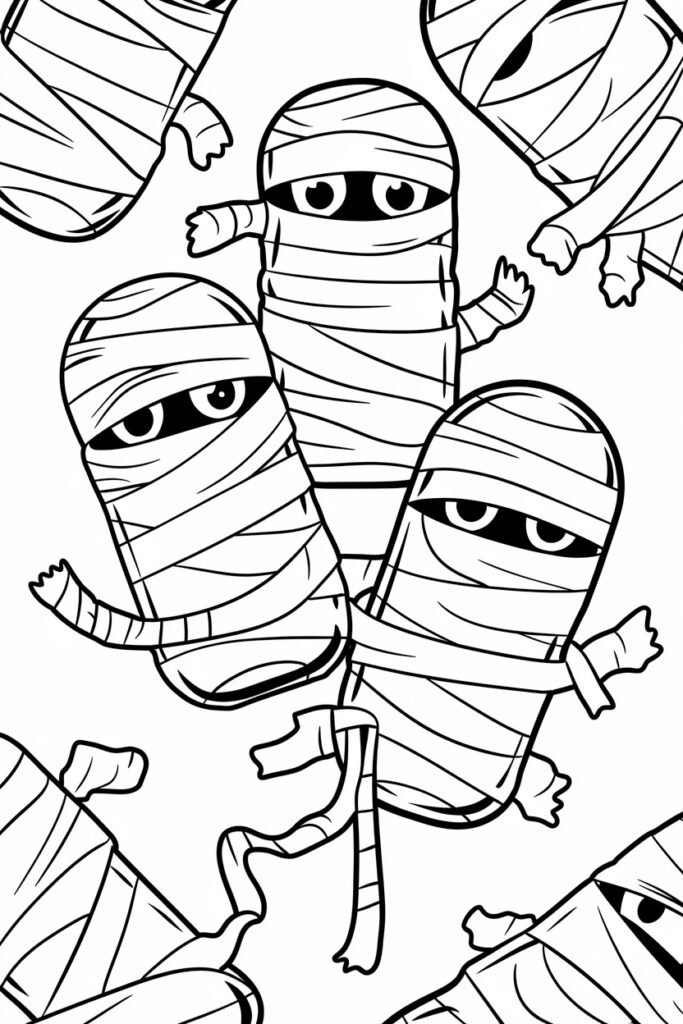
Candy bars wrapped in bandages with eyes peeking out. My favorite page here, because the mummy wrapping teaches a real technique without feeling like a lesson.
Coloring steps:
- Bandages left mostly blank, with light grey only in the gaps between the strips.
- Bar in dark brown where it shows through.
- Eyes in bright yellow with a blank dot left in each.
- Loose unraveling ends outlined in pencil so they read as separate.
Tip: Coloring the gaps instead of the bandages is the whole trick. Kids who color the bandages themselves end up with a beige blob and no mummy.
Trade off: It is counterintuitive, so demonstrate one strip yourself before handing it over.
13. Pumpkin Candy Basket

A pumpkin shaped basket filled with gummy worms, bars, and chocolate eyeballs. Fun, busy, and full of small wins.
Coloring steps:
- Basket in orange, darker along the ribs of the pumpkin.
- Gummy worms in green and red, lighter down the middle of each worm.
- Chocolate eyeballs with a colored iris and a blank white dot left in each eye.
Tip: that tiny blank dot in the eye is what makes the eyeballs funny instead of flat. It is one second of restraint and kids get the joke immediately.
Trade off: the eyeballs are small. A marker tip is too fat for the iris, so hand over a pencil or a fine tip pen for that part.
14. Candy Corn Towers

Stacked candy corn with faces, topped with a small witch hat. Charming page and a good one for practicing the same thing repeatedly.
Coloring steps:
- Every piece the same: blank tip, orange middle, yellow base.
- A little extra pressure at the bottom of each piece so they look stacked rather than floating.
- Faces outlined in black pencil so they stay readable.
- Witch hat in black with a purple band.
Trade off: After the third candy corn, kids start changing the colors for variety, and the tower stops reading as candy corn. Tell them the sameness is the point here.
15. Witch Hat Candy Bucket

A bucket shaped like a witch hat, spilling jelly beans and candy corn. Busy but well organized, so it feels manageable.
Coloring steps:
- Hat in dark purple or dark grey rather than solid black.
- Candy in three repeating bright colors.
- Blank white streak on the wrapped sweets.
- Interior of the bucket in soft purple to push it back visually.
Trade off: Dark hat plus bright candy is a lot of contrast, which means any stray marker mark on the hat shows badly. Pencil is more forgiving on the dark areas.
16. Spider Web Lollipops
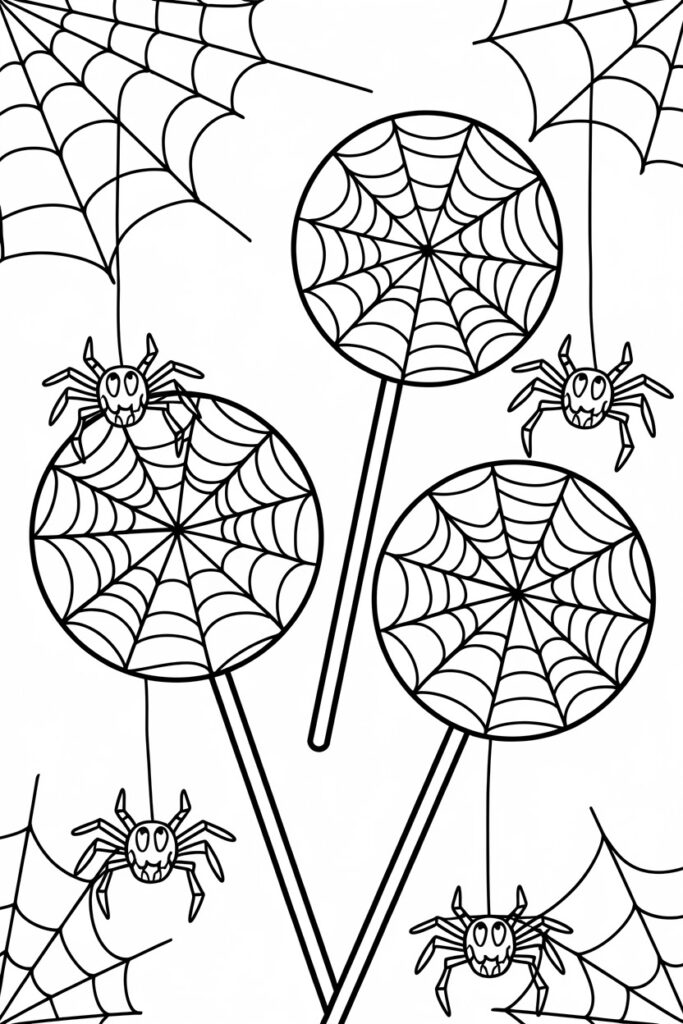
Lollipops with web patterns on them and small spiders around. The most detailed page in the set.
Coloring steps:
- Do the webs first, before anything else. Color around the web lines and leave the web itself blank.
- Lollipops in purple, green, and orange, worked around the web.
- Spider bodies in black with a red outline.
- Background left clear.
Trade off: Coloring around a thin line is a genuine skill. Under eights will color straight over the web and lose it entirely. This is a nine and up page.
17. Trick-or-Treat Candy Bag

A bag spilling over with treats, with a bat hanging off the side. Good closing page, and the most useful one if you plan to cut anything out afterwards.
Coloring steps:
- Bag in bright orange, handles and trim in black.
- Candy inside in three repeating colors.
- Bat in black with a purple bow tie.
- Background left light so the black bat stands out.
Trade off: The bag is a big flat area and marker streaks badly across areas that size. Color it in one consistent direction, or use a crayon on its side, which never streaks.
All Seventeen Designs Compared
| Page | Best ages | Detail level | Time | Best medium |
|---|---|---|---|---|
| Candy Corn Delight | 3 to 7 | Low | 10 min | Crayons |
| Trick-or-Treat Candy Bucket | 6 to 11 | High | 30 min | Markers |
| Spooky Lollipop and Ghost Candies | 5 to 9 | Medium | 15 min | Markers |
| Candy Witch Hat | 6 to 10 | Medium | 20 min | Pencils |
| Halloween Candy Skull | 9 and up | High | 30 min | Pencils |
| Haunted Candy Mansion | 8 to 12 | High | 35 min | Pencils |
| Pumpkin Candy Basket | 6 to 10 | Medium | 20 min | Markers, fine pen |
| Candy Spider Web | 5 to 10 | Medium | 15 min | Highlighters |
| Wrapped Candy Explosion | 7 to 12 | High | 30 min | Markers |
| Lollipop Monster | 3 to 6 | Low | 10 min | Crayons |
| Lollipop Jack-o’-Lantern | 4 to 9 | Low | 12 min | Markers |
| Candy Corn Towers | 5 to 9 | Medium | 20 min | Crayons, pencils |
| Haunted Chocolate Bar | 7 to 12 | Medium | 25 min | Pencils |
| Witch Hat Candy Bucket | 7 to 11 | High | 25 min | Pencils |
| Spider Web Lollipops | 9 and up | High | 30 min | Fine tip pens |
| Mummy Candy Bars | 6 to 11 | Medium | 20 min | Pencils |
| Trick-or-Treat Candy Bag | 5 to 10 | Medium | 20 min | Crayons, markers |
How To Print Halloween Candy Coloring Pages Without Wrecking the Page
- Use 28 lb paper or light cardstock if you have it. Candy pages attract markers and highlighters, both of which bleed through 20 lb copy paper.
- In the print dialog choose “Actual size”, never “Fit to printable area”. Fit to page shrinks the art and clips the outer line on most home printers.
- Set color to grayscale or black ink only.
- If the lines come out faint, set print quality to high. Pale line art is much harder for a small child to follow.
- Print two copies of anything going to a child under six.
- For a class set, print on 24 lb white paper and hand out crayons instead of markers. Twenty kids plus thin paper plus markers equals color on the desks.
Mess Level And Supervision, Honestly
Crayons and colored pencils: low mess. Sit anywhere. Shavings are the entire cleanup.
Markers: medium mess. Scrap sheet underneath always. Washable markers come off sealed tables easily and off untreated wood much less easily.
Highlighters: medium to high mess. They bleed fastest of anything here and the neon pink in particular sits on light wood for a while. Worth it for the candy web page, but put something down.
Scissors, if you are cutting candies out: supervise under sixes and use blunt tip kid scissors.
Supervision, realistically: ages 3 to 5 need you at the table. Ages 6 to 8 need you in the room. Ages 9 and up will carry on long after you have left.
One thing worth saying out loud, since this is a candy theme. These pages work brilliantly as the activity that runs while candy is being sorted or rationed, and they are a decent distraction on the afternoon before trick or treating when the waiting is the hardest part.
What To Do With the Finished Pages
Decorate a paper candy bag. Cut out a colored candy or two and glue them to a plain brown paper bag. Now the bag is theirs.
Placemats. Slide a finished page into a clear plastic sleeve or cover it with clear packing tape. Reusable, wipeable, and it survives a party.
Bunting. Punch two holes along the top of several pages and thread string through. Six pages is a decent length.
Thank you notes for neighbors. Fold a cardstock page in half, color the front, write inside. Kids who hand these over the following day get remembered.
Practical note: write the date and the child’s name on the back before it goes anywhere. In five years the date is the part you will care about, and you will not remember it otherwise.
Common Mistakes To Avoid With Halloween Candy Coloring Pages
Coloring white with white. The candy corn tip, ghost shapes, wrapper shine, and stars all need to be left blank. A white crayon on white paper does nothing.
Giving every candy its own color. Thirty different colors looks like noise and takes forever. Three colors repeated looks intentional and finishes.
Filling in the wrapper shine. Once the highlight is colored over, the candy goes flat and there is no way back except a white gel pen.
Coloring the dark parts first. Black marker on a witch hat or a bat will smear into anything light that comes afterwards. Light to dark, on every page here.
Using a marker on the chocolate eyeballs and spider webs. The tip is too fat for those details. Switch to a pencil or fine tip pen for the small stuff.
Printing on 20 lb copy paper and handing over highlighters. It will bleed onto the table. Heavier paper or a scrap sheet.
Handing the spider web lollipops page to a six year old. It is the most detailed page in the set and it ends badly. Nine and up.
Read Next
Best Halloween Pumpkin Crafts For Easy Fall Decor is the obvious next step once the coloring is done and somebody wants to make something they can hold.
Top 10 Free Printable Halloween Cat Coloring Pages for Kids pairs well with this set if you are building a whole afternoon, and it covers the one thing candy pages never teach, which is how to color something black without losing the linework.
Key Takeaways
- Halloween candy coloring pages suit ages three to twelve, with zero scare factor, which makes them the safest Halloween printable for a mixed age table.
- Leave a small diagonal streak blank on every wrapper. That one habit is what makes candy look shiny instead of flat.
- Pick three colors and repeat them across a busy page rather than giving every sweet its own color.
- Gummies and jellies get darker edges and lighter centers, the opposite of solid objects.
- Never color white with white. Blank paper is the highlight.
- Use 28 lb paper or slide a scrap sheet underneath, because markers and highlighters both bleed through standard copy paper.
FAQs
What types of Halloween candy are best for coloring pages?
Candy corn, lollipops, wrapped sweets, and chocolate bars work best because their shapes are simple and instantly recognizable even when a small child colors outside the lines. Gummy worms and jelly beans are good too, as long as the page keeps them reasonably large.
How can I make Halloween candy coloring pages engaging for kids?
Add one small technique they can master, like leaving a white streak on each wrapper for shine. Kids who learn a trick that visibly works will apply it to every page afterwards, which keeps them going far longer than a new design would.
What colors should I use for Halloween candy coloring pages?
Orange, purple, black, lime green, and yellow cover the whole Halloween palette. Pick three of them per page and repeat, rather than using all five on every sweet, which is what makes a busy page look chaotic.
How can I ensure that the Halloween candy coloring pages are kid-friendly?
Choose pages with bold outlines and fewer, larger shapes for younger children, and save the dense bucket and web designs for over eights. If a page is too busy for your child, cover half of it with a sheet of paper so only part is visible at a time.
What age are Halloween candy coloring pages good for?
Ages three to twelve, depending on the design. Single subject pages like the candy corn and lollipop monster suit three to six, while the candy skull, haunted mansion, and spider web lollipops hold the attention of nine to twelve year olds.
How do you make candy look shiny on a coloring page?
Leave a short diagonal line completely uncolored across each wrapper or lollipop. If the highlight has already been colored over, a white gel pen like the Uni-ball Signo will put it back, though it will not write over crayon wax.
Conclusion
Print three pages tonight, one simple, one medium, one busy, and leave them on the table with markers and a scrap sheet underneath. Say one sentence about leaving a white streak on each wrapper, then walk away and let them work it out. If you are printing for the 2026 season, get your set done in the first week of October, before the ink cartridge becomes an emergency and the good markers have vanished into a school bag.