
It was the second Saturday of the school holidays, 9:20 in the morning, and my youngest had already asked for the tablet four times. The yard was right there, unused. So I dragged out three couch cushions, a roll of painter’s tape, and a laundry basket, and had a course built before the coffee went cold.
Forty minutes later both kids were red faced, filthy, and arguing about whose time was faster.
A DIY obstacle course for kids is the cheapest, fastest way I know to turn a flat afternoon around. It keeps them moving, builds real coordination, and costs close to nothing because most of it is already in your house.
Below are 20 ideas, each with the age it actually fits, how long it takes including setup and cleanup, what it costs (with a free swap for everything), how messy it gets, and how close you need to stand. School is back and the light is going earlier now, so the after school window is short. Most of these set up in under ten minutes.
Quick answer: A DIY obstacle course for kids works best as three or four stations built from things you already own: couch cushions to climb, a painter’s tape line to balance on, hula hoops to jump through, and a cardboard box tunnel to crawl under. Most courses cost nothing, take 10 to 20 minutes to set up, and suit ages 2 to 8 by raising or lowering the difficulty. Keep everything below knee height for toddlers, build on grass or carpet rather than concrete, and stay within arm’s reach of any climbing or balancing station.
Scan and pick. Times include setup, play, and putting it away.
| Station | Best ages | Total time | Cost | Mess | Supervision |
|---|---|---|---|---|---|
| Tunnel Crawl Adventure | 1 to 6 | 25 min | Free | Low | Close under 3 |
| Under-the-Broom Limbo Crawl | 2 to 8 | 15 min | Free | None | Close |
| Couch Cushion Climbing Wall | 18 months to 6 | 25 min | Free | Low | Arm’s reach, always |
| Hula Hoop Jump Path | 2 to 8 | 20 min | Free to $5 | None | Check in |
| Painter’s Tape Balance Beam | 2 to 8 | 20 min | $5 | None | Close for heel to toe |
| Pillow Island Jumps | 2 to 7 | 25 min | Free | Low | Arm’s reach |
| Bean Bag Toss Target | 2 to 9 | 20 min | Free | None | Light |
| Ball Transfer Race | 3 to 8 | 20 min | Free | Low | Check in |
| Water Cup Carry Challenge | 3 to 8 | 25 min | Free | Medium (wet) | Close |
| Shape Sorting Mid-Run | 18 months to 5 | 25 min | Free | None | Close under 3 |
| Color Matching Cone Dash | 2 to 7 | 20 min | Free | None | Check in |
| Ring Stack Race | 2 to 6 | 30 min | Free | Low | Close under 3 |
| Splash Zone Sprinkler Run | 2 to 10 | 40 min | Free | High (wet) | Arm’s reach |
| Sand Pit Dig & Dash | 18 months to 8 | 35 min | Free to $8 | Medium | Close under 4 |
| Bubble Pop Finish Line | 1 to 8 | 20 min | Free to $5 | Low (sticky) | Check in |
| Pirate Treasure Hunt Course | 3 to 9 | 45 min | Free | Low | Close under 4 |
| Jungle Safari Rescue | 2 to 7 | 35 min | Free | Low | Check in |
| Superhero Training Camp | 3 to 9 | 40 min | Free | Low | Close |
| Mini Ninja Warrior Track | 4 to 10 | 50 min | Free | Low | Arm’s reach |
| Seasonal Obstacle Course | 2 to 9 | 40 min | Free | Varies | Close |
Safety First: How to Build a Toddler-Friendly Obstacle Course
Before setting up any backyard obstacle course, follow these safety tips recommended by pediatric physical therapists:
Use soft materials: Think foam mats, grass, pillows, or blankets.
Secure items: Make sure nothing tips over easily.
Avoid small parts: Prevent choking hazards.
Watch for fatigue: Toddlers can tire quickly. Rest is part of the game.
Always supervise: Adult supervision is non-negotiable. Stay close and keep playtime safe.
Those five cover the basics. Here’s what I’d add after building a lot of these badly.
Height is the one that catches everyone. A good rule: nothing a toddler climbs should be higher than their own hip. For a 2 year old, that’s roughly two stacked couch cushions, not four. Falls from higher than that are how a fun afternoon ends at urgent care.
Anchor anything they might pull on. Dressers, bookshelves, and TV stands are out of the game entirely. The US Consumer Product Safety Commission runs the Anchor It! campaign precisely because climbing children pull furniture over onto themselves. If it isn’t bolted to the wall, it isn’t part of your course.
Practical note: The single most dangerous thing in most homemade courses is a string or streamer strung between two chairs at neck height. A running child hits it throat first. Keep any line either below knee height or above the tallest head, and use crepe paper or toilet paper that snaps on contact instead of string or yarn.
Surface beats equipment. Grass, carpet, or a rug under every landing. Cushions on bare hardwood slide like skateboards, and the first kid who jumps onto one goes into the wall. Socks on a smooth floor do the same thing, so bare feet or sneakers.
Check the ground before you build. Outdoors: sticks, stones, dog mess, sprinkler heads, and wasp nests. Indoors: coffee table corners, which should be moved or padded with a folded towel.
Two more that get skipped
- Heat and water. In summer, a hose that’s been lying in the sun holds water hot enough to scald. Run it for thirty seconds onto the ground before anyone goes near a sprinkler. Have drinks out before you start, not halfway through.
- Old enough to do it alone is not a thing here. Climbing and balancing stations need you within arm’s reach for toddlers, no matter how capable they seemed last week.
How to Set Up Your Backyard Obstacle Course
The build is the part most guides skim. It’s also where the whole thing succeeds or fails, so here’s the version I actually use.
Step 1: Plan Your Layout
Think of your course in zones:
Crawl Zone (tunnels, limbo challenges)
Jump Zone (hoops, pillows, or soft landing spots)
Balance Zone (painter’s tape paths or beams)
Three zones is the right number for a first course. Four or five stations total, not ten. Every extra station is another thing to reset between runs, and kids lose the thread of the route.
Order them like this:
- Start with something easy, so nobody fails at station one.
- Put the crawl zone second, while they’ve still got energy.
- Balance in the middle, because it needs the most concentration.
- Finish with the loudest, most satisfying station (bubbles, a bean bag toss, a sprinkler).
Leave three or four feet of clear run between stations. Courses fail when they’re crammed, because kids land from one jump directly onto the next obstacle.
Tip: Walk the whole route yourself once, slowly, before they do. You’ll find the wobbly chair and the too wide gap in about thirty seconds, and it takes far longer to fix once a kid is mid run.
Sketch it on a scrap of paper if you’re building outside. Sounds fussy. Saves you moving a heavy planter twice.
Step 2: Gather Your Materials
Here’s the full list, with what to use if you don’t own it.
| What helps | Where to get it | Free swap |
|---|---|---|
| Painter’s tape (ScotchBlue) | Hardware store, about $5 | A jump rope, a garden hose, or a row of shoes |
| Hula hoops | Dollar Tree, about $1.25 each | Chalk circles, or rings of rope |
| Pool noodles | Dollar Tree in summer | A rolled up towel or a broom handle low down |
| Cones | Dollar store sports aisle | Upside down cups, water bottles, shoes |
| Play tunnel | Secondhand, or skip it | Delivery boxes taped end to end |
| Bean bags | Craft store | Rolled up socks (free, and they don’t bounce) |
| Foam mats | Secondhand baby gear | Couch cushions, folded comforters, rugs |
| Stopwatch | Your phone | Count out loud, which little kids prefer anyway |
Everything in your house that already works: couch cushions, bed pillows, laundry baskets, cardboard boxes, dining chairs, towels, buckets, plastic cups, and the stuffed animals nobody’s played with in a year.
What not to buy yet. Skip the ninja warrior kits, slacklines, and plastic balance beams until you’ve run three or four courses from household stuff and know what your kids actually gravitate to. Mine turned out to love the cardboard tunnel and ignore the expensive hoops entirely.
20 Obstacle Course Ideas
Pick three or four of these, not twenty. A course that’s too long means a kid quits at station six and you’ve spent an hour building the rest for nothing.
Crawl & Climb Challenges
The crawling stations are the sneaky ones. They look gentle and they are genuinely hard work, which is why they belong early in the course while everyone’s fresh.
1. Tunnel Crawl Adventure
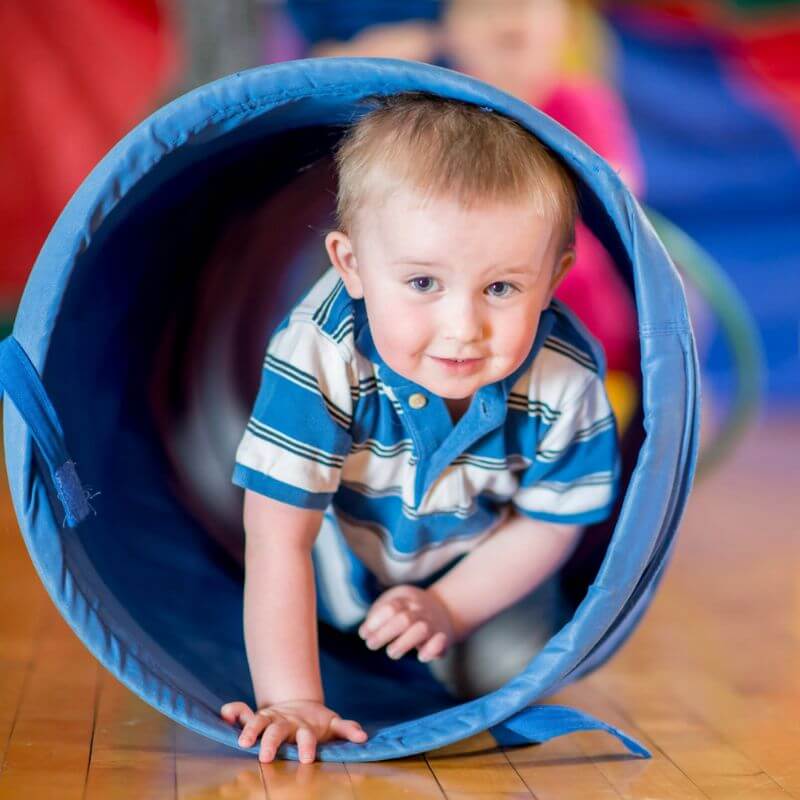
What you need: A play tunnel works excellently, but if you don’t have one, tape together some large cardboard boxes to create a crawl space.
How to set it up: Line the boxes in a row, cut off both ends, and secure them securely. Make sure there’s enough room for your child to crawl through safely.
Why it’s great: Crawling builds upper body strength, coordination, and core muscles.
Ages 1 to 6. Setup 15 minutes the first time, 2 after that. Play 10 to 20 minutes. Mess is low. Stay close for under 3s.
Cutting boxes is an adult job with a craft knife, done away from the kids, and every cut edge gets covered with packing tape. Cardboard edges are sharper than they look, especially on the inside where a knee lands.
Two things that go wrong the first time. The boxes separate mid crawl, so tape the joins on the inside as well as the outside. And a long dark tunnel frightens plenty of toddlers, which is a real limitation for this station, not a phase to push through. Cut a window in the side or start with a single box, so they can see daylight at both ends.
Don’t stack anything on top, and don’t let a second child climb on the tunnel while someone’s inside. A collapsing box over a child’s head is frightening even when it isn’t dangerous.
Tip: Appliance boxes from a furniture store are usually free for the asking and they’re the perfect width. A $20 pop up tunnel is the alternative, and secondhand ones turn up constantly.
2. Under-the-Broom Limbo Crawl

What you need: A broomstick or pool noodle balanced across two low chairs.
How to set it up: Adjust the height according to your child’s age. For toddlers, keep it close to the ground so they have to crawl under.
Why it’s great: This challenge teaches body awareness, flexibility, and balance.
Use the pool noodle, not the broom. A rigid broomstick balanced at a running child’s head height is genuinely dangerous, and it will get knocked down every few turns. A pool noodle bends, rolls off harmlessly, and costs about a dollar at Dollar Tree. If you only have a broom, lay it low enough that they’re crawling, never walking.
Ages 2 to 8. Two minutes to set up, 10 to 15 minutes of play, nothing to clean. No mess. Stay close, because the chairs get knocked.
Set the chairs facing outward with the seats away from the crawler. Chair legs tip toward a child who grabs them for balance, every time.
Start it higher than you think. Kids quickly ask to lower it themselves, and that’s the part they enjoy: choosing their own level. For 7 and up, make them go under backward or sideways.
Free swap: a long towel or a jump rope held loosely by two adults, which is even safer and means you can lift it out of the way instantly.
3. Couch Cushion Climbing Wall

What you need: Couch cushions, pillows, or foam mats.
How to set it up: Stack cushions to make a small, soft “mountain.” Always supervise climbing and keep it at a low level to prevent falls.
Why it’s excellent: Climbing helps kids build confidence, leg strength, and core stability.
This is the station I’d flag hardest. Cushions stacked on hardwood slide the moment a foot lands, so everything goes on a rug or on grass, and the “mountain” stays below your child’s hip height. Two cushions for a toddler. Three for a 5 year old, maximum.
Ages 18 months to 6. Setup 5 minutes. Play 10 to 15 minutes. Cleanup 10 minutes, more if it becomes a fort, which it will.
Supervision here is arm’s reach, not a check in. Not because your kid is clumsy, but because a cushion shifting mid climb is unpredictable no matter how steady they are.
What goes wrong first time: they climb up and then jump off, which is a longer drop than anyone planned. Set the rule before the first climb, that we climb up and step down, and put a folded comforter on the landing side anyway.
Free swap for foam mats: sofa cushions, bed pillows, and a comforter folded in four. A secondhand tumbling mat is the only thing here worth buying, and only if you use it weekly.
Jump & Balance Zones
Jumping stations produce the most noise and the most repeat runs. They’re also where the ankles get rolled, so surface matters more here than anywhere.
4. Hula Hoop Jump Path

What you need: Hula hoops or circles drawn with sidewalk chalk.
How to set it up: Spread hoops or chalk circles across the yard like stepping stones. Encourage your child to jump from one to the next.
Why it’s great: This improves leg strength, timing, and coordination.
Ages 2 to 8. Five minutes of setup. Play 10 to 15 minutes. No mess. Check in every few minutes.
Hoops on grass stay put. Hoops on a smooth patio slide out from under a landing foot, so tape them down or switch to chalk circles outside on concrete.
Spacing is the whole game. Set the gaps at about one comfortable jump for your smallest child, then add a couple of wider ones at the end for the big kids. Too wide from the start and the little one gives up at hoop two.
For 2 and 3 year olds, forget jumping. Stepping into each hoop one foot at a time is the age appropriate version and it still builds the same balance.
Crayola sidewalk chalk is a couple of dollars and the free version is even better: lay out circles of rope, or use paper plates taped to the grass.
5. Painter’s Tape Balance Beam

What you need: Painter’s tape or masking tape.
How to set it up: Stick a straight line of tape on the grass, pavement, or patio. Challenge your child to walk heel-to-toe along the line.
Why it’s great: This simple game teaches balance and focus.
The detail nobody mentions: test the tape on a hidden corner of your floor first. On older or waxed hardwood, even painter’s tape can lift the finish if it sits for days. Pull it up within a day or two and peel slowly at a low angle.
Tape barely sticks to grass, so outdoors use a rope, a garden hose, or a line of chalk instead.
Ages 2 to 8. Ten minutes to tape a good line, 10 to 15 minutes of play, 3 minutes to peel up. No mess. Stay close for heel to toe, since that’s where they wobble off sideways.
Make the line curve and zigzag rather than running straight. A straight line is boring by the third pass, and a wiggly one is genuinely harder.
Bare feet, not socks. Socks on a taped hardwood floor are the fastest way to a hard landing in this entire article.
To make it harder for 7 and up: walk it backward, carry a cup of water, or balance a beanbag on their head. For toddlers, a wide line made of two tape strips a few inches apart gives them something achievable.
6. Pillow Island Jumps
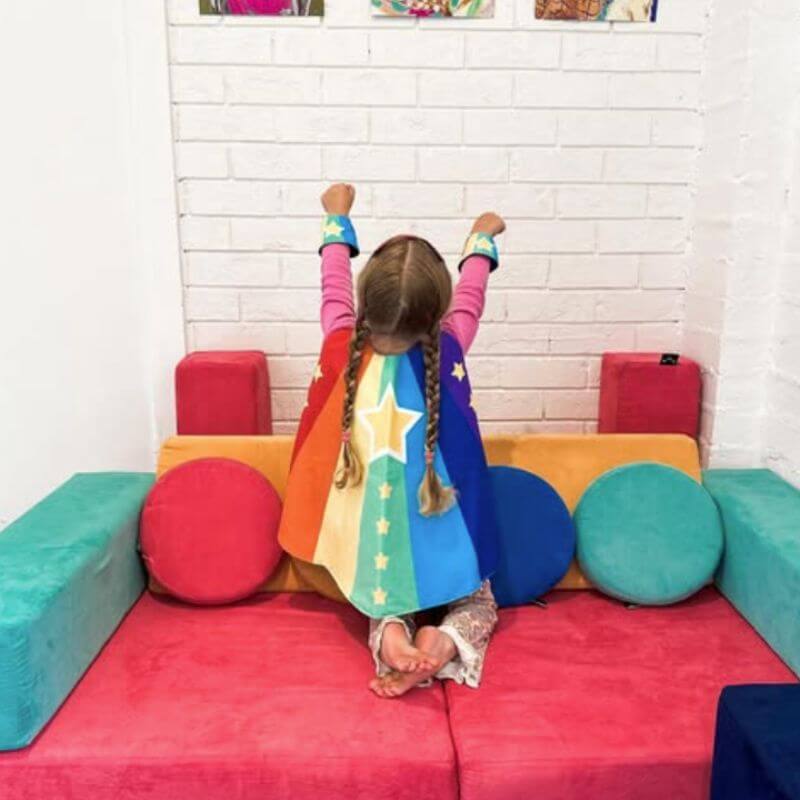
What you need: Pillows, cushions, or soft foam pads.
How to set it up: Scatter the “islands” a few feet apart and have your child jump from one to the next without touching the ground (the “lava”).
Why it’s great: Teaches controlled jumping, balance, and spatial awareness.
Everything about the cushion climbing wall applies here too: rug or grass underneath, never bare floor, because a pillow that slides on landing sends a kid sideways.
Ages 2 to 7. Setup 5 minutes. Play 10 to 15 minutes. Cleanup 10 minutes. Mess is low. Arm’s reach for the little ones.
Rubber backed bath mats are the best islands I’ve found. They grip the floor instead of sliding, and most houses have two or three.
Set the gaps close. Really close, closer than looks fun to an adult, because a toddler’s jump covers about the length of their own foot. You can always spread them out later, and kids love watching the course get harder.
The first run always ends with one child stranded halfway across, announcing they’re stuck in the lava. Have a rescue rule ready (a towel thrown down as a rope) and it turns into the best part.
Not for kids who are still unsteady on their feet. Under 2, let them walk island to island rather than jump.
Coordination & Precision Games
These three slow the pace right down, which is exactly what a course needs between the sprinting stations. They’re also the ones that work for a wide age range without changes.
7. Bean Bag Toss Target
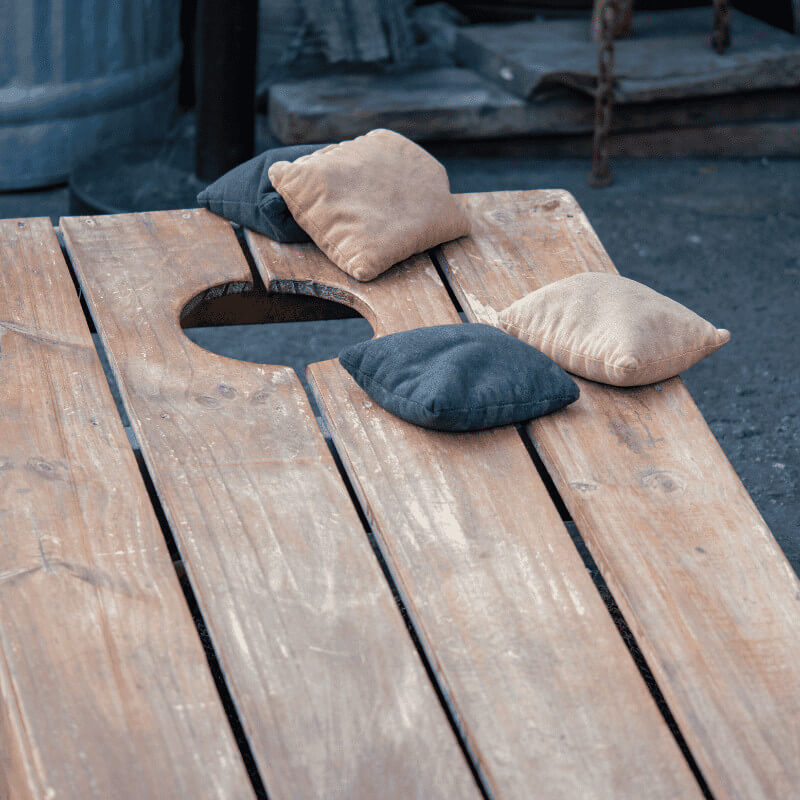
What you need: Bean bags or small soft toys, and a laundry basket or bucket.
How to set it up: Place the basket at a short distance. Show your child how to toss the bean bags in.
Why it’s great: It builds hand-eye coordination and aim.
Ages 2 to 9. Two minutes of setup, 10 to 15 minutes of play, nothing to clean. No mess. Light supervision.
Rolled up socks beat bought bean bags. They cost nothing, they don’t bounce out of the basket, and they don’t hurt when a throw goes wide into someone’s face.
Set two throw lines, one close and one farther back, marked with tape or a shoe. Same station, two age groups, no argument. A 3 year old throwing from three feet is not cheating, it’s the distance where they can actually succeed.
Five bags per turn keeps the line moving. One bag per turn means a queue and a fight.
Tip: Use two baskets at different distances, worth one point and three points. Kids who’ve mastered the close one keep playing instead of drifting off.
8. Ball Transfer Race (Spoon or Cup Carry)
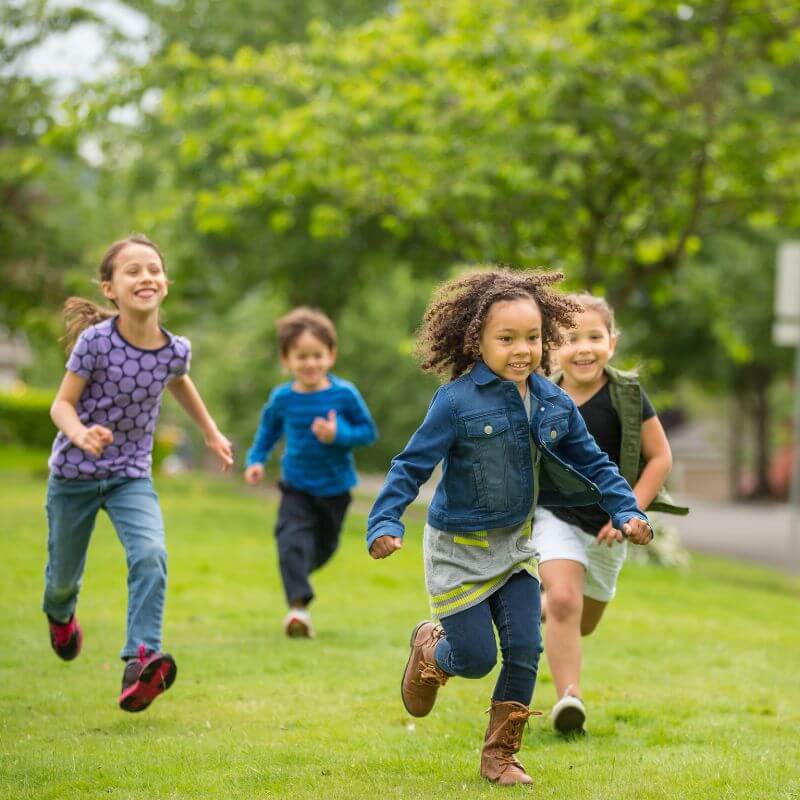
What you need: Plastic spoons or cups, and small balls or plastic Easter eggs.
How to set it up: Have your child carry the ball from one point to another without dropping it. For toddlers, use cups instead of spoons for a comfortable and easier grip.
Why it’s great: Encourages focus, control, and fine motor skills.
A safety note on the eggs: plastic Easter eggs pull apart into two halves, and both halves plus anything inside are choking hazards for children under 3. Tape them shut, or use a small ball or an orange instead. Empty them of any old candy first, which sounds obvious until you find last spring’s jellybean.
Ages 3 to 8. Setup 2 minutes. Play 10 to 15 minutes. Mess is low. Check in every few minutes.
Match the object to the age, because the wrong pairing kills this station in twenty seconds:
| Carrier | Object | Who it suits |
|---|---|---|
| Cup | Ball or plastic egg | 3 and 4 year olds |
| Serving spoon | Small orange | 5 to 7 |
| Teaspoon | Ping pong ball | 8 and up only |
Use a big serving spoon rather than a teaspoon for anyone under 7. A teaspoon with a ball on it is impossible, and a station nobody can complete is a station they stop running.
Drop rule: pick it up where you dropped it and carry on. Restarting from the beginning is how a 4 year old ends up crying in the middle of your nice course.
9. Water Cup Carry Challenge

What you need: a plastic cup filled with a small amount of water.
How to Set It Up: Set a short walking path. The goal is to reach the finish line without spilling too much water!
Why it’s great: Teaches balance, steady movement, and patience.
Ages 3 to 8. Setup 2 minutes. Play 10 minutes. Cleanup 5 minutes of mopping. Mess is medium, and it’s wet.
Run this one outside or on a hard floor you can wipe, never on a carpeted route and never on a smooth indoor floor, because a wet tile floor plus a running child is how this station goes wrong.
Fill the cup a third full. Full to the brim looks more impressive and just means everyone gives up. A line drawn on the cup in Sharpie, with the goal of staying above it, works better than “don’t spill.”
Add food coloring to the water and have them fill a clear jar at the finish line. Kids will run it ten more times to watch the level climb.
For 3 year olds, a lidded sippy cup with the spout open counts and saves everyone’s patience. For 8 and up, carry it on a tray, or walk backward.
Keep towels at the finish, and expect wet socks. That’s the whole trade off on this one.
Problem-Solving & Thinking Skills
These are the stations that make an obstacle course more than running. They also give slower or less sporty kids somewhere to be genuinely good, which changes how the whole course feels for them.
10. Shape Sorting Mid-Run

What you need: A shape sorter toy or colored containers with matching objects.
How to set it up: After crawling or jumping, stop at the “sorting station” to match shapes or colors before continuing the course.
Why it’s great: It combines cognitive thinking with physical play.
Ages 18 months to 5. Setup 5 minutes. Play 10 minutes. No mess. Stay close for under 3s.
Shape sorter pieces are small, so for toddlers use big objects instead: blocks into matching colored buckets, or plastic cups sorted by color. Anything that fits through a toilet roll tube is too small for a child who still mouths things.
The realistic expectation: sorting takes a 2 year old much longer than you think, and the kid waiting behind them will start shoving. Run this station as a solo stop, or have two sorting setups side by side.
Free swap: three plastic bowls, three colors of construction paper taped inside, and a handful of matching toys from the playroom floor. That’s the whole station for nothing.
For 4 and 5 year olds, sort by category instead of color (animals versus vehicles), which is harder and holds them longer.
11. Color Matching Cone Dash

What you need: Plastic cones, cups, or toys in various colors.
How to set it up: Scatter the cones. Call out a color and have your child run to tag it!
Why it’s excellent: Helps with color recognition, listening skills, and quick reactions.
This is the best mixed group station on the list, because everyone runs at once and nobody’s waiting.
Run it like this:
- Scatter six to eight colored objects across the yard, well apart.
- Call a color. Everyone runs and touches something that color.
- Call a color they have to bring back to you.
- Call two colors in a row, which is where it gets hard.
- Let a kid be the caller, which they’ll want within about four rounds.
Ages 2 to 7. Setup 5 minutes. Play 10 to 15 minutes. No mess. Check in rather than hover, but watch for collisions if several kids run at the same object.
Upside down plastic cups are the free version and they work perfectly. So do colored socks, plastic plates, and toys from the bin.
Toddlers who don’t know their colors yet can still play if you hold up an object and say “find one like this.” For 6 and 7 year olds, call out a color plus an action (“run to red backward”).
12. Ring Stack Race
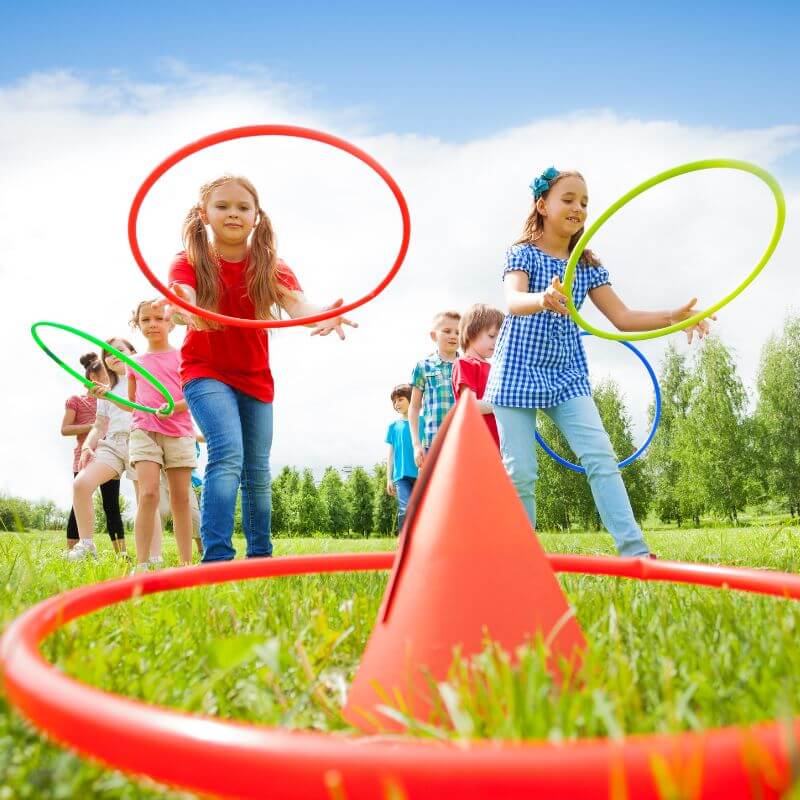
What you need: Stackable rings, large plastic bracelets, or DIY versions made from paper plates with the center cut out.
How to set it up: Place the rings at different points in the course. Have your child collect them and stack them on a pole or paper towel holder.
Why it’s excellent: Teaches sequencing, problem-solving, and fine motor skills.
Ages 2 to 6. Setup 20 minutes if you’re cutting paper plates, 5 if you own rings. Play 10 to 15 minutes. Mess is low.
Cutting the plate centers is an adult job with scissors or a craft knife. Cut the hole generously wide, because a ring that only just fits over the pole turns into a frustration station for a 3 year old.
Use a paper towel holder, an upturned pool noodle in a bucket of sand, or a stick pushed into the lawn. Skip anything with a pointed top at face height.
Paper plate rings survive about two afternoons before they tear. That’s fine at eight cents each. Plastic bangles from the dollar store last forever if this becomes a regular.
For toddlers, three rings and no time pressure. For 5 and 6 year olds, number the rings and make them stack in order, which is much harder than it sounds when you’re out of breath.
Sensory Play Stations
These are the ones kids remember, and they’re the reason to do the course outside if you possibly can. Run them at the end, once everyone’s already worn out, because wet and sandy hands make every other station slippery.
13. Splash Zone Sprinkler Run
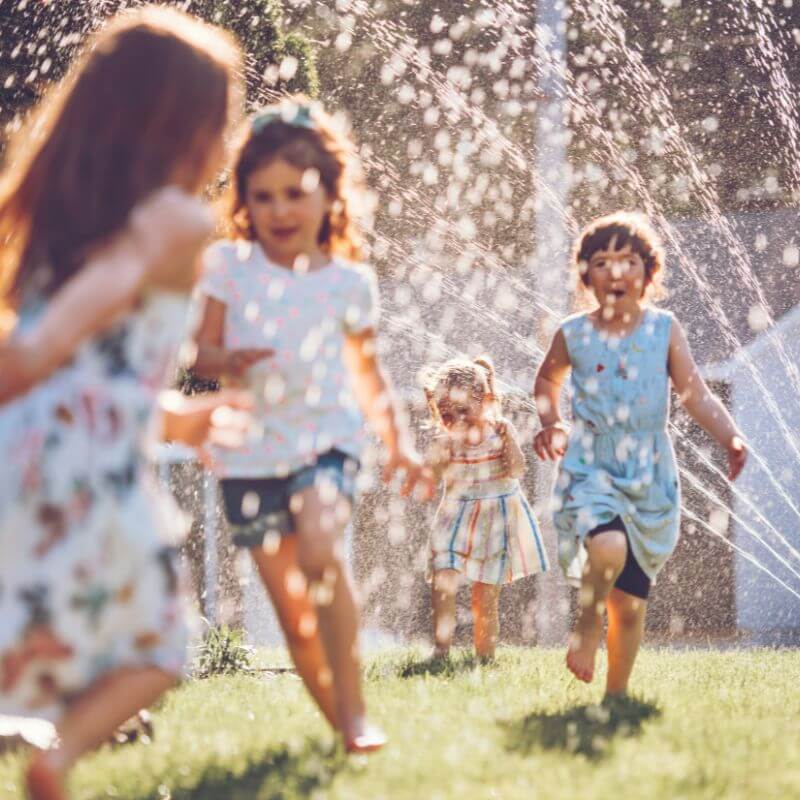
What you need: A garden sprinkler.
How to set it up: Turn on the sprinkler and incorporate it into the course for an incredible, fun challenge.
Why it’s excellent: Provides sensory stimulation and cooling relief during summer play.
Run the hose onto the ground for thirty seconds first. Water that’s been sitting in a hose in the sun gets hot enough to scald a small child, and it comes out first. This is the one genuine hazard at this station and almost nobody mentions it.
Ages 2 to 10. Setup 5 minutes. Play 20 to 30 minutes. Cleanup 10 minutes of towels and wet clothes. Mess is high and entirely wet.
Grass only. A sprinkler running onto a patio or a driveway makes concrete slick enough to take a running kid’s feet out from under them.
Put the sprinkler at the end of the course, not the middle. Once they’re wet, every station after it becomes a slip hazard, and the balance beam is unplayable.
Supervision is close, both for the surface and because standing water plus small children is never a background activity.
Water toys are unnecessary here. An old colander held over a hose, or a plastic bottle with holes poked in it (an adult does the poking), gets the same shrieks for free.
Sensory sensitive kids often hate cold spray on the face. A sprinkler that arcs away from them, or a bucket and cup station instead, keeps them in the game.
14. Sand Pit Dig & Dash
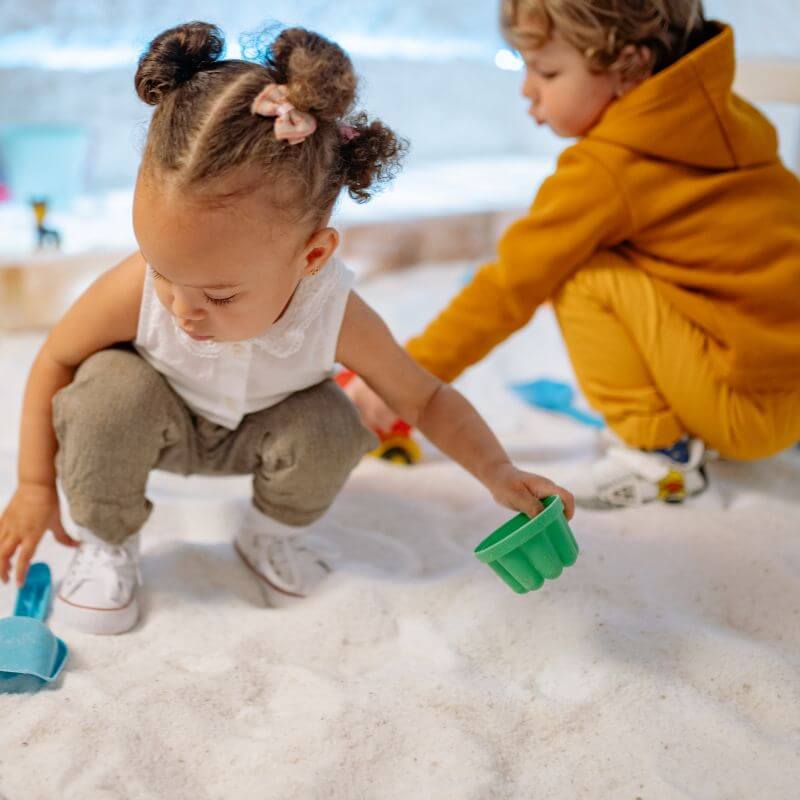
What you need: a Sandbox, kinetic sand, or a large container of rice for indoor versions.
How to set it up: Hide small toys in the sand. Have your child dig for one before moving to the next obstacle.
Why it’s excellent: Combines tactile play with physical movement.
Ages 18 months to 8. Setup 10 minutes. Play 10 to 15 minutes. Cleanup 10 minutes. Mess is medium and it travels through the whole house.
Three things to know before you build this station:
- Hidden toys are choking hazards for under 3s. Use big things only at that age: a plastic dinosaur, a big spoon, a tennis ball. Count them out and count them back in.
- Rice indoors goes in noses and ears. It’s the classic toddler emergency room visit, so this needs an adult sitting with it for anyone under 4.
- Cover the sandbox every single time. An uncovered sandpit becomes a cat toilet overnight. A lid, a tarp weighed down with bricks, or a storage box with a lid all work, and rake it through before play regardless.
Buy bags labelled play sand (Quikrete and Sakrete both sell it) rather than builder’s sand, which is coarser and dirtier. An under bed storage box plus one bag is the cheap version of a whole sandpit.
Tip: Cornstarch sprinkled on sandy hands and legs absorbs the moisture and the sand brushes straight off. It’s the difference between sand in your car for a week and no sand at all.
For older kids, bury a full set of objects and give them a list to find against the clock.
15. Bubble Pop Finish Line
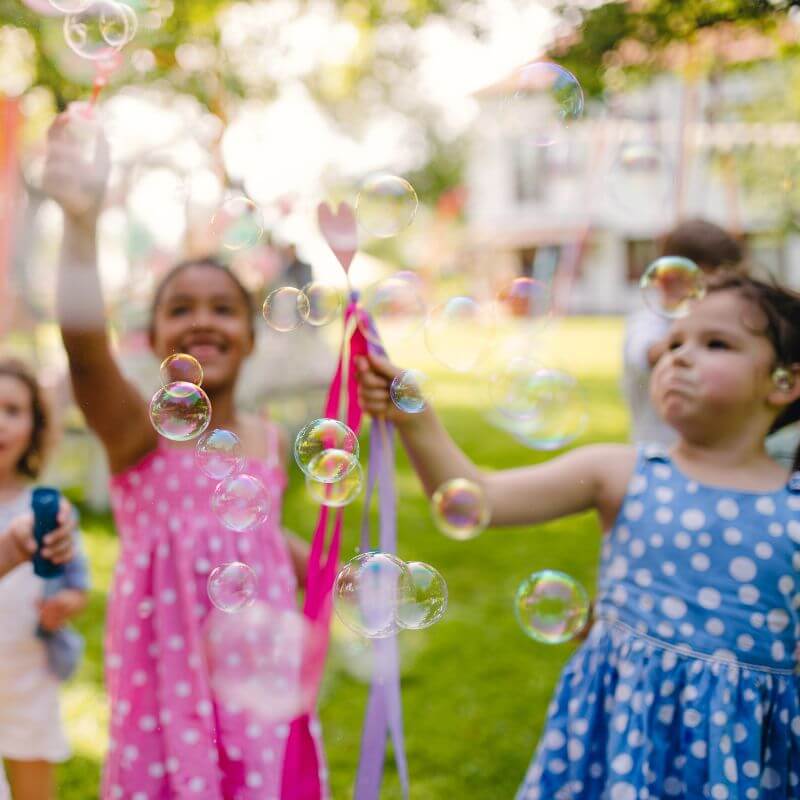
What you need: A Bubble machine or bubble wands.
How to set it up: Set the bubble machine at the end of the course for a grand, giggly finish.
Why it’s great: Promotes visual tracking and coordination.
It’s the right call to put this last. A finish line kids can see coming is what keeps a 3 year old running through station four.
Ages 1 to 8. Setup 5 minutes. Play 10 to 15 minutes. Mess is low but sticky.
Bubble solution makes a patio genuinely slippery once a few hundred bubbles have popped on it. Set the machine so bubbles drift over grass, and if you’re on a hard surface, hose it down afterward.
A swallowed mouthful of solution usually means nothing worse than an upset stomach, but it’s worth keeping the bottle out of reach and having Poison Control’s number in your phone. Homemade solution stings in eyes, so blow up and away from faces.
A Gazillion bubble machine is about $20 and covers a whole group hands free. The free version: 1 cup water, 2 tablespoons Dawn dish soap, 1 tablespoon sugar, mixed and left overnight. A slotted spoon or a dollar store fly swatter makes a better wand than the one in the bottle.
Most kids under 2 can’t blow bubbles yet, so let them chase while you blow. And a kid who panics at popping sounds does better with the machine set farther away.
Themed Adventure Courses
A theme is the cheapest upgrade there is. Same cushions, same tape, completely different afternoon, and it buys you another twenty minutes out of a course they were starting to ignore.
16. Pirate Treasure Hunt Course

What you need: Plastic coins, small toys, and a simple “treasure map.”
How to set it up: Hide the treasure under boxes, pillows, or tunnels. Kids must crawl, jump, and search to find it.
Why it’s excellent: Sparks imagination and problem-solving.
Ages 3 to 9. Setup 20 minutes including the map. Play 20 to 30 minutes. Mess is low. Stay close for under 4s.
Plastic coins are exactly choking size, so for anything under 3, swap them for big wooden blocks painted gold, or bury a single treasure box instead of scattered coins. Count every coin back in afterward.
The map is the whole activity. Draw it on paper, and for the full effect, dab it with a wet teabag and let it dry. Five minutes, and my kids kept theirs on the fridge for a month.
Make it a picture map for pre readers: a photo or a drawing of each station, in order. That single change is what lets a 3 year old lead the hunt instead of following.
Hide the treasure so the route runs through the course rather than around it. Otherwise they sprint straight to the X and skip every obstacle you built.
17. Jungle Safari Rescue
What you need: Stuffed animals hidden around the yard.
How to set it up: Your child “rescues” each animal by crawling through tunnels and balancing on “logs” (planks or tape lines).
Why it’s excellent: Combines pretend play with movement and exploration.
This is my pick for the 2 to 4 crowd, because carrying something gives a toddler a reason to keep going that “run the course” never does.
Ages 2 to 7. Setup 10 minutes. Play 15 to 25 minutes. No mess. Check in every few minutes.
One animal per run, carried back to a “rescue base” (a laundry basket). They’ll run the course five times without noticing, which is exactly what you wanted.
Use animals you don’t mind getting grass stained and damp, not the one that gets slept with. That’s a mistake you make once.
Add animal walks between stations: bear crawl to the tunnel, frog jump across the hoops, flamingo stand on the balance line. Thirty seconds of crab walking leaves most adults breathing hard.
For 6 and 7 year olds, give each animal a number and make them rescue in order, or add a rule that a dropped animal has to be carried on their head.
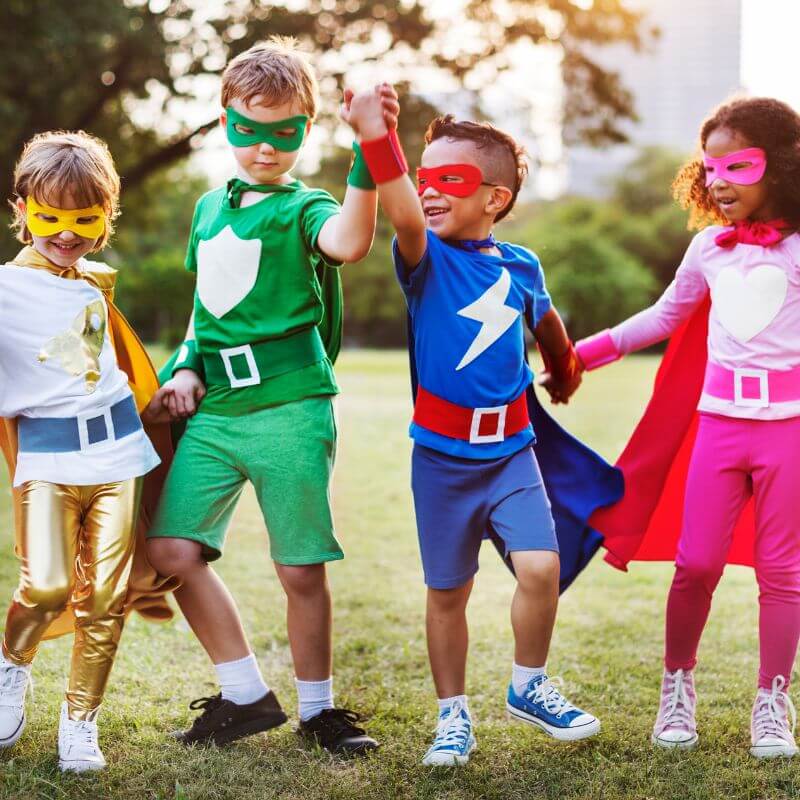
18. Superhero Training Camp
What you need: A superhero cape, red cloth for “lava,” and rope or tape for “tightropes.”
How to set it up: Have your child jump over the “lava,” crawl under “lasers” (string tied between chairs), and balance on the line.
Why it’s excellent: Builds strength, agility, and confidence.
Practical note: Two parts of this station need changing before you build it. Use crepe paper streamers or toilet paper for the lasers instead of string, because string across a running path catches a child at the throat and doesn’t give. And skip the cape, or use one with a velcro neck. Capes with tied necks are a strangulation and trip risk, which is why most commercial dress up capes switched to velcro years ago.
With those two swaps, this is a great station.
Ages 3 to 9. Setup 15 minutes. Play 20 to 30 minutes. Mess is low, apart from shredded streamers.
Tape the streamers so they snap on contact. Kids try harder to avoid them when they can see the evidence of a failed run, and it removes the hazard entirely.
Keep every laser either below knee height or above the tallest head. Nothing in between.
An old red towel or a bath mat makes the lava. Free, and it doubles as the safe landing pad.
For older kids, time each run and post the times. For 3 year olds, forget the timer and let them announce their own superhero name before each attempt, which is genuinely the best part of the whole build.
19. Mini Ninja Warrior Track
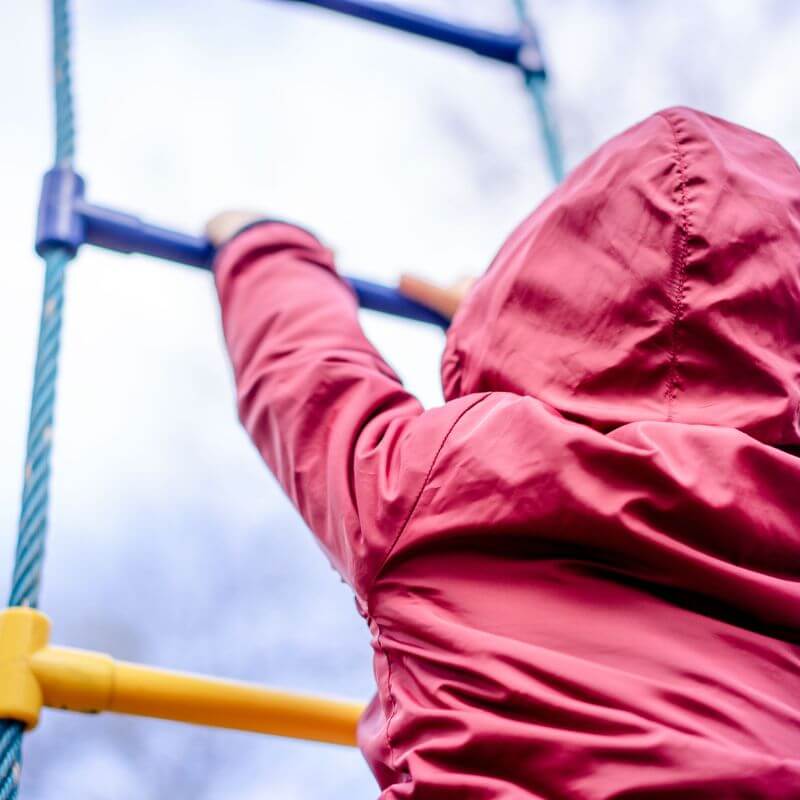
What you need: Soft climbing objects, balance spots, and crawl tunnels.
How to set it up: Create a mini version of a ninja course, but keep it low and soft for toddlers.
Why it’s excellent: Safely mimics challenging movements in a kid-friendly way.
Ages 4 to 10. Setup 25 minutes. Play 20 to 30 minutes. Cleanup 15 minutes. Mess is low. Arm’s reach at every climbing or hanging station.
The one hard rule: nothing hangs or swings from anything you haven’t checked. No ropes from tree branches, no rings from a door frame, no homemade monkey bars. Tree branch failures and door frame mounts are where the serious injuries in backyard ninja courses come from, and there’s no version of this I’d rig myself.
What works instead, all at ground level: a low balance beam (a plank flat on the grass), a crawl tunnel, cushion stepping stones, a cone weave, and a wall of pool noodles to duck through.
Timing is what makes this feel like the real thing. A stopwatch and a whiteboard with everyone’s best time, including yours, keeps kids running it all afternoon.
This is the station most likely to end in frustration if it’s too hard. Build it so your youngest can finish it, then add a bonus lap or a carried object for the big ones.
Save the commercial ninja slackline kits until they’ve run a homemade version a few times. Most are rated for a weight and a height that don’t suit under 6s anyway.
20. Seasonal Obstacle Course

Fall: Jump over leaf piles.
Winter: Use cotton balls or soft fabric for snow mounds (indoors or out).
Spring/Summer: Add flower dashes, small water splashes, or even themed activities like for a fun seasonal twist.
Why it’s excellent: Makes the backyard obstacle course for toddlers feel fresh and new all year long!
It’s early fall as I write this, so leaf piles are the version on our lawn right now.
Rake the pile before anyone jumps. Leaves hide sticks, stones, dog mess, and the occasional sleeping toad. Rake it, then run your hands through it, then let them jump. Ten seconds of checking.
Ages 2 to 9. Setup 15 to 20 minutes. Play 20 minutes. Mess depends entirely on the season.
Cotton balls are a choking hazard for under 3s, so use rolled up white socks or a folded sheet as snow mounds for that age. In real snow, watch for ice under the fresh stuff and keep the jumping stations off any slope.
Bagged leaves make better obstacles than a loose pile: stuffed into paper leaf bags, they hold their shape as things to jump over or weave around, and they stay where you put them.
Seasonal swaps that cost nothing: pinecones as cones, a pumpkin to carry in fall, a bucket of water balloons in summer, and a line of blossom or chalk flowers to jump between in spring.
How to Customize for Age and Ability
The same four stations can serve a 2 year old and an 8 year old. What changes is the height, the distance, and whether there’s a clock involved.
Kids with Different Abilities
Use sensory-friendly items
Lower barriers or reduce height for safety
Focus on participation, not completion
Some things that make a real difference in practice:
- Keep the route the same between runs. Predictability helps a lot of kids, and a course that changes every lap is disorienting rather than exciting.
- Say the whole route out loud, and show it. Walk it with them once before anyone is timed.
- Offer an opt out station. A quiet spot with a job to do (holding the stopwatch, calling the colors) means a child can stay part of it without being pushed through something they don’t want.
- Watch the noise. A bubble machine and a sprinkler are louder and more chaotic than they look. Volume is often the reason a child leaves, not the physical difficulty.
- Let them do one station ten times if that’s what they want, rather than the whole course once.
Toddlers (1–3 Years Old)
Use larger, softer objects
Focus on crawling, stepping, and simple tasks
Skip time limits, let them go at their own pace
Three stations, not six. Everything below hip height. And expect them to change the game entirely about four minutes in, usually by deciding the tunnel is a house and moving in.
That’s not a failed course. Crawling in and out of a box for twenty minutes is exactly the movement you were after.
Preschoolers (4–6 Years Old)
Add small problem-solving tasks
Introduce light time challenges for motivation (but no pressure)
This is the age where they want to design it themselves, and you should let them. The layouts are worse and they run them far more often.
Give them the tape and the cushions and one rule: nothing higher than the couch cushions. The ownership is what keeps them going for an hour.
And when you want to mix up your activity routine with something creative, try easy crafts like these to keep little hands busy on quieter days.
The Benefits of Obstacle Courses (It’s More Than Just Play)
You don’t need a reason beyond “they had fun and then they slept well.” But if you’re wondering whether this counts as real activity, it does, and here’s what’s actually going on.
1. Physical Growth
Obstacle courses help develop both gross motor skills (such as crawling, jumping, and balancing) and fine motor skills (including gripping and transferring objects).
The guidelines are worth knowing because they’re higher than most of us assume. The CDC recommends that children ages 6 to 17 get at least 60 minutes of moderate to vigorous physical activity every day, and that preschoolers ages 3 to 5 stay active throughout the day. The World Health Organization puts it at 180 minutes a day across all activity for children ages 1 to 4.
A 30 minute obstacle course covers a serious chunk of that in one go, which is why I stopped feeling guilty about screen time on days we build one.
2. Cognitive Development
Every time your child figures out how to get through a tunnel or balance on a beam, they’re solving a problem. Obstacle courses boost memory, sequencing, and spatial awareness.
The sequencing part is the bit you can actually see. Ask a 4 year old to tell you the course in order before they run it, and watch them work through it out loud. That’s the same skill they’ll use to follow multi step instructions at school.
3. Emotional Resilience
Kids learn patience, perseverance, and how to deal with challenges.
Here’s the version of that I’ve actually watched happen. A kid falls off the tape line at station three, gets annoyed, and wants to quit. Then they try it once more and get across. The whole lesson lives in that second attempt, which is exactly why the course should be beatable.
Build in a station your child will nail on the first try. Confidence at station one is what gets them to station four.
4. Social Skills
When done in groups, obstacle courses teach teamwork, turn-taking, and communication.
Two practical ways to get that, rather than a free for all:
- Run it as a relay. One kid goes, tags the next. Waiting for a turn is the skill, and the cheering is automatic.
- Give the older kid a job. Timer, judge, or course designer. It stops them dominating every run and they take it seriously.
Racing siblings of different ages head to head rarely ends well. Run them against the clock instead, so they’re both beating their own time rather than each other.
Common mistakes parents make building these (all of mine):
- Building ten stations. Four is plenty. They’ll run four stations five times, and ten stations once, badly.
- Building it without them. Half the value is in the designing. Build two stations, then hand over the tape.
- Putting the best station first. Bubbles or the sprinkler at the start means nobody finishes the course. Best thing last, always.
- Cushions on hardwood. Say it with me: rug underneath. This is the single most common cause of a bumped head in a homemade course.
- Timing a 3 year old. A stopwatch turns a fun course into a test they don’t understand, and it’s the fastest way to end the afternoon in tears.
- Not accounting for the reset. Every station that has to be rebuilt between runs (cushion towers, the ring stack) slows everything down. Mix in two or three that reset themselves.
- Forgetting water. Half an hour of this in summer is a real workout. Have drinks out before you start.
Frequently Asked Questions
Is a DIY obstacle course safe for a 2 year old?
Yes, with three changes: nothing higher than their hip, every landing on grass or a rug, and you within arm’s reach at climbing and balancing stations. Skip small parts like plastic coins, shape sorter pieces, and cotton balls at that age.
How long does it take to set up a backyard obstacle course?
Ten to twenty minutes for a four station course from things you already own. The themed versions (pirate maps, ninja tracks) add another fifteen to twenty minutes of prep.
What can I use for an obstacle course if I have no equipment?
Couch cushions, a cardboard box, painter’s tape, a laundry basket, and rolled up socks cover a complete course. Chalk circles replace hoops, a garden hose replaces a balance beam, and socks replace bean bags.
How do I keep my kids interested after the first run?
Hand over the design after two or three runs and let them rearrange it. Timing each lap works for 6 and up, and adding one carried object (a stuffed animal, a cup of water) makes a familiar course feel new.
Will painter’s tape damage my floor?
Usually not, but test a small piece in a corner first and peel it up within a day or two. Pull slowly at a low angle, and on waxed or older hardwood, use a rope or a row of shoes instead.
What’s a good obstacle course for a small backyard or apartment?
Three stations in a hallway: a chair tunnel to crawl under, a tape line to balance on, and a laundry basket bean bag toss at the end. None of them need more than a few feet.
Read next: If the tape line and hoops were the hit, gets a lot more out of one roll. And for the days the yard is a swamp, 10+ Indoor Physical Activities for Kids That Burn Energy Fast covers the same energy with no setup.
Wrapping It All Up
A backyard obstacle course for toddlers isn’t just about jumping and running. It’s about helping your child grow, physically, emotionally, and socially, while creating joyful memories right in your backyard.
The part that surprised me is how little of it depends on me. I build three stations badly, and within ten minutes they’ve redesigned it, invented rules I don’t understand, and started arguing about whether stepping on the tape counts.
So grab the painter’s tape and four cushions this afternoon and build three stations. Not ten. Then sit down with your coffee and let them take it from there.