
The easiest cute aesthetic drawing ideas for beginners are single objects with one focal point and a light decorative frame: a heart with flowers spilling off one side, two coffee cups sharing a heart of steam, an hourglass with a flower growing through the sand, or an arched window holding a few plants. Sketch the shape lightly in HB pencil, ink it with a fine tip pen such as a Sakura Pigma Micron 05, wait a full minute for the ink to dry, then erase the pencil. Most cute aesthetic drawings in this style take 10 to 30 minutes and need nothing more than paper, a pencil, one black pen and an eraser.
Start Here
My first sketchbook had four used pages and thirty two blank ones.
I would start something ambitious on a Sunday, a face, a whole landscape, get twenty minutes in, decide the nose was wrong, and close the book. That sketchbook lived under a pile of mail for most of a year.
What fixed it was lowering the bar. One small object. One sitting. Done before the tea went cold.
That is where this list came from. If you have ever typed drawing ideas aesthetic into Pinterest at eleven at night, saved forty pins, and then drawn none of them, these are the ones that break that pattern. They are cute enough to feel like a real finished thing and small enough that you will actually get to the end.
I am writing this in early fall 2026, so if you are starting a fresh notebook for the new school year, these are good first pages. They fill a spread fast and they do not punish you for a wobbly line.
One note before we go. I love drawing but I do not always color things in. My kids do that job more often than I do, and honestly a few of those colored versions are my favorite pages in the book.
What Makes Cute Aesthetic Drawings Look Put Together
Three things, and none of them are talent.
One focal point. One object gets to be the star. Everything else is support: dots, sparkles, a trailing line. When a page feels busy, it usually has two things competing.
A containing shape. A circle, an arch, a rounded square, a dotted ring. It does most of the composition work for you, and it is why so many cute aesthetic drawings you save look intentional rather than doodled.
Uneven weight. Some shapes filled solid black, the rest thin outline. This is the single biggest difference between a drawing that looks finished and one that looks like a sketch, and it is the thing most drawing ideas aesthetic roundups leave out entirely.
Nineteen of the twenty one drawings below use at least two of those three moves. Once you see it you cannot unsee it.
Practical note: when a drawing feels flat, the fix is almost never more detail. It is filling two or three shapes solid black and leaving the rest alone.
Skill Level, Time, and Who This Suits
Every idea on this list sits in one of three bands.
Beginner, 10 to 15 minutes. Simple shapes, no perspective, no matching curves. If you can draw a circle you are fine. Items 1 through 7.
Confident beginner, 15 to 25 minutes. Small scenes with two or three elements and a bit of erasing where lines overlap. Items 8 through 15.
Beginner ready for a challenge, 25 to 45 minutes. Mirrored shapes, repeated bars, a compass circle that has to land cleanly. Items 16 through 21.
Those times assume you are drawing in pencil first and inking after. If you go straight in with pen, halve them and accept whatever happens.
Drawing These With Kids
This is a craft with no fumes, no blades and no heat, so the age range is wide.
- Ages 4 to 6: they draw the big outline shapes, you ink. Or reverse it: you draw the outline, they color it in. That is how half my pages got their color.
- Ages 7 to 10: the whole drawing with a water based felt tip, skipping the pencil stage. Good picks are the cups, the sleepy clock, the sun and lightbulb, the birdcage.
- Ages 11 and up: all of them, including the stippled mushroom caps and the hourglass.
Supervision needed is low. The only real watch point is which markers end up in their hands, which is the next section.
What I Used for These Cute Aesthetic Drawing Ideas
Here is the actual kit, plus a free or cheap swap for every single item. None of these cute aesthetic drawing ideas need the expensive version.
| What I used | Why it earns its place | Free or cheap alternative |
|---|---|---|
| A5 dot grid notebook (Leuchtturm1917 or Moleskine) | Dots guide spacing without printing lines into the photo | Printer paper on a clipboard. It takes ink better than most school exercise books |
| Sakura Pigma Micron 05 and 01 | Pigment ink that does not feather, two line weights | Any black ballpoint. Vary your pressure and you get line variation for free |
| Chisel tip black marker | Fills large black areas flat and fast | Color it in with any felt tip, all strokes in one direction |
| Tombow Fudenosuke brush pen | Script lettering with thick downstrokes | Write in pencil, then thicken the down strokes on a second pass. That is faux calligraphy and nobody can tell |
| Staedtler Mars Lumograph HB pencil | Light enough to erase cleanly | Any school pencil, just keep the pressure feather light |
| Plastic eraser | Lifts graphite without shredding the paper | A pinch of poster putty pressed and lifted. It pulls graphite off without touching the ink |
| Compass | Clean circles for the ring based pieces | Trace a jar lid, a roll of tape or a mug |
| Letter stencils | Consistent shapes for the alphabet piece | Print the letter at full page size, slide it under your paper, trace at a window |
Practical note: the upgrade that changes the most is paper, not pens. A smooth 100gsm sheet makes a two dollar pen behave like a nice one. Toothy paper makes a nice pen skip and feather.
If you are buying one thing, buy the fine tip pen. Every one of these aesthetic drawing ideas works with a pencil, that pen and whatever paper is already in the house.
Mess, Bleed Through, and the One Marker Warning
Mess level for the whole list: low. Graphite dust on your hand, nothing that needs a drop cloth.
The parts that do bite:
Bleed through. Alcohol markers and permanent markers soak through normal notebook paper in seconds and will mark the next two pages. Slide a scrap sheet behind the page you are working on, every time. Water based markers such as Crayola Super Tips are far kinder to thin paper.
Marker fumes. Alcohol markers (Copic and similar) and permanent markers (Sharpie) have a strong solvent smell. Crack a window, and do not hand them to small kids in a closed room. For anything a child is doing unsupervised, stick with water based markers and a felt tip.
Smudging. Pigment ink looks dry before it is. Give it a full minute before your hand crosses it, and work top left to bottom right if you are right handed, the opposite if you are left handed. If you draw left handed, a spare sheet under your palm saves a lot of grief.
Compass holes. The point punches straight through and leaves a visible hole in the middle of your circle. Stick a small piece of tape or a folded sticky note under that spot first.
Hand fatigue is real too. Stippling a mushroom cap is about four hundred taps, and your grip will tell you about it. Shake it out halfway.
The Five Step Method Behind Every Drawing Here
Every single one of these follows the same order. Learn this once and you can stop reading instructions.
- Pencil the containing shape first. The frame, the arch, the circle, the ground line. Whatever holds everything else. Press lightly enough that you can barely see it.
- Block in the two or three biggest shapes. No detail yet. You are checking that everything fits on the page before you commit.
- Ink from the outside in. Outer edges first, then interior detail. Your hand is less likely to drag through wet ink this way.
- Fill the solid black areas last, then wait. Set the pen down and count sixty seconds before you touch an eraser.
- Erase, then add the tiny stuff. Dots, sparkles, stipple texture. These always go on last, over clean paper, never before the erasing.
Tip: If a step feels fiddly, you are probably drawing too small. Most beginners work at about half the size they should. Go bigger and the detail gets easier, not harder.
The Whole List of Aesthetic Drawing Ideas at a Glance
Scan this, pick by the time you actually have, and jump straight to it. These are the cute things to draw aesthetic notebooks are built on, sorted honestly rather than by what photographs best.
| # | Drawing | Level | Time | Trickiest part |
|---|---|---|---|---|
| 1 | Heart with flowers | Beginner | 10 min | Keeping the two halves even |
| 2 | Wildflowers in a broken ring | Beginner | 12 min | Varying the stem heights |
| 3 | Two coffee cups | Beginner | 15 min | The heart shaped steam |
| 4 | Decorated letter | Beginner | 15 min | Filling the letter without streaks |
| 5 | Hourglass with a flower | Beginner | 15 min | Matching the two waist curves |
| 6 | Falling star | Beginner | 10 min | Inking around the stars, not over them |
| 7 | Diamond and crescent moon | Beginner | 15 min | Straight facet lines |
| 8 | Rain mushrooms | Confident beginner | 20 min | Gill lines that fan evenly |
| 9 | Arched room with plants | Confident beginner | 20 min | Fitting the contents inside the arch |
| 10 | Window view with plants | Confident beginner | 18 min | Even hanging strands |
| 11 | Framed wheat field | Confident beginner | 25 min | Erasing where shapes cross the frame |
| 12 | Beaded curtain and moon | Confident beginner | 25 min | Spacing the beads unevenly on purpose |
| 13 | Feet under the blanket | Confident beginner | 15 min | The toes |
| 14 | Sleepy alarm clock | Confident beginner | 15 min | The face expression |
| 15 | Sun and lightbulb | Confident beginner | 15 min | The bulb screw base |
| 16 | Open book with butterflies | Challenge | 30 min | The page block lines |
| 17 | Stack of books with a plant | Challenge | 30 min | Keeping the stack from looking like one block |
| 18 | Open birdcage | Challenge | 35 min | Bars that read as curved |
| 19 | Polaroid and camera | Challenge | 30 min | Lettering along a curve |
| 20 | Two birds, sun and moon | Challenge | 40 min | Mirroring the bodies |
| 21 | Messenger bird with a tag | Challenge | 30 min | The sag in the string |
Quick Cute Aesthetic Drawings to Warm Up With
Start here if your hand is cold or your confidence is. Ten to fifteen minutes each, single objects, no erasing gymnastics.
1. A Heart That Outgrew Its Outline
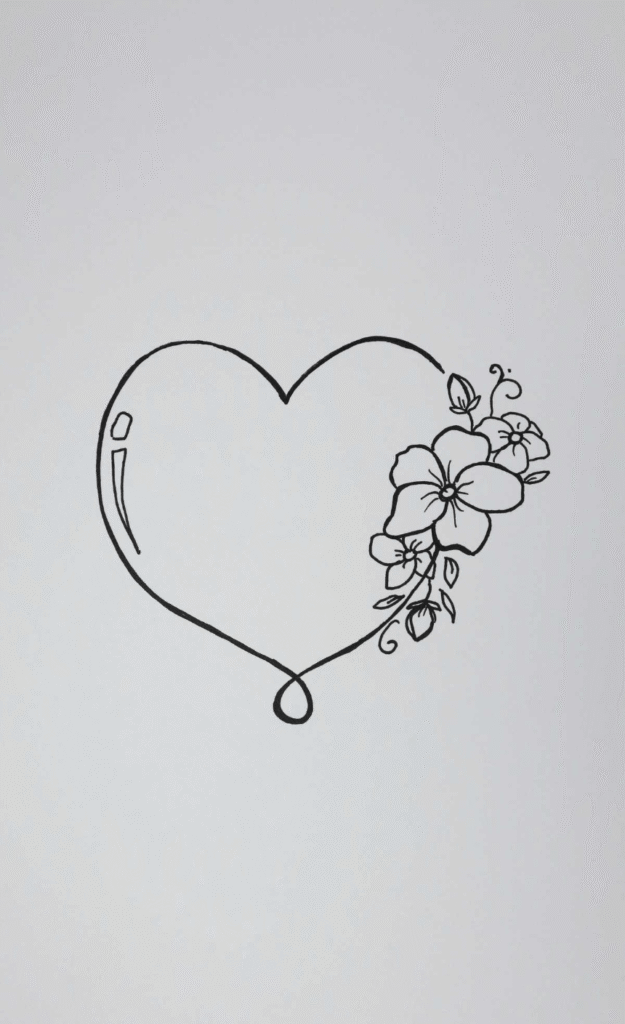
Hearts are the thing everyone doodles in the margin of a notebook. Two small changes make one look designed instead of absentminded.
How to Make It: Draw the heart as two curves meeting in a soft V at the top, and instead of closing them in a sharp point at the bottom, let them cross and loop once, like the end of a ribbon. Then stop the right side of the outline partway and replace that missing section with three to five simple five petal flowers and a few leaves, so the blooms look like they grew out of the line rather than sitting on top of it. Two short slanted marks on the inner left curve read as a glass highlight and lift the whole shape off the page.
Tip: Draw the heart in one continuous stroke if you can. The slight wobble is more attractive than a perfectly symmetrical outline made of four careful pieces.
2. A Wildflower Bundle in a Broken Ring

The ring is doing all the work here. Take it away and this is a nice sprig of flowers. Add it and it looks like a logo.
How to Make It: Trace a jar lid in pencil first, then break the circle on purpose: ink about two thirds of it, and let the rest dissolve into dots that get smaller and further apart as they go. Lay the stems in as long single confident strokes that start below the ring and cross over the top edge, so the bundle breaks the frame in two places. Add the flower heads last, small cup shapes and little bead clusters, and vary the heights so they do not all stop on the same invisible line.
3. Two Coffee Cups Sharing One Heart of Steam

I cannot look at this one without wanting a refill. It is also the best small gift on the list, five minutes of personalizing turns it into something someone keeps.
How to Make It: Start with the back cup so the front one can overlap it and the depth comes free. Each cup is a rounded trapezoid with a small C handle and a flat oval saucer underneath. Fill the saucers and the coffee surfaces solid black with a broad tip, then scatter dots across the cup bodies by tapping the nib straight down. Drag it even slightly and you get commas instead of dots. The steam is two mirrored S curves that meet at the top in a heart, with a loose question mark curl either side.
Tip: Redraw your own actual mugs, add names, or add an inside joke to the cup. A ten minute doodle becomes a birthday card.
4. A Bold Letter Wrapped in Wildflowers
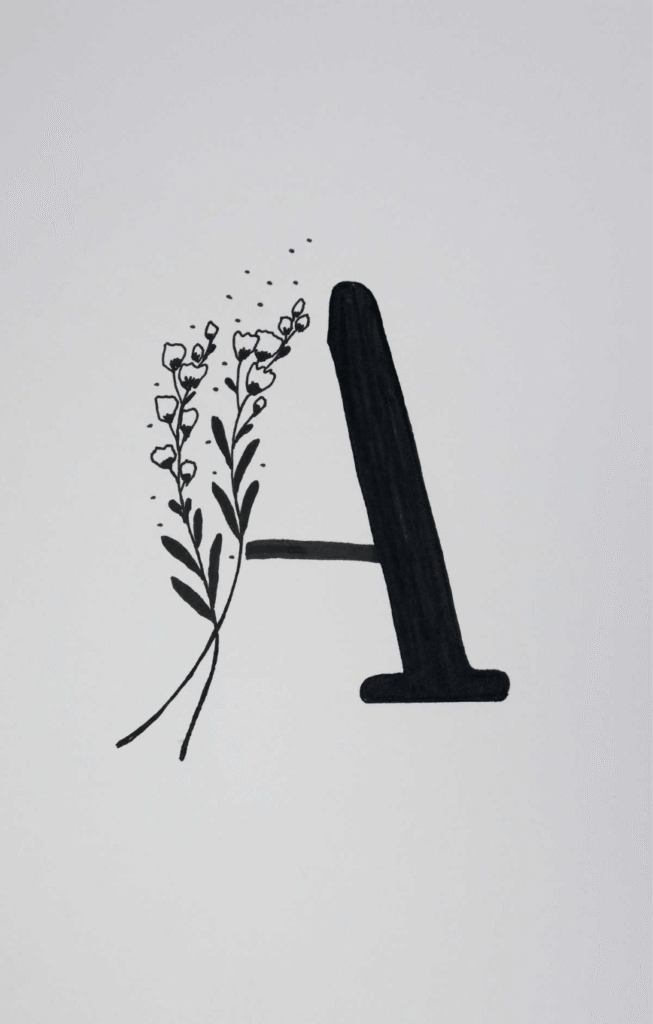
Monogram letters are the easiest personalized gift I make, and they double as an alphabet learning page if you have a little one working on letters.
How to Make It: Pencil the letter at the size you want, then thicken it by picking one side of every stroke and pushing it outward by about the width of your pen nib. The shape stays the same, the weight changes. Fill it with a chisel tip marker moving in one direction only, because going back and forth pools ink and leaves visible streaks. Then grow a flowering stem up the left side, let two blooms overlap the edge of the letter slightly so they sit in front of it, and scatter a few floating dots above.
Tip: Freehand letters not cooperating? Print the letter as large as the page allows, slide it underneath, and trace it against a bright window. Plastic stencils do the same job.
5. An Hourglass With a Flower Growing Through It
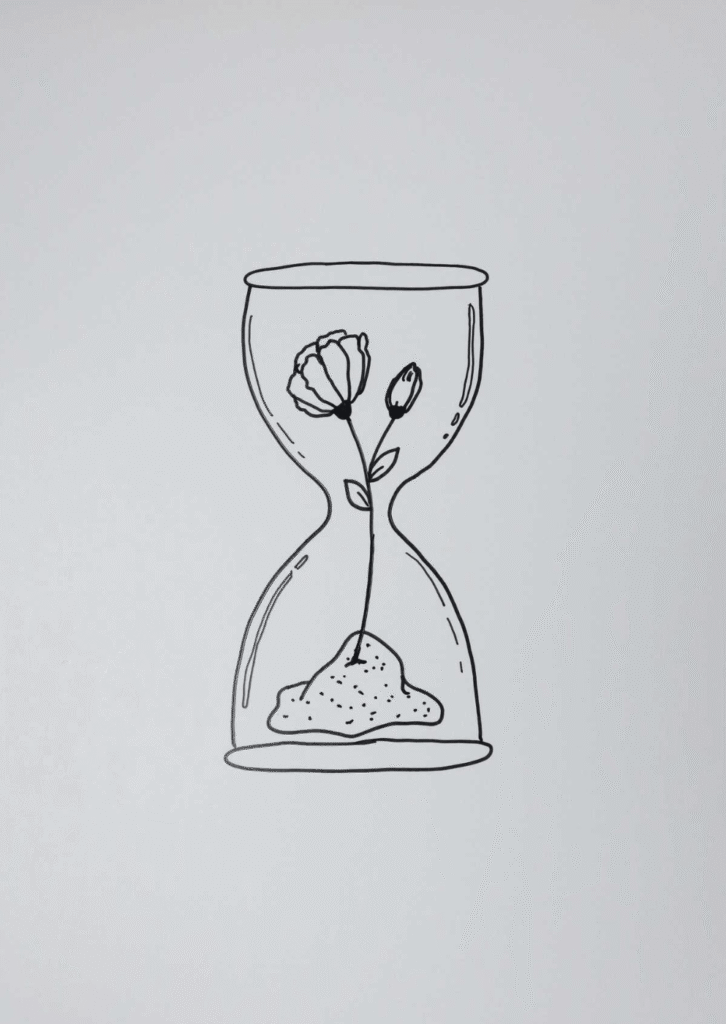
I have been drawing hourglasses since I was about nine. The flower is what makes this one worth a page.
How to Make It: Draw two horizontal ellipses, top and bottom, then connect them with two mirrored S curves that pinch in at the middle. Getting both curves to match is the entire difficulty of this drawing, so draw one, then turn the page upside down and draw the second. Your hand copies a shape much more accurately when it is facing the same way. Add a mound of sand in the lower bulb, stipple it for texture, then run one stem up from the sand, through the neck, opening into one bloom and one closed bud at the top.
6. A Star Escaping a Pocket of Night Sky
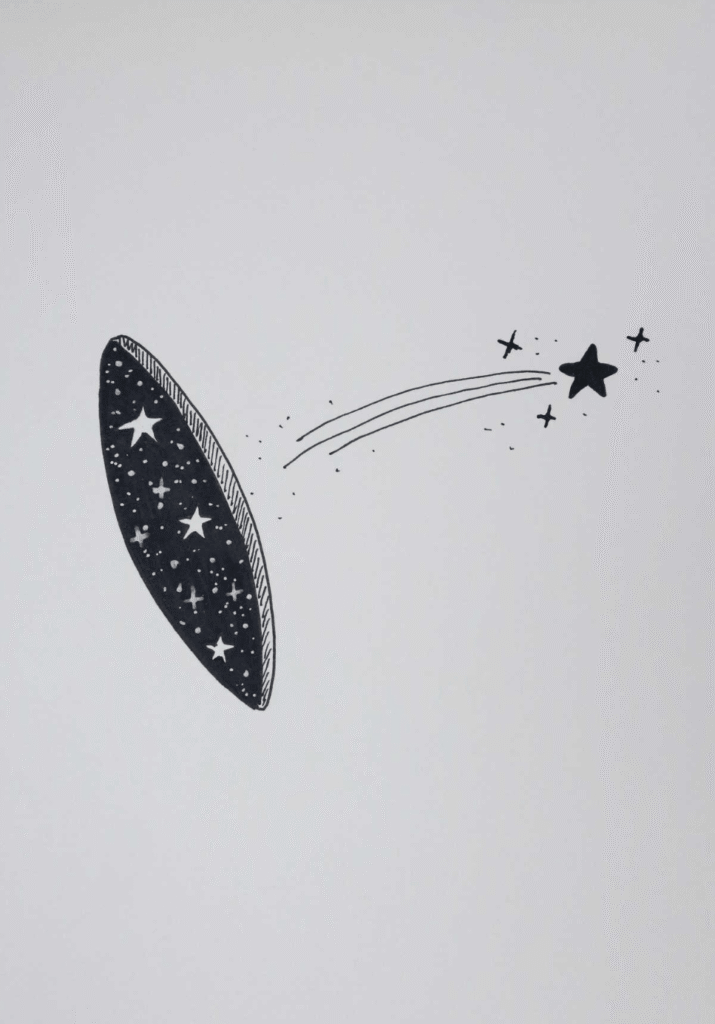
I did not want to draw an entire night sky, so I cut a hole in one instead. This is the fastest drawing here and one of the best looking.
How to Make It: Draw a long pointed oval, like a leaf, tilted about forty five degrees. Give one edge a thin rim with short hatch marks across it so it reads as an opening rather than a flat shape. Draw your stars and dots inside the oval first, then fill everything around them solid black. Inking around white shapes is far easier than trying to carve them back out later. Finish with three curved speed lines trailing up and to the right, ending in one solid black five point star.
Photo note: Shoot this one at a slight angle in side light so the sheen on the black fill is visible. That texture is the whole appeal and flat overhead light kills it.
7. A Diamond Cradled by a Crescent Moon

Embellishing a plain classic shape has changed how I draw lately. A diamond on its own is fine. A diamond with a moon behind it and flowers climbing its side is a page.
How to Make It: Start with the flat top, a hexagon seen at a slight angle. Drop two long lines from the outer corners down to a single point to build the body, then add facet lines running from each corner of the top to that bottom point. This is the one drawing on the list where a ruler genuinely helps, because wobbly facets look like a mistake rather than a style. Trace a bowl twice with a small offset to build the crescent behind it, then add flower clusters climbing the right side and short rays above the top.
Cute Things to Draw Aesthetic Journals Are Full Of
Now we are building small scenes rather than single objects. Fifteen to twenty five minutes each, and you will be erasing a few overlapping lines. These are the cute things to draw aesthetic bullet journal pages lean on hardest.
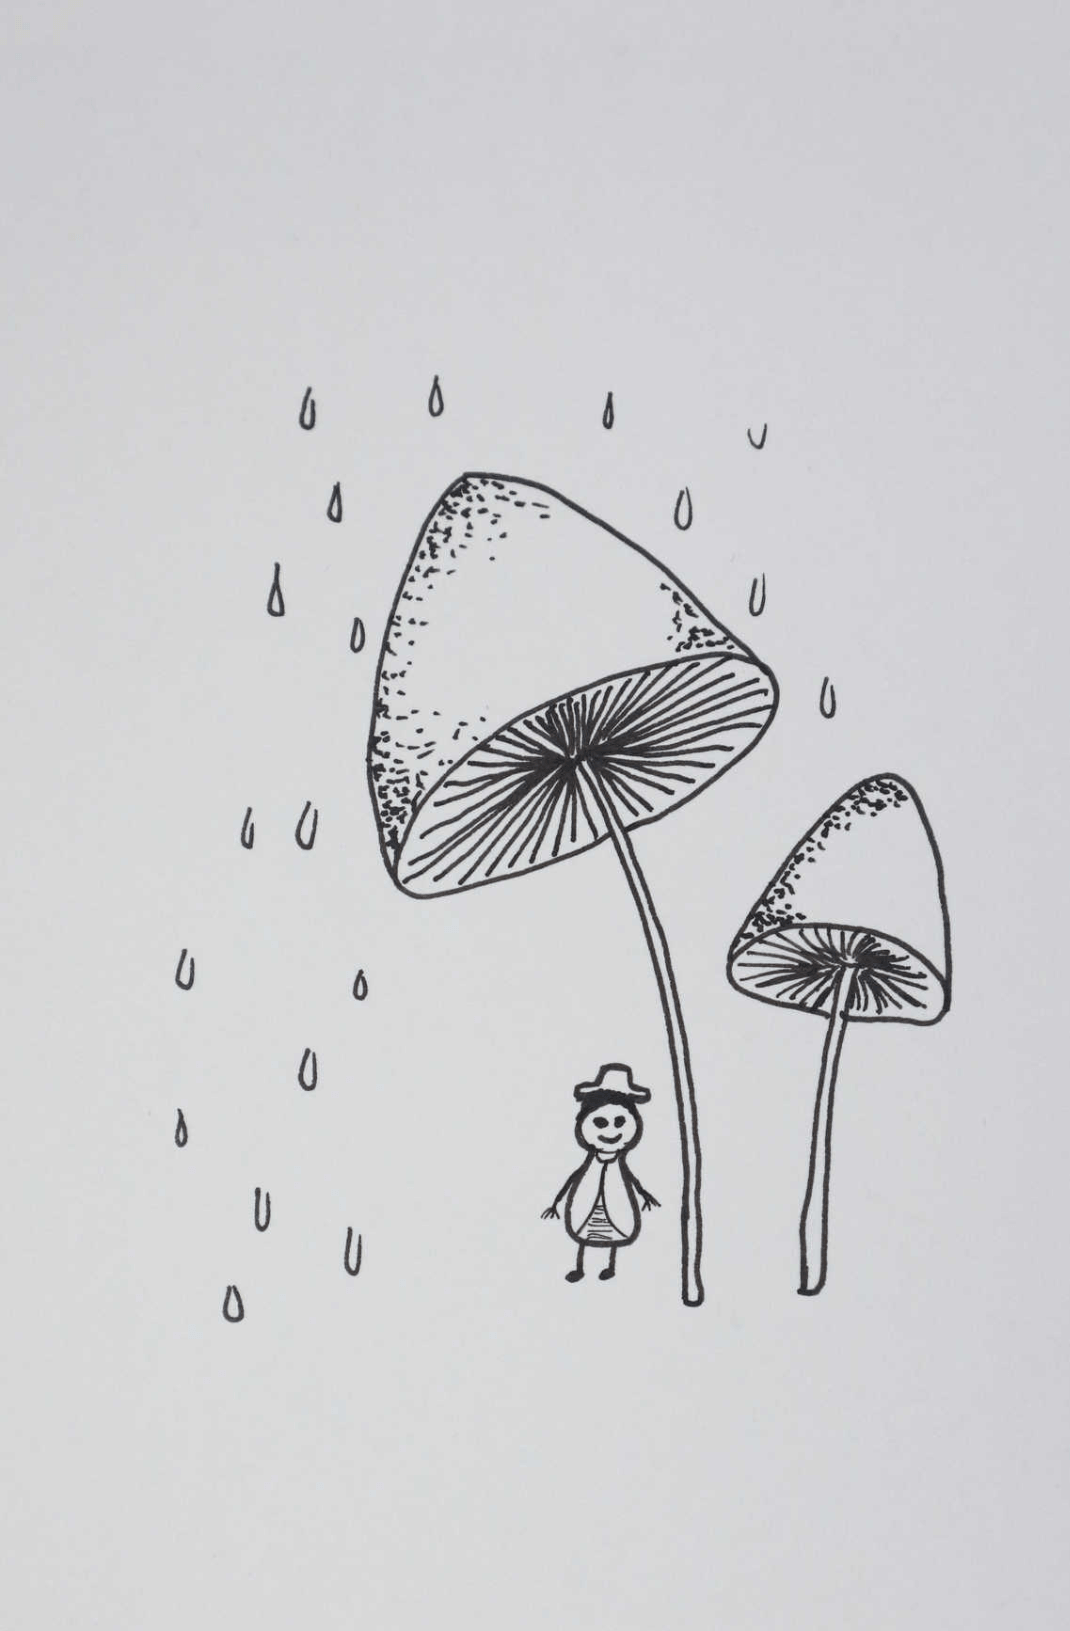
8. Giant Rain Mushrooms With a Tiny Person Underneath

The mushrooms are the draw, but the little figure is what makes the scene work. Take them out and you have two mushrooms. Leave them in and you have a story.
How to Make It: Draw the cap as one wide arc, like a hill, then close it underneath with a shallow curve so the gills show. Draw the gill lines from a single point at the top of the stem outward toward the rim, never the other way around, because starting at the rim and working in makes them bunch and lose the fan. Add the stems as two nearly parallel lines with a slight taper, stipple the top of the cap more heavily on one side for shading, then fill the background with small teardrops for rain. The person underneath is four lines and a hat.
9. An Arched Peek Into a Plant Filled Room
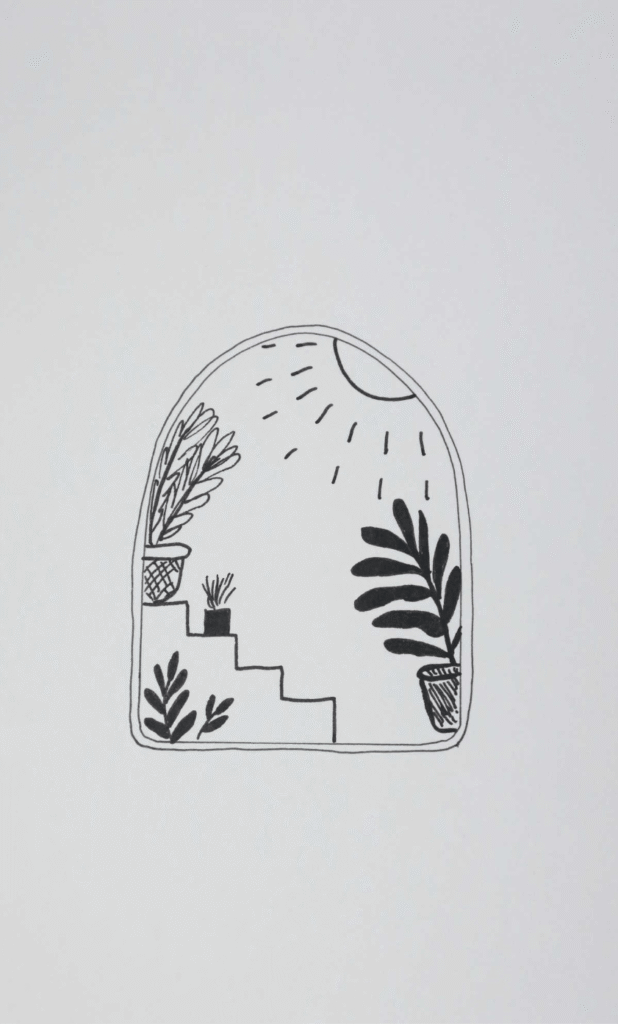
I love a snippet of a scene rather than the whole room. You get atmosphere without having to draw furniture.
How to Make It: Draw the arch first, and draw it twice: an outer line and an inner line a few millimetres inside it, so it reads as a wall with thickness instead of a sticker. Block the big shapes next, the stepped shape along the bottom, the sun arc in the top corner, the two largest pots. Then fill the gaps with smaller plants and light rays, keeping the rays as short dashes rather than full lines so the upper half stays airy. Work outside in and you will never run out of room at the edges.
10. The Same Arch, Seen From the Window Side

I like to think this is the view looking back into the room from the previous drawing. Same frame, completely different mood.
How to Make It: Same arch, same double line. This time the plants sit along the bottom edge like a windowsill, and the light comes in over the top as a curved band with small hanging strands below it. Each strand is a single line with a tiny circle at the end, and the lengths need to vary or the whole thing looks like a comb. Fill three or four leaf shapes solid black and leave the rest as outlines. That contrast is what makes a simple plant cluster look composed rather than scribbled.
Tip: Add a pattern between the two arch lines, small dashes or dots, and the frame stops being a frame and becomes part of the drawing.
11. A Framed Wheat Field on a Windy Afternoon

This is what I draw when my head is loud. It is repetitive in the best way.
How to Make It: Pencil a rounded rectangle frame, and accept now that you will be erasing parts of it. Add the sun in the top corner with short rays, two clouds that cross the frame line, one diagonal hill line, then the wheat. Draw each stalk as a single curved stroke leaning the same direction, because that shared lean is the entire reason it reads as wind, then add seed heads as short paired flicks either side of each stem. Erase wherever the clouds and stalks cross the frame so they sit in front of it, then ink everything.
Tip: Want a still scene instead of a windy one? Draw the stalks straight and vertical. Same drawing, completely different feeling.
12. A Beaded Curtain and a Sleepy Moon
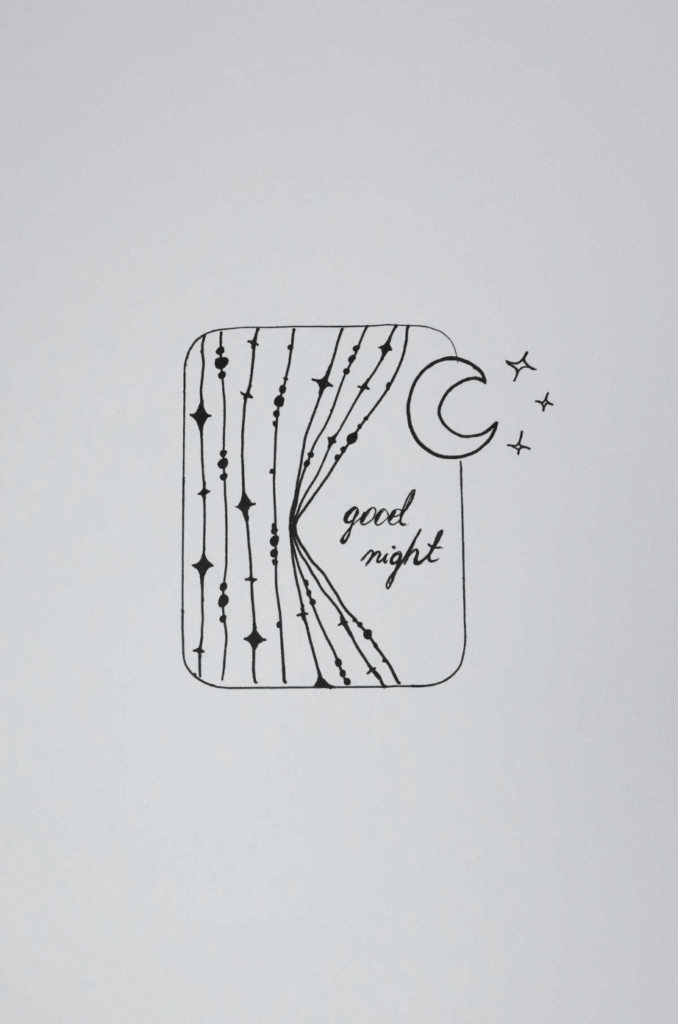
This may or may not have been made at two in the morning on a night I could not sleep. Hopefully you are drawing it under better conditions.
How to Make It: Draw a rounded square, then mark one point on the left edge where every strand will originate, like a sideways triangle opening toward the right. Run the strands out from that point, letting them curve and fan apart, and thread beads along them: diamonds, dots, whatever shape you like, spaced unevenly on purpose because even spacing looks mechanical. Leave the right side clear for the lettering, write it in pencil first, then thicken the downstrokes on a second pass. The moon and its sparkles break out past the frame on the right, which keeps the square from feeling closed in.
13. Two Feet Sticking Out of the Blanket at 2am
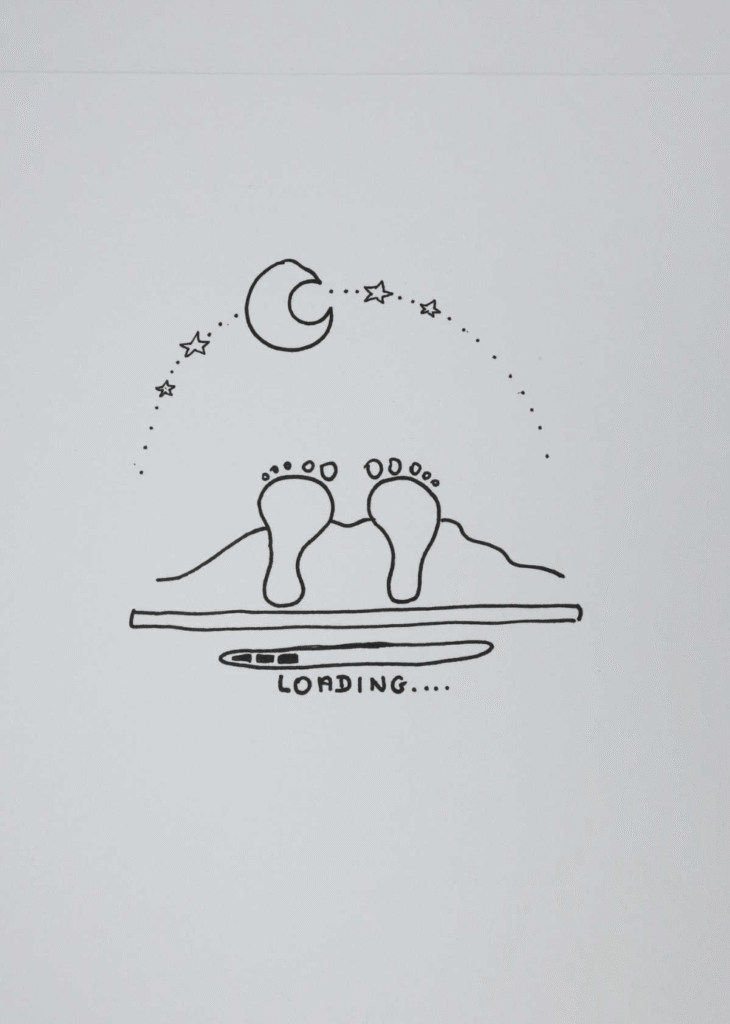
This one came from watching a friend’s kid sleep, or more accurately, watching her refuse to. We have all been that shape at some point.
How to Make It: Draw the bed frame lines first, two long horizontals, because everything else hangs off them. Add the blanket as one bumpy line across the top, then the two feet poking through, each a rounded shape with five small ovals along the top edge for toes. Arc the stars and dots overhead in a loose dome with a crescent moon near the top left. The loading bar underneath is a flat capsule with a few blocks filled in and the word in simple capitals below it.
14. An Alarm Clock That Would Rather Be Asleep
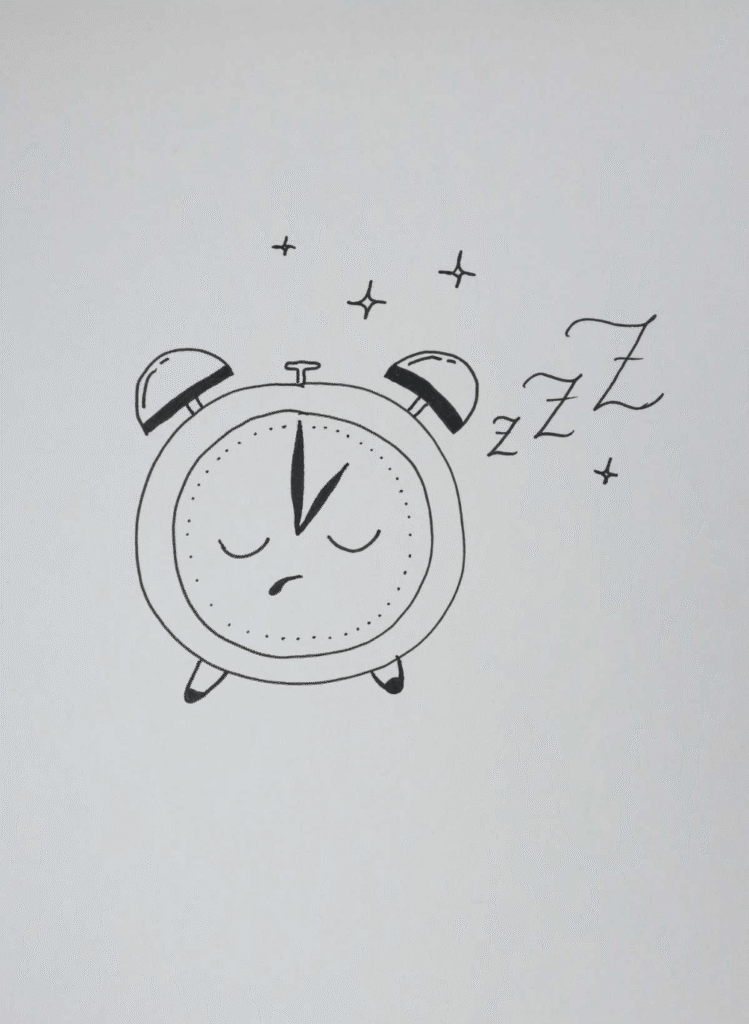
My favorite way for a clock to look. The structure takes five minutes and the personality takes the other ten.
How to Make It: Draw two circles, one inside the other, for the case and the face. Add two bells on top at roughly ten and two o’clock positions, a small knob between them, and two short feet at the bottom. Fill the bells solid black except for a small highlight gap on each. The face is two downward curving arcs for closed eyes and a small tilted mouth, and the hands stay simple, one long one short. Then add the Zs drifting up to the right, growing in size as they go.
Tip: the expression is the drawing. Sketch three faces on scrap paper first, sleepy, annoyed, delighted, and use whichever one makes you laugh.
15. A Sun and a Lightbulb Grinning at Each Other
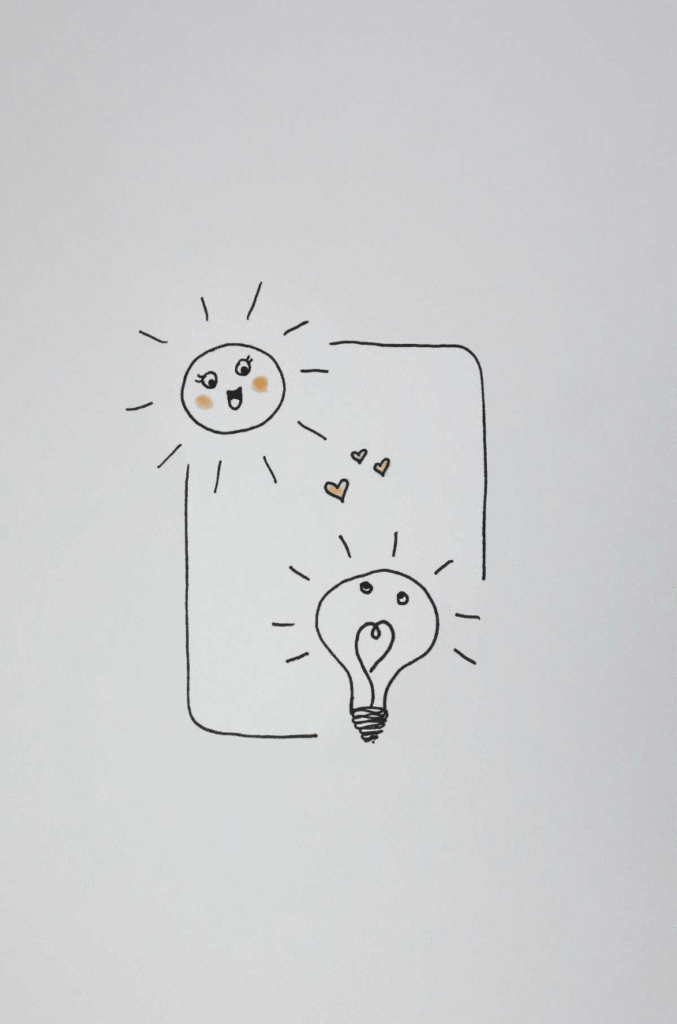
Two characters, one joke, no background needed. The blush circles on the cheeks do an unreasonable amount of work for how little effort they take.
How to Make It: Draw the frame as a deliberately incomplete rounded rectangle, leaving two gaps where the sun and the bulb break out through it. The sun is a circle with straight rays and a wide open smile. The bulb is a rounded shape narrowing into a screw base built from three or four stacked curves, with a heart for the filament. Add small blush circles under each set of eyes and two or three tiny hearts floating in the gap between them.
Aesthetic Drawing Ideas Worth Slowing Down For
These take twenty five to forty five minutes and ask a little more of you: repeated lines, mirrored shapes, lettering on a curve. They are still beginner friendly. They just reward patience. If you have worked through the quick ones already, these are the aesthetic drawing ideas to graduate to, and the drawing ideas aesthetic boards tend to feature most, because the extra ten minutes shows up clearly in the photo.
16. An Open Book Letting the Butterflies Out

Reading is my other favorite thing to do badly and often. This drawing makes me want to close the laptop and go find a chapter.
How to Make It: Start with the two page shapes as a wide flattened W seen from the front, then draw the outer edges of the covers around them. Stack short horizontal lines along each outer edge for the page block, keeping them slightly uneven, because perfectly even lines look mechanical. The spine is a small dark wedge at the center. Then draw three dotted trails rising out of the spine, each ending in a butterfly, staggering their heights so they do not look like a fountain, and fill the gaps between them with four pointed sparkles.
17. A Stack of Books With a Plant on Top

I have mentioned the book thing. What is better than one book? Three, with a plant balanced on them.
How to Make It: Draw the ground line first, then stack the books upward from it, each one a long rectangle with its front cover offset slightly from the one below so the stack has a little sway. Give every book a different spine treatment, a band, a ribbon, a small square label, or the whole thing reads as one solid block. The pot on top is a tapered shape with speckles, holding four or five long pointed leaves that cross over each other rather than fanning out evenly. Write your own favorite titles along the spines and it stops being a doodle and becomes a gift.
Great page for a reading tracker spread.
18. An Open Birdcage and Whatever Just Left It
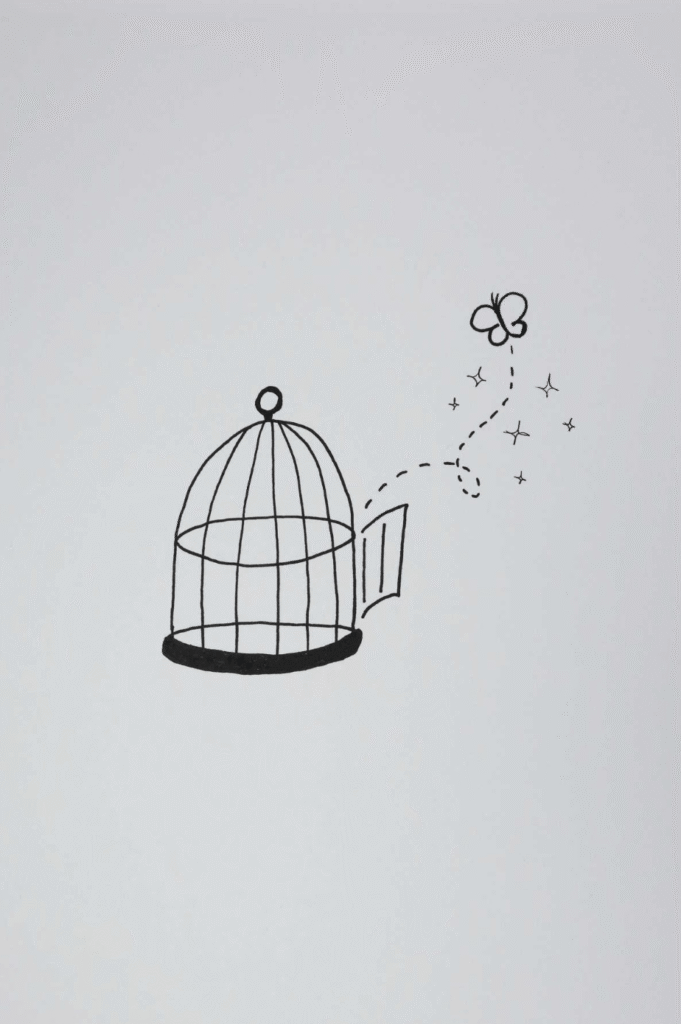
Always easy, always turns out cute. I put a butterfly in mine, but a bird, a moth, a paper plane or a bunny all work and the bunny is funnier.
How to Make It: Draw the dome first as a half circle with a small ring on top, then the base as a flat filled ellipse. The bars run from the dome down to the base, and here is the trick: curve the outermost bars slightly and keep the middle ones straight. That is what makes a flat set of lines read as a round cage. Add two horizontal bands across them, then swing the little door open on the right as a narrow rectangle at an angle, and send a dotted trail out of it to whatever just escaped.
19. A Polaroid of Somewhere You Actually Went

After a trip I like to draw a polaroid of the main landmark. Keep doing it and it turns into a travel journal without you deciding to start one.
How to Make It: Draw the polaroid tilted, a square with a thicker white border along the bottom edge, and put something you genuinely saw inside it: mountains, a pier, the shape of the hill behind your parents’ house. Draw the camera above it at an opposing angle so the two rectangles do not sit parallel, add a small flash burst above it, then loop a dotted trail between the two. Write the words along the curve of that trail rather than horizontally. It needs a pencil pass first, and it is the single thing that makes the page look properly composed.
Photo note: photograph this one with the pencil guideline for the curved lettering still faintly visible under the ink. Readers trying curved text for the first time need to see that the guideline exists.
20. Two Birds, One Sun, One Moon, One Circle

The light and dark idea is borrowed from a Yin Yang symbol. It is the most technical drawing here and the one I am proudest of.
How to Make It: Sketch the circle lightly first, this is the one time drawing the frame before the contents genuinely helps, because it gives you defined edges to balance against. Place the two birds inside nose to tail so their bodies mirror each other. Leave one as outline only with small scribbled feather marks, and fill the other solid black, leaving a few thin unfilled flicks in the wing so it does not become a silhouette. The pale bird reaches toward a sun on the left, the dark bird toward a crescent on the right. Ink the outer ring last as a broken circle of dots so the frame never overpowers the birds.
Practical note: When you mirror two shapes, draw the first one, then rotate the page one hundred and eighty degrees to draw the second. Your hand repeats a familiar motion instead of trying to reverse it, and the two halves come out far closer than eyeballing it.
21. A Messenger Bird Carrying a Flower Tag

Think classic messenger pigeon, but prettier. No disrespect to pigeons, they did essential work, they just needed a good looking cousin.
How to Make It: Draw the tag first, a rectangle with two clipped top corners, a punched hole at the top, and a second line down one side to give it thickness. Fill it with a small wildflower arrangement, stems low and blooms high, plus a light scatter of dots. Then draw the bird above it in flight with a leafy sprig in its beak, and run the string from the beak down to the hole in the tag. Let that string sag. A taut straight line looks like an error and a loose curve looks deliberate, every time.
Common Mistakes Beginners Make
These are the ones I actually made, in order of how much they cost me.
- Erasing before the ink is dry. Pigment ink looks dry long before it is. You drag the eraser across, and a grey smear spreads over the whole page with no way back. Count to sixty.
- Pressing hard with the pencil. Heavy graphite leaves grooves in the paper that stay after erasing, and your pen nib catches and skips in them. Sketch so lightly you can barely see it.
- Filling black areas with a fine liner. It comes out streaky and it shreds the nib on a pen you wanted to keep. Use a chisel or brush tip, one direction only.
- Drawing the frame last. On any framed scene, the contents will not fit. Frame first, always, even though it feels backwards.
- Centering everything. Dead center is the least interesting place for your focal point. Push it off center and let one element break out past the frame.
- Dragging the pen for stipple dots. You get commas. Tap the nib straight down and lift.
- Punching a compass hole through the middle of a finished page. Tape underneath before you spin the circle.
- Drawing radiating lines from the outside in. Gills, rays, strands, they all need to start from the single origin point and go outward, or they bunch up and lose the fan.
Working through cute things to draw aesthetic style teaches you all eight of these in about a week. Reading them here saves you the week.
FAQs
What are the easiest cute aesthetic drawings for beginners?
Single objects with one focal point: a heart with flowers, a decorated letter, two coffee cups, an hourglass, a falling star. They need no perspective and no matching curves, and each one takes about ten to fifteen minutes.
What pens do you use for aesthetic drawings?
A Sakura Pigma Micron 05 for outlines and an 01 for fine detail, plus a chisel tip marker for filling solid black and a Tombow Fudenosuke for lettering. A black ballpoint and any felt tip will get you most of the way there.
How do I make my drawings look aesthetic instead of messy?
Pick one focal point, add a containing shape such as a circle or arch, and fill two or three shapes solid black so the page has contrast. Those three moves account for most of the difference, far more than line quality does.
What should I draw when I am bored but want it to look good?
Anything on this list at the ten to fifteen minute end: the sleepy alarm clock, the sun and lightbulb, the birdcage, the falling star. When people search drawing ideas aesthetic they usually want exactly this, something finishable in one sitting that still looks like a real piece.
Can kids draw these too?
Yes. Under sevens do best drawing the big outlines while an adult inks, or coloring in a finished outline. Seven to ten year olds can do the whole thing with a water based felt tip, skipping the pencil stage entirely.
How long does a full page of these take?
A single drawing runs ten to forty five minutes depending on the detail. A spread of four simple ones is a comfortable evening, which is why these cute aesthetic drawing ideas work well as a daily habit rather than a weekend project.
