
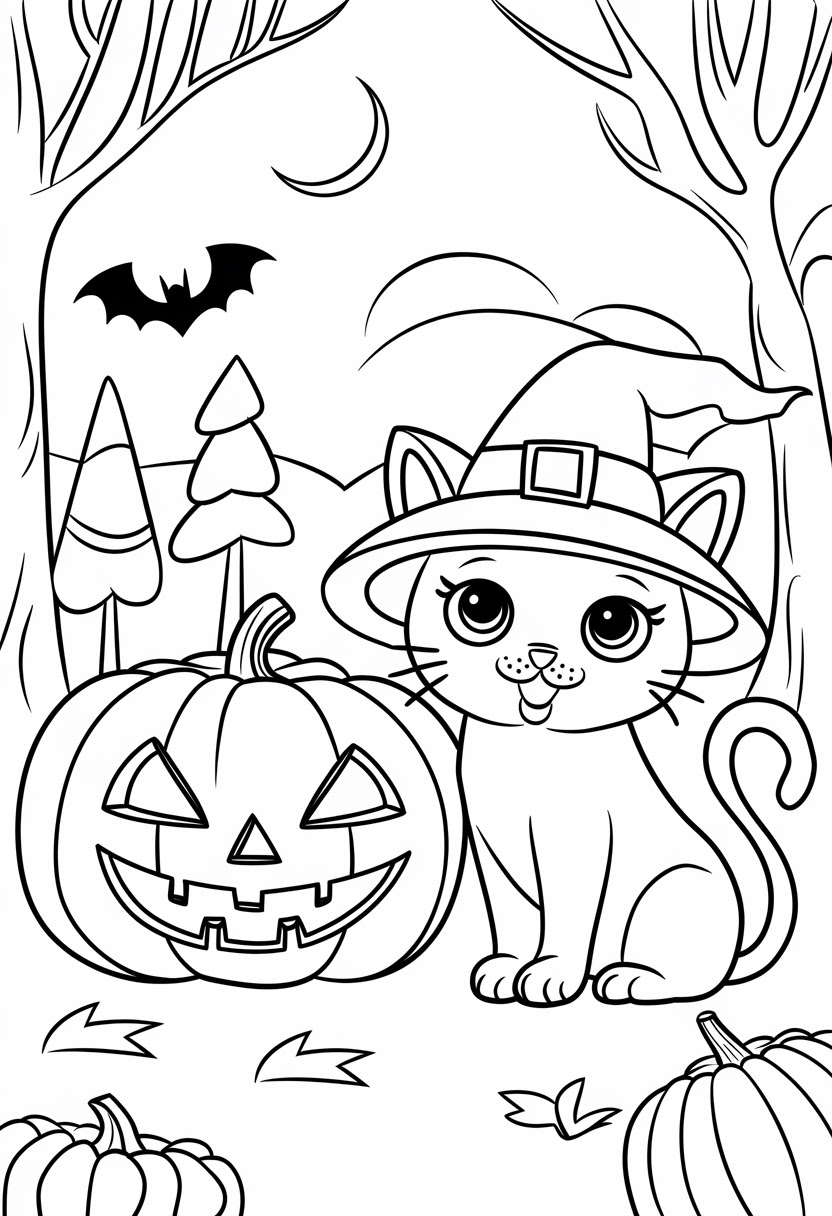
Last October I printed the witch cat page for my six year old, handed her the marker tin, and watched her fill the entire cat in with the black marker in about ninety seconds. Every whisker, every paw line, every bit of the face, gone. She looked at the black blob she had made and got genuinely upset.
That was the afternoon I worked out that nobody explains how to color a black cat. It is the one thing that goes wrong with every single Halloween cat page, and it takes about fifteen seconds to prevent.
So this is not only a list of pages. It is the list plus the part that actually saves the afternoon.
Halloween cat coloring pages are free printable line drawings of black cats in Halloween scenes, with witch hats, pumpkins, broomsticks, cauldrons, and friendly ghosts, sized for home printers on standard letter paper. The key with any black cat page is to color the cat in dark grey, navy, or deep purple rather than solid black, so the whiskers and face lines stay visible instead of disappearing. Most of the eleven designs below take a child 10 to 30 minutes, and they suit ages three to twelve depending on how much detail the page has.
Why These Halloween Cat Coloring Pages Work Better Than Most
Halloween printables usually split into two useless piles. Either they are so scary that a four year old will not touch them, or they are so simple that anyone over seven is done in three minutes and asks what else there is.
This set sits in the middle on purpose. Every page has a cat, which gives a nervous kid something friendly to hold onto, and the spooky parts stay at the level of a carved pumpkin and a crescent moon.
The other thing they have going for them is variety of density. The candy bag page is wide open shapes for a preschooler. The spider web page has thin repeating line work that will hold a ten year old for half an hour. Print a mix and a whole table of different ages stays busy at the same time.
Practical note: October is the month where the printer runs out of ink at the worst possible moment. Set your print dialog to grayscale or “black ink only”. Most home printers mix black from the color cartridges by default, and a stack of line art will drain them.
The Black Cat Problem, and How To Fix It
Here is the thing about every page on this list. The main character is black, and black is the one color that destroys line art.
When a kid fills a cat in with a solid black marker or presses hard with a black crayon, the printed lines underneath vanish. The whiskers, the eye shape, the little mouth, the paw separation, all of it disappears into one flat shape. The page looks worse than before they started, and they can tell.
Three fixes, easiest first.
Use a dark color that is not black. Dark grey, navy blue, or deep purple all read as a black cat on paper and let the printed lines show through. This is what real illustrators do. A black cat in a picture book is almost never actually black.
Leave the edges lighter. Color the middle of the cat darker and ease off around the outline, the face, and the paws. Colored pencil does this naturally just by changing how hard you press.
Go black, but add the details back on top. A white gel pen over dark color gives you whiskers, eye shine, and fur texture that look better than the original print. The Uni-ball Signo Broad in white and the Sakura Gelly Roll 10 both cover properly on the first pass.
One catch worth knowing before you promise a kid sparkly whiskers. White gel pen will not write over crayon. The wax repels it and it clogs the tip. Gel pens go over colored pencil or marker, never over crayon.
Age and Skill Guide
Rough guide based on what actually holds attention, not what the packaging claims.
Ages 3 to 5. Big open shapes only. The candy bag, the pumpkin patch, the ghost friends. Chunky crayons, 5 to 10 minutes of real focus, and color all over the lines. Do not mention the black cat rule to this age group. Let them make a purple cat and be delighted with it.
Ages 6 to 8. Most of this list works. Markers or pencils, 15 to 20 minutes. This is the age that will sit still for the black cat trick and be genuinely proud of the result, especially the white gel pen part.
Ages 9 to 12. Give them the spider web, the bat wings, the vampire. They can handle glow effects and shading, and they will spend 30 minutes or more if the page rewards it.
To adapt down for a younger sibling, print the same page at 130% so the shapes get bigger and the lines move further apart. To adapt up for an older kid, ask them to fill the background with their own pattern instead of a flat color, or to work the whole page in only three colors.
What You Need, Plus a Free Version of Everything
You already own most of this.
| What I use | Why it matters here | Free or cheap alternative |
|---|---|---|
| 28 lb paper or 65 lb cardstock (Hammermill) | Black marker bleeds through 20 lb copy paper almost every time | Copy paper with a scrap sheet underneath, and stick to crayons |
| Crayola Ultra Clean washable markers | Bright, comes off skin and most tables | Any crayons you have, and crayons never bleed |
| Colored pencils, Prismacolor Premier if you have them | The only way to get a soft dark on a black cat | School pencil set, sharpened well, light pressure |
| Uni-ball Signo white gel pen | Whiskers and eye shine over dark color | White crayon pressed hard, or a thin line of white school glue left to dry |
| Orange and purple highlighter | Instant glow behind a moon or pumpkin | Yellow crayon rubbed on its side |
| Fiskars blunt tip kid scissors | Cutting cats out for a window display | Any household scissors with an adult doing the cutting |
| Scotch tape | Hanging finished pages on a window | Poster putty, or a clothespin on a string |
Where to source: dollar stores stock decent cardstock and washable markers through September and October. Craft store clearance on November 1 is where I buy Halloween supplies for the following year at a fraction of the price. School supply sales in August are the cheapest colored pencils of the whole year.
Practical note: if you upgrade one thing, make it the paper. Heavier paper is what stops black marker from bleeding onto your kitchen table, which is the single most common complaint about Halloween printables.
ℹ️ Photo Download Instructions:
📱 On mobile: Long press the image to access the download option.
💻 On computer: Right-click the image and select “Save Image.”
Free Printable Halloween Cat Coloring Pages for Kids
1. Cat with a Halloween Spider Web
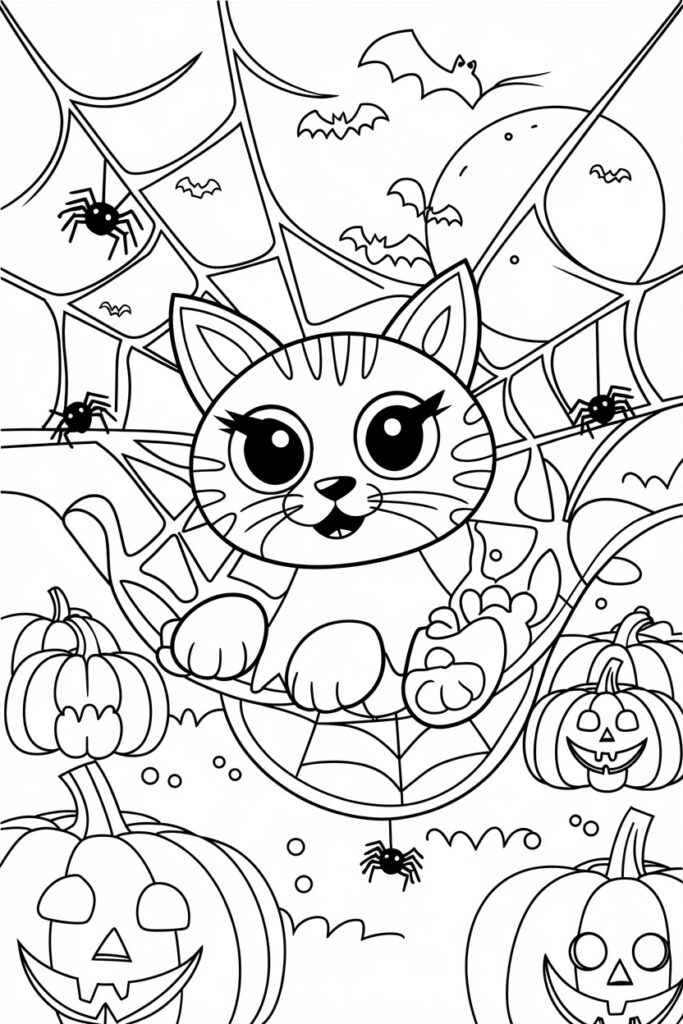
Cat tangled up with a web and small spiders. The most detailed page in the set and the best one for a child who likes fine work.
Coloring steps:
- Do the web first, before anything else touches it. Go around the strands with grey, leaving the web itself white.
- Cat in black or dark grey, emphasizing the eyes.
- Spiders in black with orange or yellow eye dots.
- Sky in purple and blue.
- Pumpkins or headstones in the background in orange and brown.
Tip: The web only works if it stays lighter than everything around it. Coloring around a thin line is a real skill, so this is the page to give to a kid who wants a challenge and has the patience for it.
Trade off: 30 minutes minimum, and frustrating for anyone under eight. It is also the page most likely to be abandoned halfway through, so do not print it for a party.
2. Cat with a Halloween Candy Bag
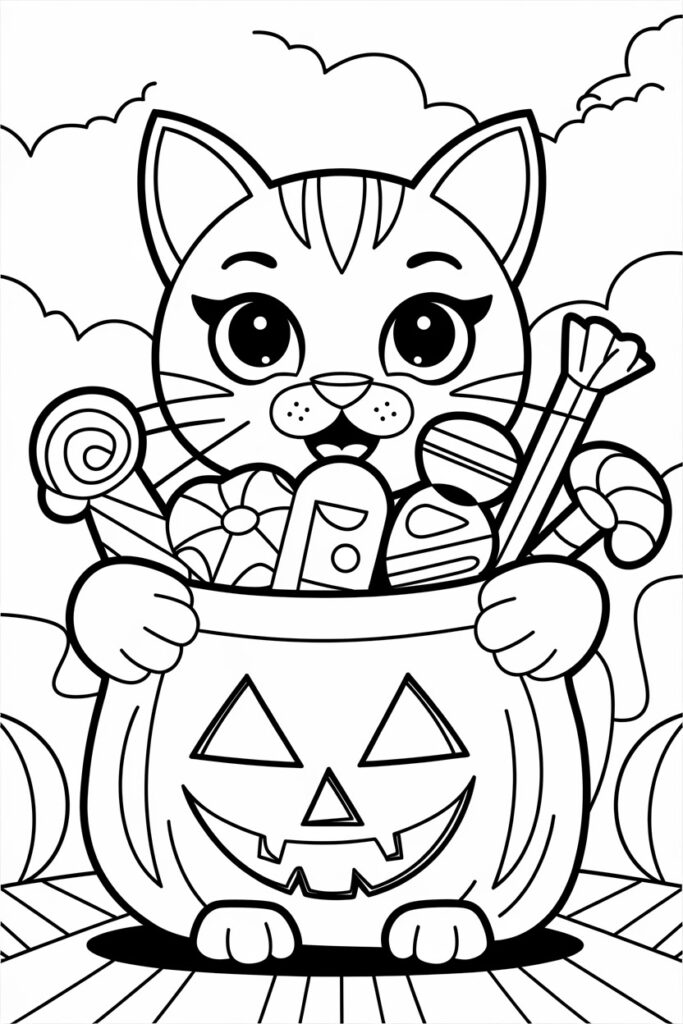
Cat holding a bag of treats. Wide open shapes, fast to finish, and the most popular page in the set with under sevens for obvious reasons.
Coloring steps:
- Bag in orange with purple details.
- Every candy a different color. This is the whole appeal, let them go rainbow.
- Cat in grey and black, keeping the face and paws lighter.
- Simple dark background, or leave it white.
Trade off: It is finished in about ten minutes. Print a second page at the same time so there is a follow up ready before anyone announces they are bored.
3. Cat and Ghost Friends
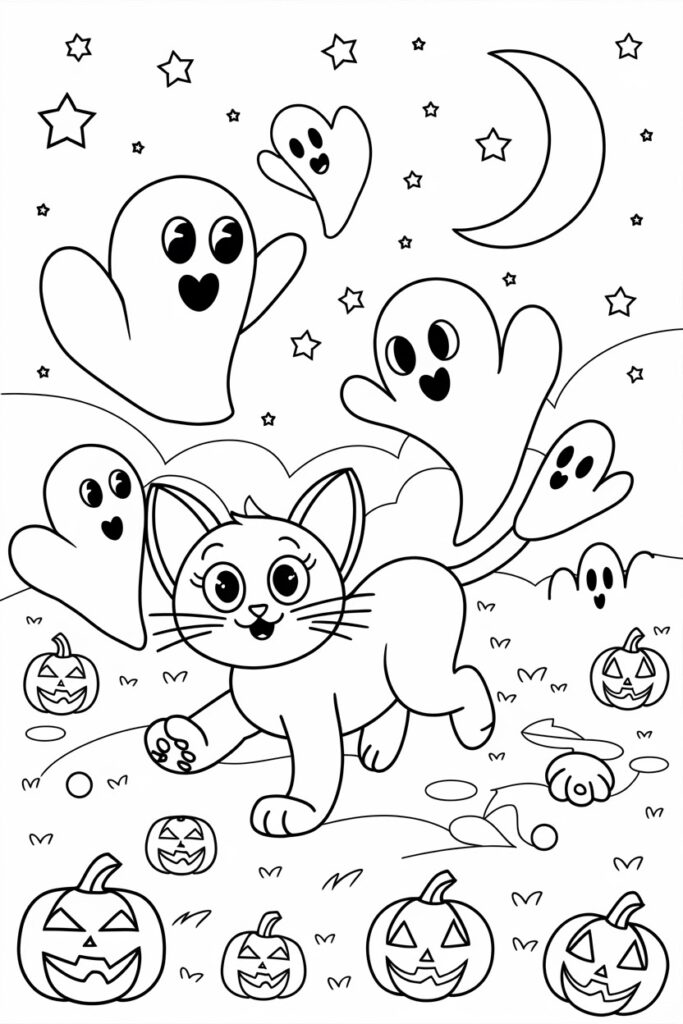
Cat playing with friendly ghosts. The gentlest page here and the one I would hand to a three or four year old, or to any child who finds Halloween a bit much.
Coloring steps:
- Ghosts in the palest colors in the tin, light blue, pale purple, soft green. Barely there is the point.
- Cat in grey so it stands apart from the pale ghosts.
- Pumpkins and decorations in orange and yellow.
- Background in soft blue or lavender, deliberately not dark.
Tip: White crayon on white paper is a fun trick for ghost texture. Scribble the ghost with a white crayon first, then wash over it with a light blue marker, and the ghost shows through. It looks like magic to a five year old and takes one extra minute.
Trade off: The pale palette means small kids often skip the ghosts entirely because it feels like nothing is happening. The white crayon trick fixes exactly that.
4. Cat in a Pumpkin Patch
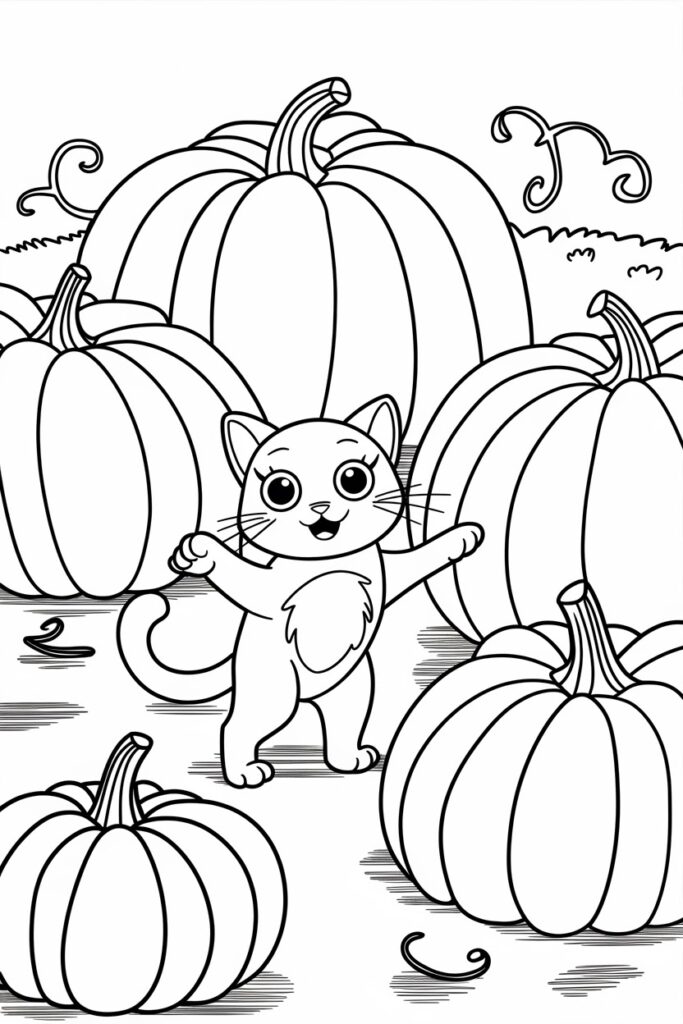
Cat among pumpkins of different sizes. Easily the best page for a younger child, because there is no wrong way to color a pumpkin and there are a lot of them.
Coloring steps:
- Pumpkins in a mix of orange and yellow, varying them so the patch does not look like wallpaper.
- Green vines and leaves between them.
- Cat in grey or navy.
- Ground in brown, sky in twilight purple.
Tip: Tell a small kid to make one pumpkin a completely wrong color on purpose, a blue one or a pink one. It gives them permission to relax about the rest of the page, and it always ends up being their favorite bit.
Trade off: With this many separate shapes, a three year old will lose interest around pumpkin four. That is fine. A half colored pumpkin patch still looks good.
5. Flying Cat on a Broomstick
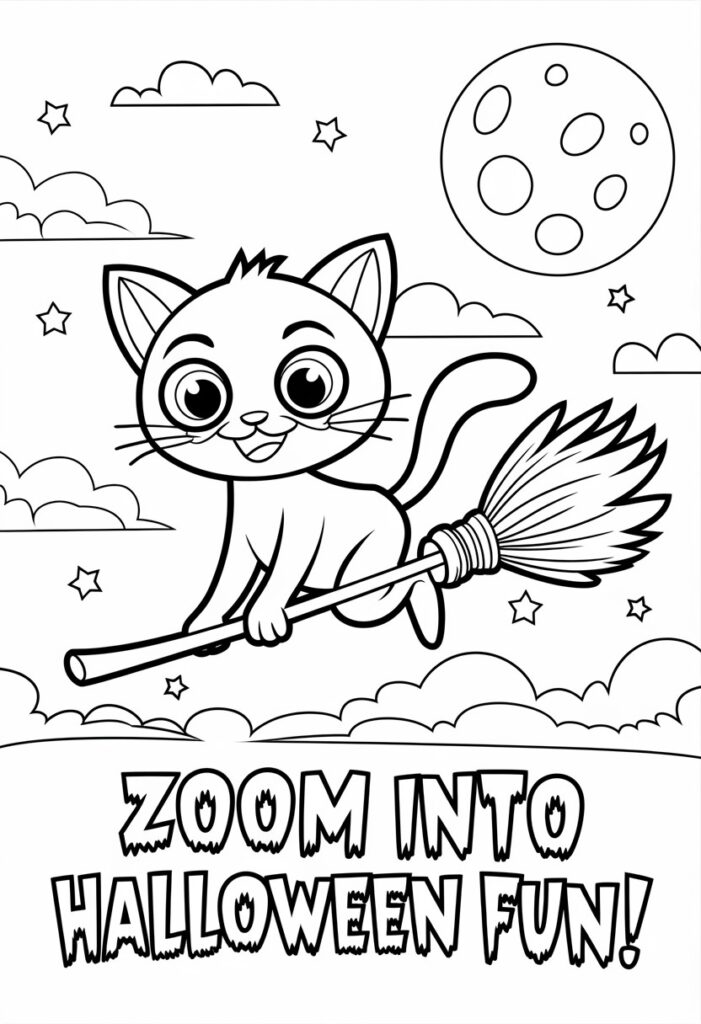
Cat on a broom against a moonlit sky. The most dramatic page here and the one that looks best finished, because the big open sky gives a kid room to make something bold.
Coloring steps:
- Moon in pale yellow, very light pressure.
- Leave a clear white gap of a few millimetres all the way around the moon. Do not color into it.
- Sky in blue, going darker toward the corners and lighter near the moon.
- Broom in brown, with yellow streaks through the bristles.
- Cat in dark grey with a light edge along the back where the moonlight would land.
Tip: That untouched white ring around the moon is the whole trick. It reads as glow and takes no skill at all, just restraint.
Trade off: A big sky is a lot of coloring. With a marker it is fast but streaky. With a pencil it looks better and takes three times as long. Know which kid you are handing it to.
6. Cat in a Witch’s Hat and Cape
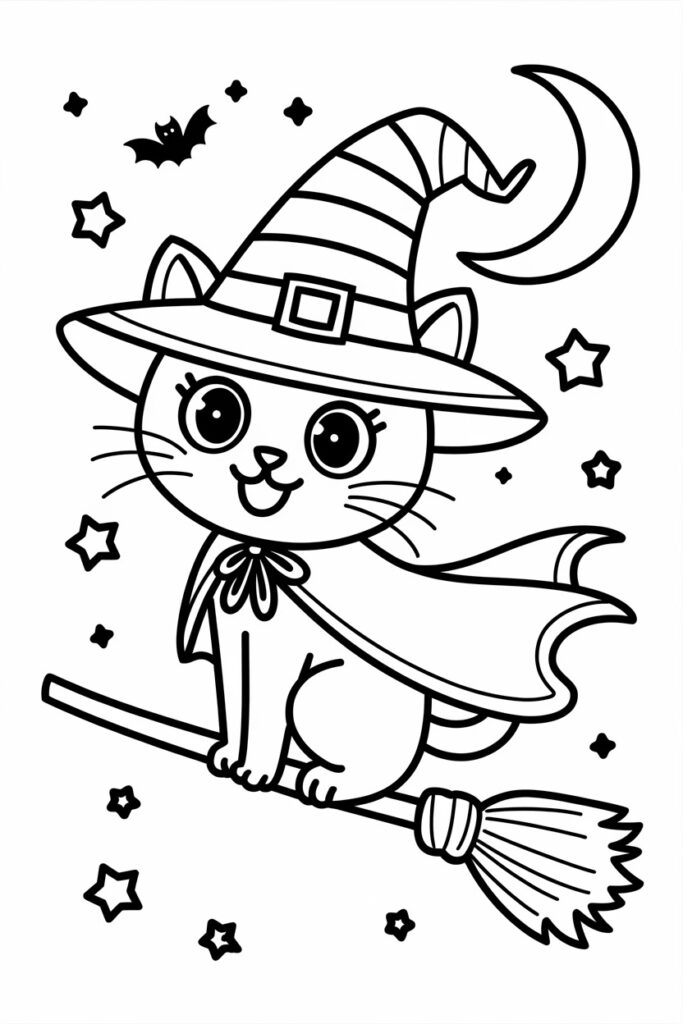
Cat in a full witch costume, hat, cape, the lot. Lots of separate zones, which suits a child who likes ticking things off.
Coloring steps:
- Hat in purple, cape in a second purple or a dark blue.
- Green for the hat band and the cape lining, which gives you contrast without adding a third color family.
- Cat in dark grey, leaving the face lighter.
- Stars and a crescent moon in the background, in orange and yellow.
Trade off: Purple on purple can go flat. If the hat and cape end up the same shade, have them press harder on the cape so one sits behind the other.
7. Witch Cat with a Pumpkin Hat
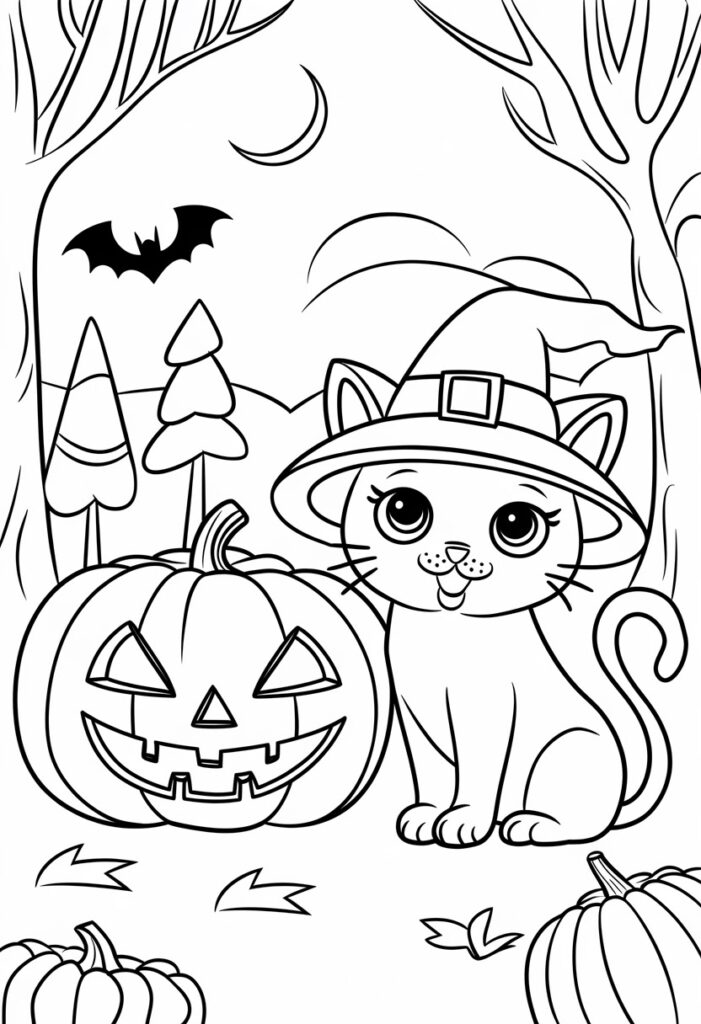
A black cat in a pumpkin shaped hat next to a carved pumpkin. Medium detail and the friendliest page in the set, which makes it a good first print for a cautious kid.
Coloring steps:
- Cat first, in dark grey or navy, pressing lightly so the whiskers stay visible.
- Hat in orange, then go over the shadowed side again with the same orange. Two passes of one color reads as depth without needing a second pencil.
- Carved pumpkin in the same orange so the two objects match.
- Fill the eyes and mouth of the carved pumpkin with yellow first, then draw orange right around the yellow edge. That order is what makes it look lit from inside. Doing it the other way round makes mud.
- Background in dark green or deep blue, colored loosely.
Trade off: The glow effect needs the yellow to go down before anything else touches that area. If a kid colors the whole pumpkin orange first, the yellow will not show on top. Say it before they start, not after.
8. Spooky Cat with Bat Wings
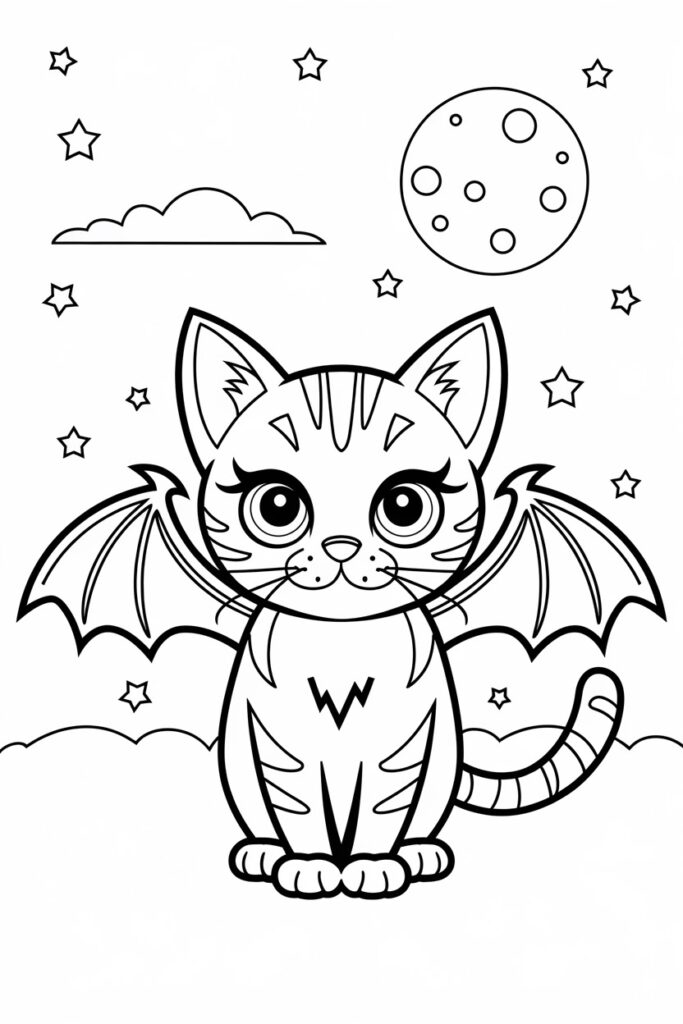
Cat with bat wings under a full moon. The spookiest of the set, though still nowhere near frightening.
Coloring steps:
- Wings in purple, with black only along the wing bones and the edges.
- Cat body in dark grey so it separates from the darker wings.
- Eyes in bright orange or yellow. Leave a tiny white dot in each eye uncolored.
- Dark blue and purple background with white stars.
Tip: That tiny unclouded white dot in the eye is what makes an animal drawing look alive instead of dead. Older kids notice the difference immediately.
Trade off: This page is mostly dark colors, which means a lot of pencil pressure and a lot of marker ink. On thin paper it will bleed. Use the heavier stock for this one if you have it.
9. Cat Hiding in a Cauldron
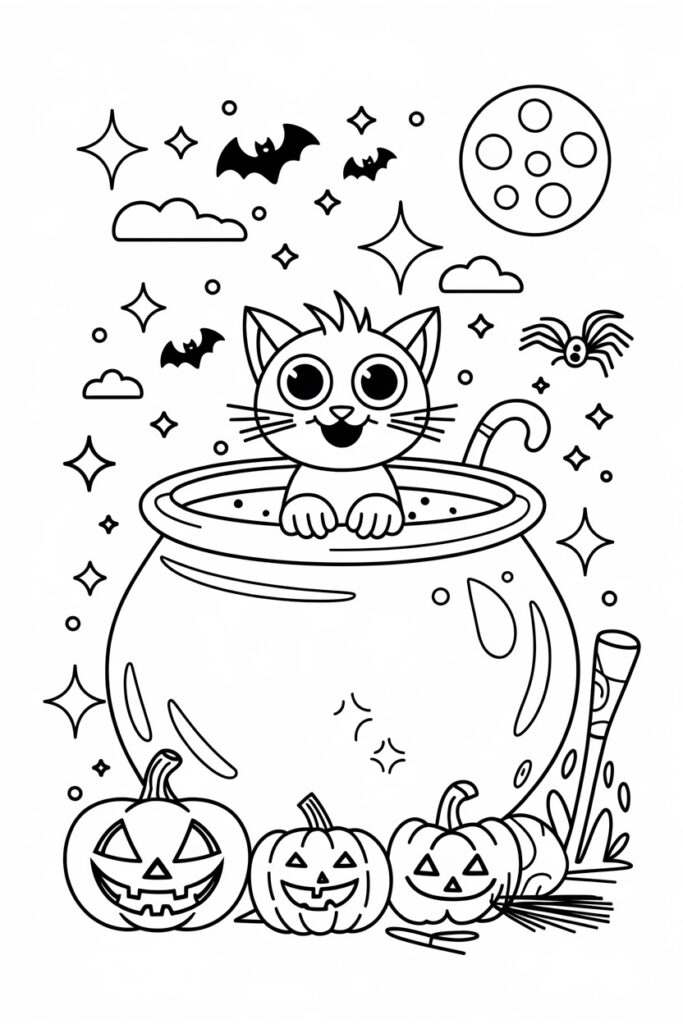
Cat peeking out of a bubbling cauldron. The most fun page to color and the most forgiving, because a magic potion can be any color and nobody can say it is wrong.
Coloring steps:
- Potion first, in green and purple, blending where they meet.
- Bubbles left white with only a curved line of color along one side of each.
- Cauldron in dark grey with purple across the belly of it.
- Cat in grey, face lighter, eyes bright.
- Sparkles in orange and yellow around the rim.
Trade off: Kids want to color bubbles in solid. Solid bubbles disappear into the potion. Show them the one curved line method on a scrap first.
Save this one to your Halloween board if you are planning a party. It is the page that works best as a table activity while people arrive.
10. Cat Dressed as a Vampire
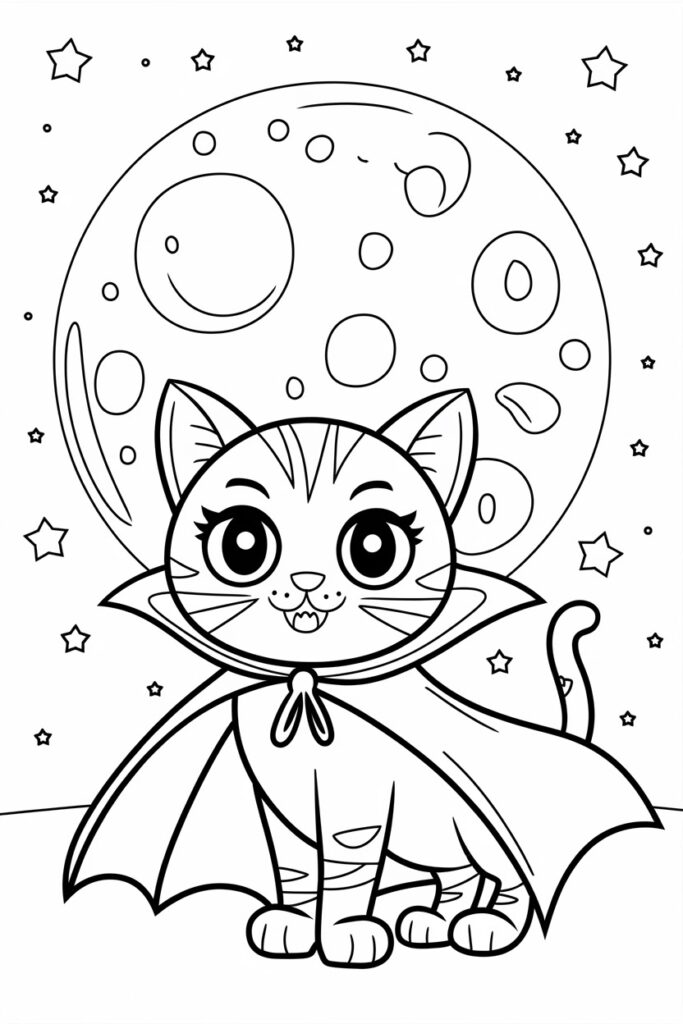
Cat in a small red cape with fangs. Medium detail with one strong color note, which makes it look finished with less work than it deserves.
Coloring steps:
- Cape in deep red, going darker along the folds.
- Cat in dark grey, leaving the chest and face lighter.
- Fangs and claws left completely white.
- Moon in soft yellow and orange, sky in dark blue.
Trade off: the fangs are tiny. Colored in by accident, and the whole joke of the page is gone. Tell them to color around the fangs, not up to them.
11. Cat with a Halloween Witch’s Broom
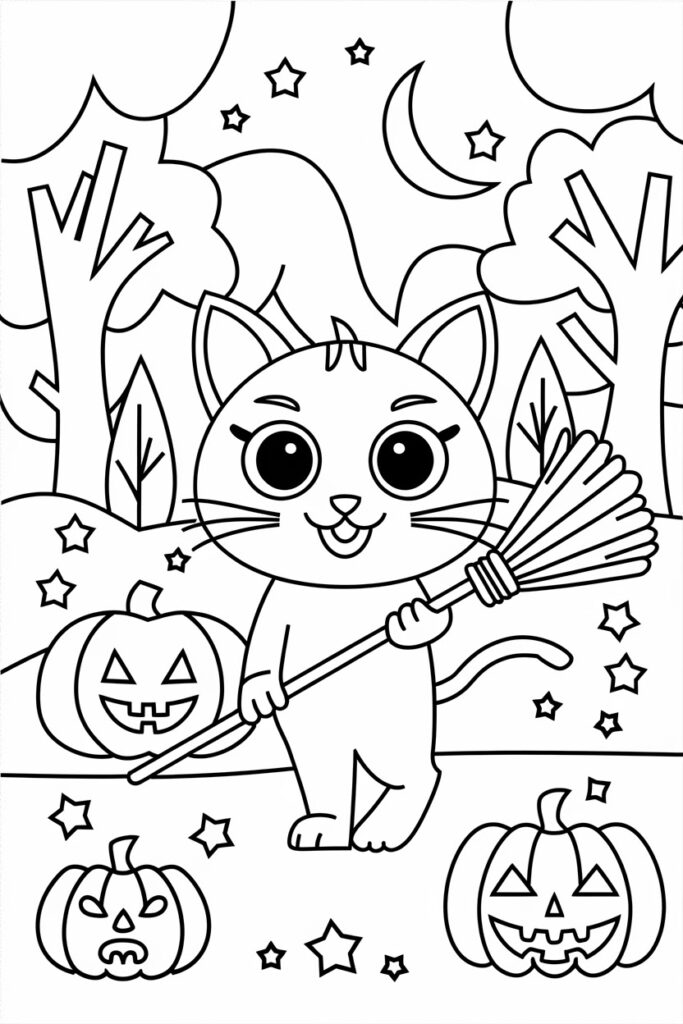
Cat holding a broom in a forest scene with pumpkins and stars. A good balance of open space and detail, and a nice final page for a kid who has warmed up on the others.
Coloring steps:
- Broom handle in brown, bristles in yellow with brown streaks pulled in the direction the straw sits.
- Pumpkins in orange with green stems.
- Cat in dark grey with lighter paws and face.
- Forest background in soft purple or blue, kept lighter than the cat.
- Stars in yellow and white, crescent moon in pale yellow.
Trade off: Forest backgrounds are where kids run out of steam. Suggest coloring only the bottom third of the background and leaving the top open. It looks intentional and saves ten minutes of grinding.
All Eleven Designs Compared
| Page | Best ages | Detail level | Time | Scare level | Best medium |
|---|---|---|---|---|---|
| Witch Cat with Pumpkin Hat | 5 to 10 | Medium | 20 min | Very mild | Pencils |
| Flying Cat on a Broomstick | 6 to 12 | Medium | 25 min | Mild | Markers, pencils |
| Cat in Witch’s Hat and Cape | 5 to 10 | Medium | 20 min | Very mild | Markers |
| Cat in a Pumpkin Patch | 3 to 8 | Low | 15 min | None | Crayons |
| Spooky Cat with Bat Wings | 7 to 12 | Medium to high | 25 min | Mild | Pencils |
| Cat Hiding in a Cauldron | 5 to 11 | Medium | 20 min | Mild | Markers |
| Cat with a Candy Bag | 3 to 7 | Low | 10 min | None | Crayons, markers |
| Cat and Ghost Friends | 3 to 7 | Low | 15 min | None | Crayons |
| Cat Dressed as a Vampire | 6 to 11 | Medium | 20 min | Mild | Pencils |
| Cat with a Spider Web | 9 and up | High | 30 min | Mild | Fine tip pens, pencils |
| Cat with a Witch’s Broom | 6 to 11 | Medium | 25 min | Very mild | Pencils, markers |
[EDITOR SUGGESTION: this table is a natural fit for a two question picker, “how old is your kid” and “how long do you have”, returning one recommended page. A printable checklist of all eleven with tick boxes would also work well as a classroom download or an email opt in. Flagging as a separate build rather than faking it inline.]
How To Print Halloween Cat Coloring Pages So They Actually Look Good
- Load paper heavier than standard copy paper if you have it. 28 lb or 65 lb cardstock both work. If you only have 20 lb, put a scrap sheet underneath while coloring.
- In the print dialog choose “Actual size”, never “Fit to printable area”. Fit to page shrinks the art slightly and clips the outer line on most home printers.
- Set color to grayscale or black ink only.
- If the lines print grey and faint, set print quality to high or best. Faint line art is much harder for young kids to stay inside.
- Print two copies of anything you are handing to a child under six. There will be a redo.
- For a class set, print on 24 lb white paper and stick to crayons. Markers plus thin paper plus twenty kids equals color on the desks.
Mess Level and Supervision, Honestly
Crayons and colored pencils: low mess. Sit anywhere. Pencil shavings are the whole cleanup.
Markers: medium mess. Always put a scrap sheet underneath, even on good paper. Black bleeds more than any other color because more ink goes down in the same spot, and these pages are full of black. Washable markers come off a sealed table easily and off untreated wood much less easily.
Gel pens: medium mess, high frustration. They take a few seconds to dry and a dragging hand smears them. Left handed kids smear more because they pull across what they just wrote. Turn the page sideways for them.
Scissors, if you are cutting cats out: supervise under sixes and use blunt tip kid scissors. Cardstock is stiffer than copy paper and small hands push harder.
Supervision, realistically: ages 3 to 5 need you at the table. Ages 6 to 8 need you in the room. Ages 9 and up will keep going long after you have wandered off.
What To Do With the Finished Pages
A stack of colored pages that goes in the recycling is a wasted afternoon. Four things I actually do with them.
Window display. Cut the cat out and tape it to a window facing outward. Trick or treaters see a row of cats and kids love that their work is the decoration.
Stained glass effect. Color on thin copy paper with markers, then rub a little vegetable oil across the back with a paper towel and let it dry on newspaper for an hour. The paper turns translucent and glows when you tape it to a window. Works properly, looks great, and costs nothing.
Bunting. Punch two holes along the top of each page and thread string through. Six pages makes a decent length of Halloween bunting for a party.
Cards. Fold a cardstock page in half, color the front, and you have a Halloween card for a grandparent.
Practical note: write the date and the child’s name on the back before it goes on the wall. In five years the date is the part you will care about, and you will not remember it.
Common Mistakes To Avoid With Halloween Cat Coloring Pages
Coloring the cat solid black. The whole point of the page is the cat, and solid black deletes it. Dark grey, navy, or purple, every time.
Reaching for the black marker first. Once black marker is down, nothing lighter will sit on top of it. Work light to dark on every single page here.
Promising white gel pen whiskers after coloring with crayon. The gel pen slides off the wax and clogs. Pencil or marker underneath, then gel pen.
Printing on 20 lb copy paper and using markers. Black bleeds through onto the table. Heavier paper, or a scrap sheet underneath.
Using “Fit to page” in the print dialog. It shaves off the outer line, so cutting the cat out leaves a gap in the edge.
Giving the spider web page to a six year old. It is the most detailed page in the set and it will end in tears. Save it for nine and up.
Coloring the background before the subject. Kids often start with the sky because it is the biggest area. Then they have no energy left for the cat, which is the bit that matters.
Read Next
If this goes well and you want the next thing lined up, these two pair naturally with it.
Best Halloween Pumpkin Crafts For Easy Fall Decor is the obvious follow up once the coloring pages are on the window and somebody wants something they can hold.
Easy Halloween Crafts for Preschoolers That Are Not Scary is where to go if the ghost friends page was the only one your youngest would touch. The whole list is built around the mild end of Halloween.
FAQs
What age group are these Halloween Cute Cat coloring pages suitable for?
Ages three to twelve, depending on the page. The candy bag, pumpkin patch, and ghost friends designs suit three to seven, while the spider web and bat wing pages hold the attention of nine to twelve year olds and beginner adult colorists.
Can I use these coloring pages for classroom activities?
Yes, they print fine on standard letter paper and need nothing beyond crayons. For a class set, print on 24 lb white paper and hand out crayons rather than markers, since black marker bleeds through thin paper onto desks.
Are the designs too scary for young children?
No. The spookiest elements here are a carved pumpkin, a crescent moon, and some cartoon spiders. The ghost friends and pumpkin patch pages are gentle enough for a nervous three year old.
Do these prompts work on all AI tools?
The image prompts behind these designs were written for Ideogram.AI and will need adjusting on other generators, mainly around how you describe line weight and white space. [EDITOR NOTE: this question only makes sense if the actual prompts are published on this page. If they are not, cut this FAQ, since a parent looking for printables will find it confusing.]
How do you color a black cat without losing the details?
Use dark grey, navy, or deep purple instead of true black, and press lightly around the face and paws. If you want a properly black cat, add the whiskers and eye shine back on top afterwards with a white gel pen.
What paper should I print Halloween coloring pages on?
Standard copy paper is fine for crayons and colored pencils. For markers, use 28 lb paper or heavier, or slide a scrap sheet underneath, because black marker bleeds through 20 lb paper almost every time.
Conclusion
Print three pages tonight, one easy, one medium, one detailed, and leave them on the table with a tin of pencils. Say one sentence about not using the black marker on the cat, then walk away.
That is the whole thing. If you are doing this for the 2026 season, print your set in the first week of October, before the ink cartridge and the good markers become an emergency.