
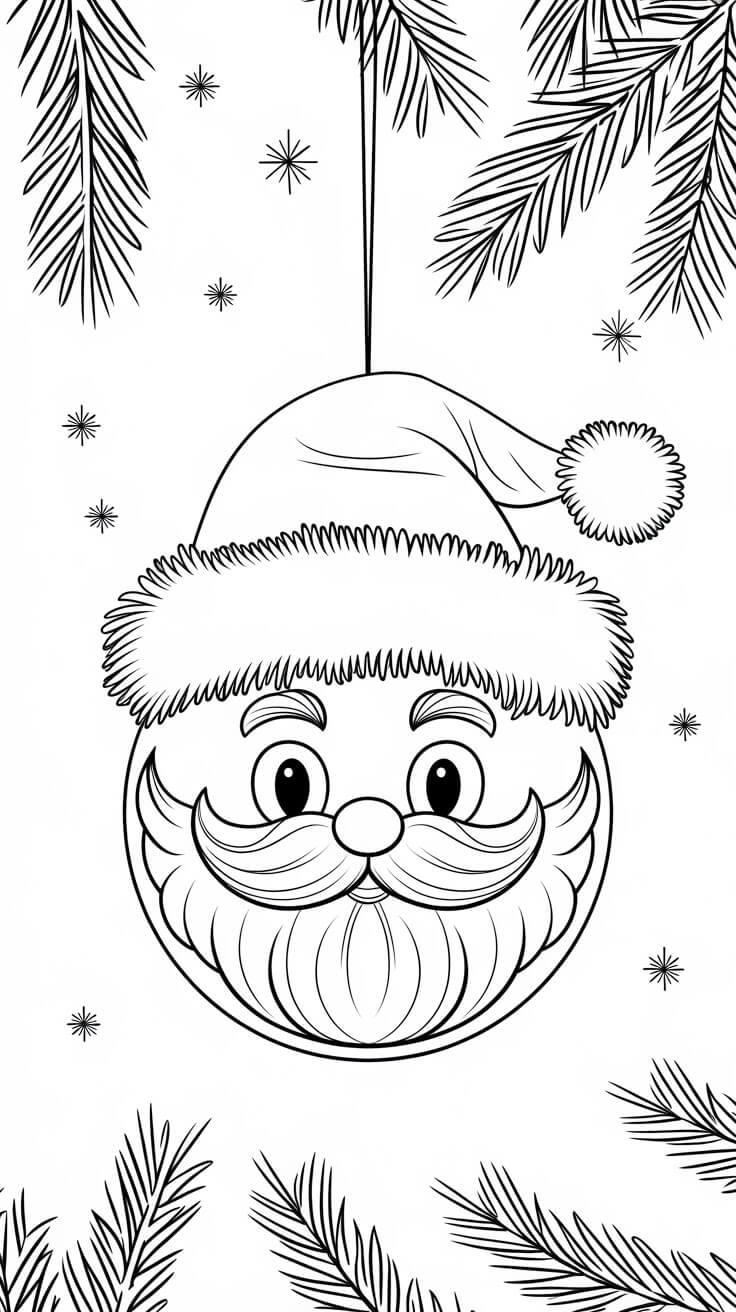
It was the second Saturday of December, raining sideways, and my nine year old had already asked me three times what we were doing today. The tree was half decorated because we ran out of hooks. I printed a sheet of blank baubles, handed over the pencil tin, and got forty minutes of quiet.
Then something better happened. She cut hers out, punched a hole in the top, and hung it. The ornament she made is still in the box we pull out every year.
That is the whole point of these. They are not busywork for a rainy afternoon. They turn into things you keep.
Christmas ornaments coloring pages are printable line drawings of baubles, bells, snowflakes, and other tree shapes that kids and adults color in, cut out, and hang as real decorations. Print them on 65 lb cardstock instead of standard copy paper so markers do not bleed through and the finished ornament holds its shape on a branch. Most designs take 10 to 25 minutes to color, and the ten below run from thick line toddler simple to detailed enough for teens and adults.
ℹ️ Photo Download Instructions:
📱 On mobile: Long press the image to access the download option.
💻 On computer: Right-click the image and select “Save Image.”
Why Christmas Ornaments Coloring Pages Are Perfect for the Holidays
Most holiday crafts end up in the recycling by January. These do not, because the shape itself is already a decoration. Color it, cut it, hang it, done.
They also scale across a whole family in a way almost nothing else does. A three year old scribbling a candy cane and a fourteen year old shading a nutcracker with pencils can sit at the same table working on the same theme. Nobody is bored and nobody is struggling.
There is a practical upside too. A printed page costs you a few cents in black ink. You can print six copies of the same design without guilt, which matters when a kid ruins one and wants to start over.
Practical note: print in grayscale or “black ink only” from your print dialog. The default setting on most home printers pulls from the color cartridges to make black, and a stack of line art will chew through them fast.
Age and Skill Guide
Rough guide, based on what actually holds attention rather than what a box says.
Ages 2 to 4. Thick outlines and big open shapes only. The Santa hat, the candy cane, and the plain bauble. Expect 5 to 10 minutes of focus, chunky crayons, and color well outside the lines. That is fine. Cut it out for them.
Ages 5 to 7. Most of this list works. They can manage medium detail with markers or pencils and will sit for 15 to 20 minutes. This is the age that wants to add their own drawings in the background, so print a design with white space around it.
Ages 8 to 11. Give them the snowflake, the bell, the nutcracker. Colored pencils beat markers here because they can blend and they will notice the difference. 20 to 35 minutes.
Ages 12 and up, including adults. The star and the nutcracker hold up. Add metallic gel pens over pencil and you get something that genuinely looks good on a tree.
To adapt down for a younger sibling, print the same design at 130% so the shapes get bigger and the lines get further apart. To adapt up for an older kid, print at 85% and ask them to fill every enclosed space with a different pattern instead of a flat color.
What You Need, Plus a Free Version of Everything
You almost certainly have most of this already.
| What I use | Why | Free or cheap alternative |
|---|---|---|
| 65 lb cardstock (Hammermill or Neenah) | Holds a hanging shape, no marker bleed | Print on copy paper, glue the back to a cereal box panel, cut through both |
| Crayola Ultra Clean washable markers | Bright, comes off skin and most tables | Crayons you already own, and crayons never bleed through |
| Colored pencils, Prismacolor Premier if you have them | Blending, shading, control for older kids | Any school pencil set, sharpened properly |
| Sakura Gelly Roll Stardust or a metallic gel pen | The sparkle that makes it look finished | White school glue brushed on, then loose glitter shaken over |
| Elmer’s glitter glue | Fast sparkle with no loose mess | Table salt over wet glue dries frosted, Epsom salt gives bigger sparkle |
| Baker’s twine or thin ribbon | Hanging loop | Yarn, embroidery floss, kitchen string, or a bent paperclip hook |
| Hole punch and reinforcement stickers | Stops the hole tearing | Press a square of clear tape over the spot first, then poke through with a pencil |
| Mod Podge or clear packing tape | Protects it for next year | Contact paper, or skip it and accept a one season ornament |
Where to source: dollar stores carry perfectly good cardstock and glitter glue in November. Craft store clearance on December 26 is where I buy ribbon and gel pens for the following year at roughly a quarter of the price. Leftover birthday party supplies work for hanging loops.
Practical note: if you only upgrade one thing, make it the paper. Cardstock is the difference between a coloring page and an ornament.
10 Christmas Ornaments Coloring Pages
1. Bell Ornament with Festive Ribbons

A decorated bell, ribbon, bow, scattered stars. Medium detail with a satisfying payoff because gold and silver look great on a bell shape.
This design takes metallic better than any other one here. Lay down yellow pencil first, then a gold gel pen over the top, and you get depth instead of a flat shiny patch.
Trade off: The tiny stars around the bell are the first thing kids skip. Either let them skip it or tell them to leave the stars white and outline them, which looks intentional.
2. Gingerbread Ornament: A Sweet Holiday Treat

Icing swirls and candy buttons, and it is the most forgiving detailed design on this list because real gingerbread icing is wobbly anyway. Nothing has to be neat.
This is the one I hand over when a kid is frustrated with the snowflake.
Tip: Color the body in two passes with a brown pencil, light pressure first, then press harder around the edges. It gives the cookie a rounded look instead of a flat brown shape, and kids are genuinely surprised the first time it works.
Trade off: White icing details need a white gel pen to show up, and a white gel pen will not write over crayon wax. Color the body with pencil if you want the icing to pop.
3. Traditional Ornament with Holiday Sparkle
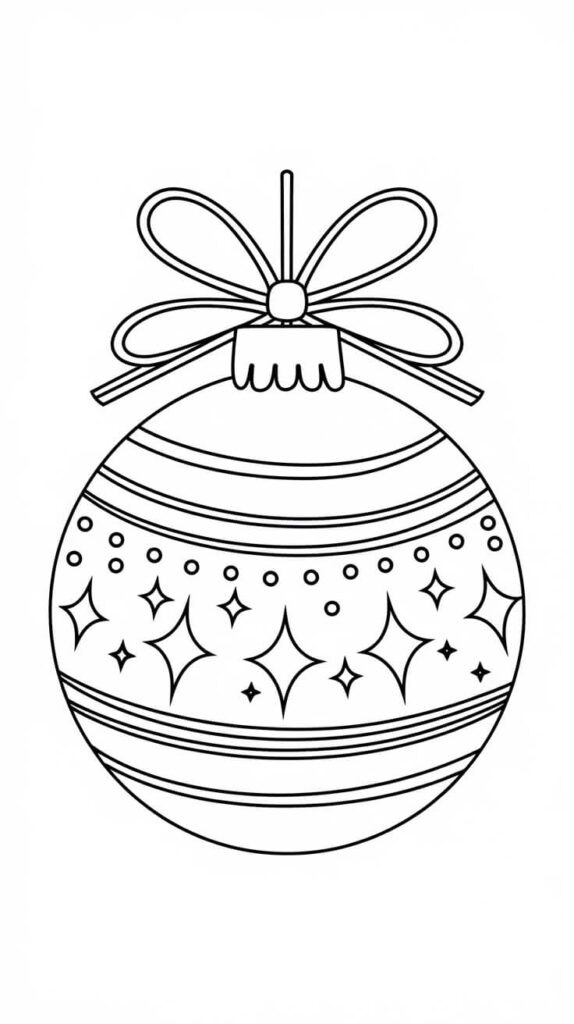
The round bauble with simple decorative banding. Start here if you are printing for a mixed age group, because it is the only design where a toddler and an adult can both produce something they are happy with.
Big open sections mean crayon works beautifully. Ask for one color per band and you get a stripey, satisfying result in about ten minutes.
Trade off: It is plain. If an older kid gets it, tell them to fill each band with a different pattern, dots, chevrons, tiny stars, rather than a flat color.
4. Candy Cane Ornament for a Sweet Twist

Stripes and a small bow. Simple enough for a three year old, fast enough to finish before anyone loses interest.
The stripes teach something useful, which is skipping alternate sections. A lot of young kids will color every stripe red, and that is your chance to show them the pattern rather than correct it.
Trade off: It is finished in seven minutes. Print two or three so there is a follow up ready.
5. Snowflake Ornament: Winter Wonderland
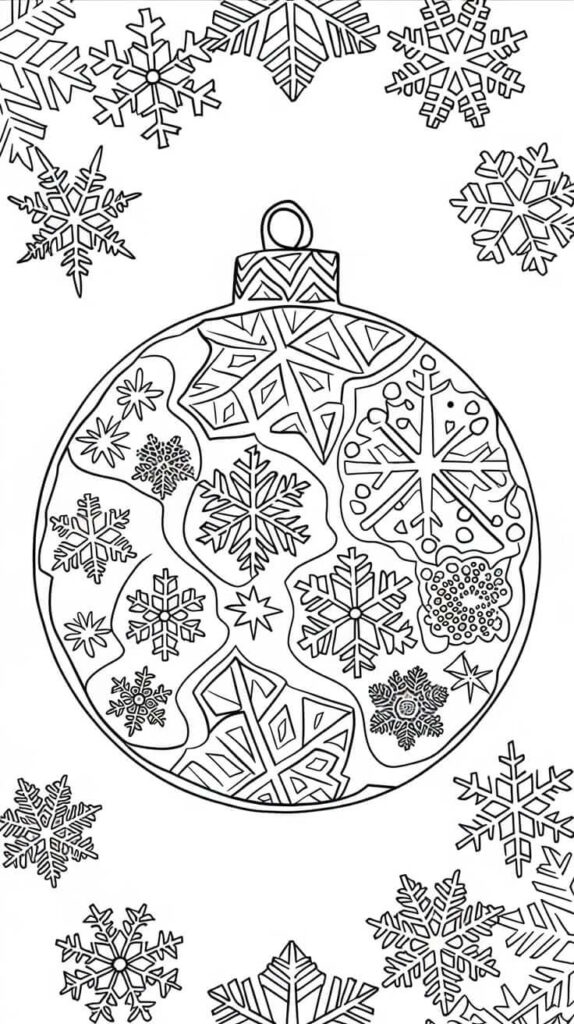
Six arms, repeating detail, lots of small enclosed shapes. This is the one that teaches patience.
The trick nobody mentions: tell your kid to color one arm completely, then copy that exact arm five times. Symmetry is what makes a snowflake look right, and doing it arm by arm is far easier than jumping around the page.
Trade off: Those small shapes are too fiddly for marker tips. Pencils or fine tip pens only, otherwise it turns into a blue blob. Around 25 minutes for an eight year old.
6. Nutcracker Ornament: A Holiday Classic
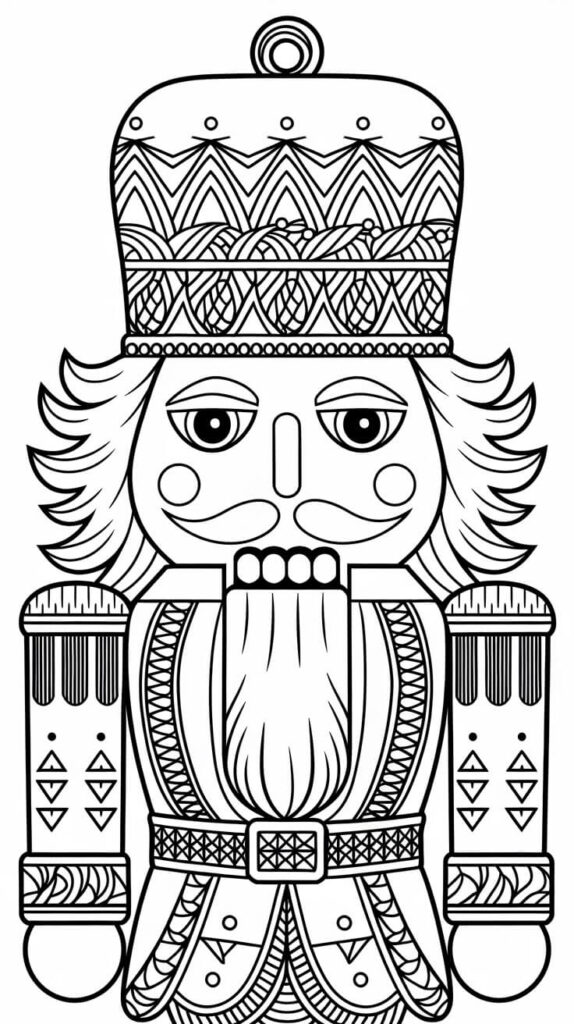
The most detailed design on the list, and the only one I would call genuinely challenging. Uniform, buttons, hat, face, boots, all in separate small zones.
Give this to a child who likes finishing things. It takes 35 to 45 minutes and it will look like an heirloom when it is done.
Real tip from doing this too many times: color the face first. If the face goes wrong, everything else feels wasted, and a light peach or tan pencil with almost no pressure beats any marker you own. Marker on a small face is unrecoverable.
7. Christmas Tree Ornament with Baubles and Garlands

A tree shape covered in its own tiny ornaments, so it is a decoration of a decoration. Kids love that.
The garlands create natural sections, which makes this the best design for a child who gets overwhelmed by a big empty space. There is always an obvious next thing to color.
Trade off: Green everywhere gets monotonous. Suggest two greens plus a blue green, or let them go completely non traditional. A purple tree is not a mistake.
Save this one for later if you are planning ahead. It is the design that photographs best for a card.
8. Angel Ornament for a Touch of Magic

Wings, halo, patterned dress. Medium difficulty, and the dress is where the creativity actually happens.
Leave the wings white or barely tinted with the side of a grey pencil. Fully colored wings look heavy and flatten the whole thing. This is the single easiest upgrade on the page.
Trade off: The halo needs gold or yellow to read as a halo. A brown or orange halo just looks like a ring.
9. Star Ornament with Holiday Patterns

Geometric sections, no wrong answers. My favorite one for adults and for anyone who finds coloring relaxing rather than a task.
Because the shapes are enclosed and repeating, it works brilliantly as a pattern exercise. Different fill in every section, no two the same.
Trade off: It needs a steady hand at the points, where sections get narrow. Younger kids will overshoot the tips constantly. Print it at 130% for them and the problem disappears.
10. Santa Hat Ornament: A Jolly Design

Thick outline, big red area, fluffy white trim. The most toddler friendly design here.
Let them go wild on the red and leave the trim white. Two colors, five minutes, real sense of achievement.
Tip: Hand a preschooler a red crayon and nothing else. Choice paralysis is a real thing at that age, and one color means they finish.
All Ten Designs Compared
| Design | Best ages | Difficulty | Time | Works best with |
|---|---|---|---|---|
| Traditional Bauble | 2 to 12 | Easy | 10 min | Crayons |
| Snowflake | 8 and up | Hard | 25 min | Fine tip pens, pencils |
| Gingerbread | 5 to 11 | Medium | 20 min | Pencils, white gel pen |
| Bell | 6 to 12 | Medium | 20 min | Pencils, gold gel pen |
| Nutcracker | 9 and up | Hard | 40 min | Colored pencils |
| Christmas Tree | 4 to 11 | Easy to medium | 20 min | Markers |
| Candy Cane | 2 to 6 | Easy | 7 min | Crayons, markers |
| Angel | 6 to 12 | Medium | 20 min | Pencils, gold gel pen |
| Star | 10 and up, adults | Medium to hard | 30 min | Gel pens, fineliners |
| Santa Hat | 2 to 5 | Easy | 5 min | Chunky crayons |
How To Print Christmas Ornaments Coloring Pages So They Last
This is the part that turns paper into an ornament that survives being packed away in a box for eleven months.
- Load 65 lb cardstock and set your printer’s paper type to cardstock or heavy. If you skip this, the rollers can smear the toner.
- In the print dialog, choose “Actual size” or set scale to 95%. Never use “Fit to printable area”, which crops the outer line on most home printers.
- Print in grayscale to save your color ink.
- Color it. Wax first, gel pen last, always. Gel pen and metallic ink will not stick to crayon wax, so anything shiny goes on bare paper or over pencil.
- If you are using glitter glue, do it now and lay the page flat for about two hours. Do not stand it up, the glue runs.
- Cut it out. Leave a thin white border of about 3 mm outside the line rather than cutting exactly on it. It looks cleaner and it is far more forgiving for a kid with scissors.
- Press a small square of clear tape where the hanging hole will go, then punch through the tape. This is the single reason my daughter’s ornament survived three years.
- Thread twine, tie a loop, hang.
Practical note: for a proper double sided ornament, print two copies, color both, then glue them back to back with the ribbon sandwiched between. On a tree, a single sheet shows a blank white back every time it spins. Nobody tells you this and it is the difference between a craft and a decoration.
If you are doing these for the 2026 season, print a spare set in early December. The one thing I can promise is that a second child will want the exact page the first one is using.
Mess Level and Supervision, Honestly
Crayons and pencils: low mess. Sit anywhere. Pencil shavings are the only cleanup.
Markers: medium mess. Put a sheet of scrap paper underneath even with cardstock. Washable markers stay wet on coated stock for a few seconds longer than you expect, and a hand dragging across a fresh page smears it. Left handed kids smear more because they drag across what they just colored. Turn the page sideways for them.
Glitter glue and loose glitter: high mess. Work on a baking tray with a raised lip. It contains the mess and you can tip the excess glitter back into the pot. Loose glitter and under threes is a combination I would skip entirely.
Scissors: supervise under sixes, and use blunt tip Fiskars kid scissors rather than adult ones. Cardstock is stiffer than copy paper and small hands push harder to get through it.
Supervision, realistically: ages 2 to 4 need you at the table. Ages 5 to 7 need you in the room. Ages 8 and up will be fine on their own, and will probably keep going after you leave.
Common Mistakes To Avoid With Christmas Ornaments Coloring Pages
Printing on copy paper and then wondering why it droops. A 20 lb sheet curls the moment it hangs. Cardstock or a cardboard backing, every time.
Laminating or taping before the glitter glue dries. It traps moisture and goes cloudy under the tape. Wait the full two hours, then press it flat under a heavy book overnight to undo the curl.
Using “Fit to page” in the print dialog. It shrinks the art by a few percent and shaves off the outer line, so your kid cuts out an ornament with a gap in the edge.
Letting a kid use a white or metallic gel pen over crayon. It slides off the wax, does not show up, and clogs the pen tip. Pencil underneath, gel pen on top.
Punching the hanging hole too close to the edge. Anything under about 8 mm from the top will tear the first time it is lifted off a branch. Tape square, then punch.
Printing only one copy. There is always a redo.
Read Next
If this afternoon goes well and you want the next thing ready, these two pair naturally with it.
Best Halloween Pumpkin Crafts For Easy Fall Decor is the same print, color, cut, display idea applied to October, and the paper and scissors advice carries straight over.
Easy Salt Dough Ornaments Kids Can Actually Make is the obvious next step once your kids want something with thickness to it. Do the coloring pages first, then the salt dough on a day when you have a couple of hours.
Key Takeaways
- Christmas ornaments coloring pages work across the whole family, from a three year old with one crayon to an adult with gel pens, because the theme scales and the shapes do not.
- The paper matters more than the coloring supplies. 65 lb cardstock, or copy paper glued to a cereal box panel, turns a page into a real hanging decoration.
- Wax first, sparkle last. Metallic and white gel pens will not write over crayon.
- Print two copies and glue them back to back so the ornament looks finished from both sides on the tree.
- Tape over the hanging hole before you punch it, and it will survive being packed away and pulled out again next year.
Worth saving this one to your holiday board before you close the tab. Next December you will not remember which weekend you found it.
For more seasonal printables and family craft projects, Craft & Steward has a growing collection of holiday coloring pages to keep the Christmas spirit going all month.
FAQs
What age group are Christmas ornaments coloring pages suitable for?
Anywhere from about age two to adult, as long as you match the design to the child. Thick outline pages like the Santa hat and candy cane suit toddlers, while the snowflake, nutcracker, and star designs hold up for kids over nine, teens, and adults.
How can I make coloring pages more exciting for my kids?
Let the finished page become a real decoration. Cutting it out, punching a hole, and hanging it on the tree changes the whole activity, and metallic gel pens or glitter glue add a finishing step that kids look forward to.
Where can I find more holiday themed coloring pages?
Craft & Steward has a seasonal printables collection with more Christmas, winter, and New Year designs, all free to download and print at home.
What paper should I print Christmas ornaments coloring pages on?
Use 65 lb or heavier cardstock so the ornament holds its shape and markers do not bleed through. If you only have copy paper, print it, glue the back to a cereal box panel, and cut through both layers.
Can I laminate coloring page ornaments so they last?
Yes, and clear packing tape or contact paper works just as well as a laminator for something this size. Make sure any glue or glitter is completely dry first, otherwise it goes cloudy under the plastic.
How long does it take to color one ornament page?
Between five and forty minutes depending on the design and the age of the child. Simple shapes like the Santa hat take about five minutes, while the detailed nutcracker can hold a nine year old for the better part of an hour.
Conclusion
Print six pages tonight and leave them on the table with a tin of pencils. You do not have to announce it or turn it into an activity. Somebody will sit down, and by the end of the week you will have a handful of ornaments with a date and a name written on the back, which is the part you will actually care about in five years.